Linda The Lamb- Blog Post
**Below you will find the story behind, and free picture tutorial to making Linda the Lamb. You can get the free pattern here, and add to your Ravelry que here. **
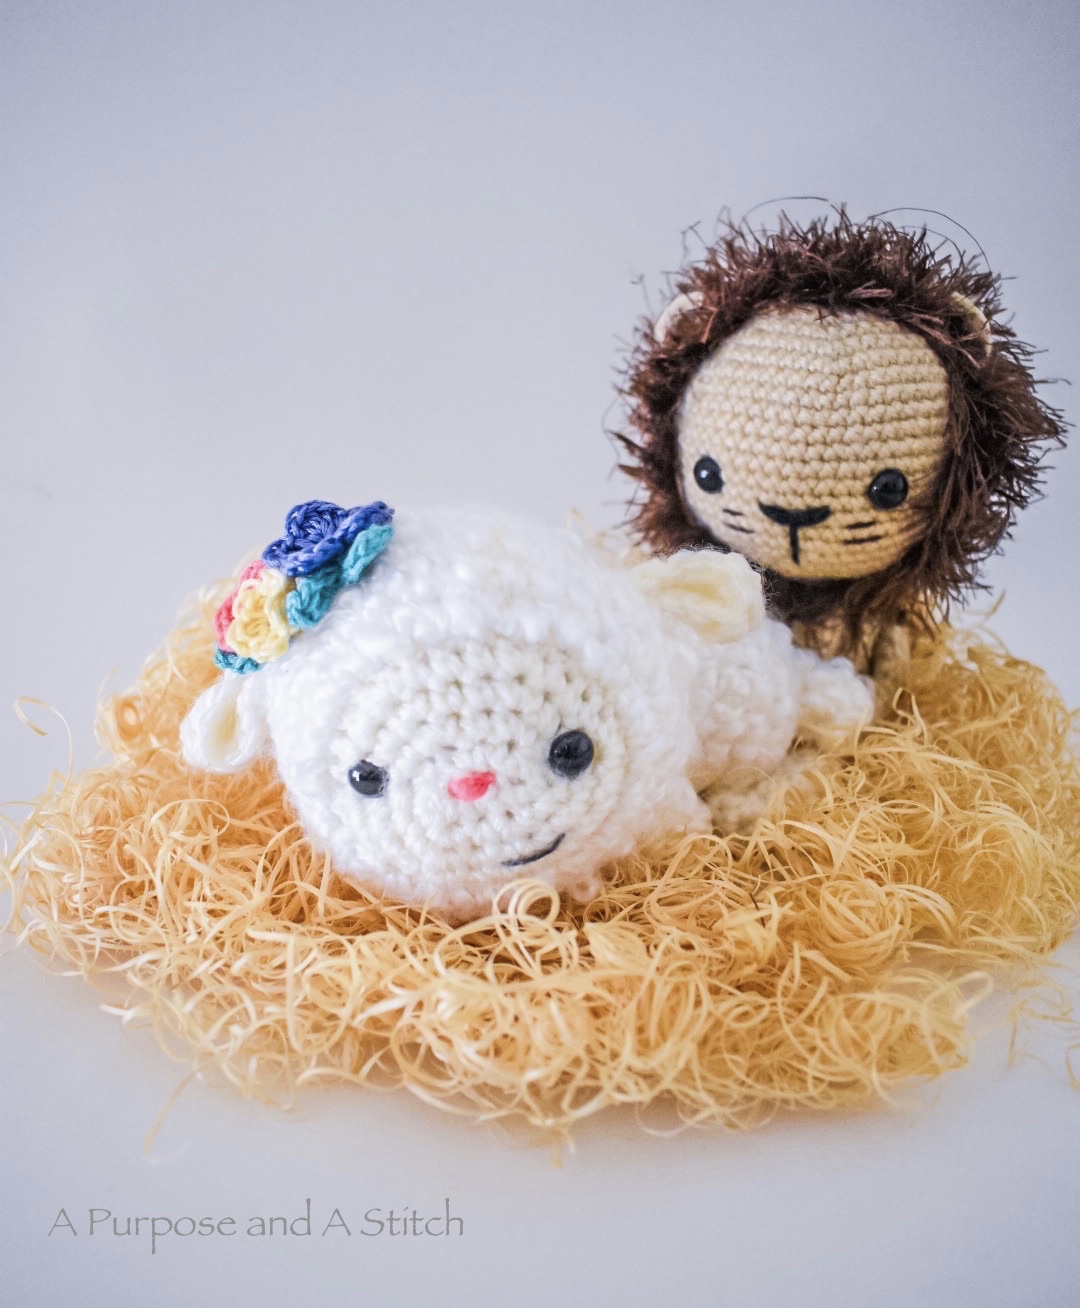
Last year for Audrey’s Easter Basket I made her Lewis the Lion. I knew then that I wanted to make her a lamb for this year, but have spent literally all year trying to figure out how I would want a lamb amigurumi to look.
There are so many adorable lamb and sheep patterns available already, the task seemed too daunting.
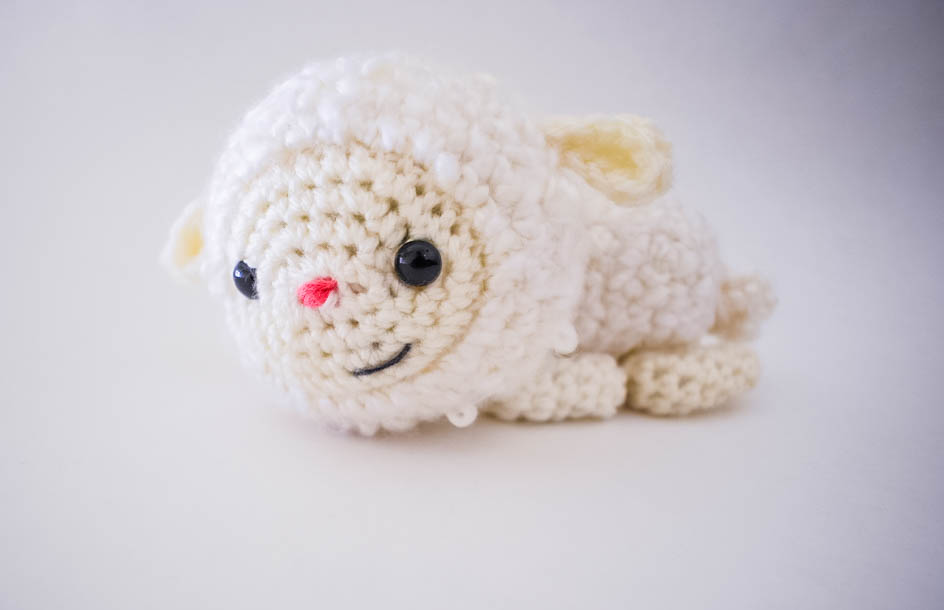
Then it came to me. Whenever I think of a lamb, I think of a lamb laying down. You know, like the classic lamb cake mold you see every Easter? I have not seen too many lamb amigurumi patterns in this position, so that’s what I went with for this pattern.
I used a similar style head to the one I used for my Lambie the Lovey Pattern since there was so much love for that pattern already, and the body and legs were simple enough to figure out from there.
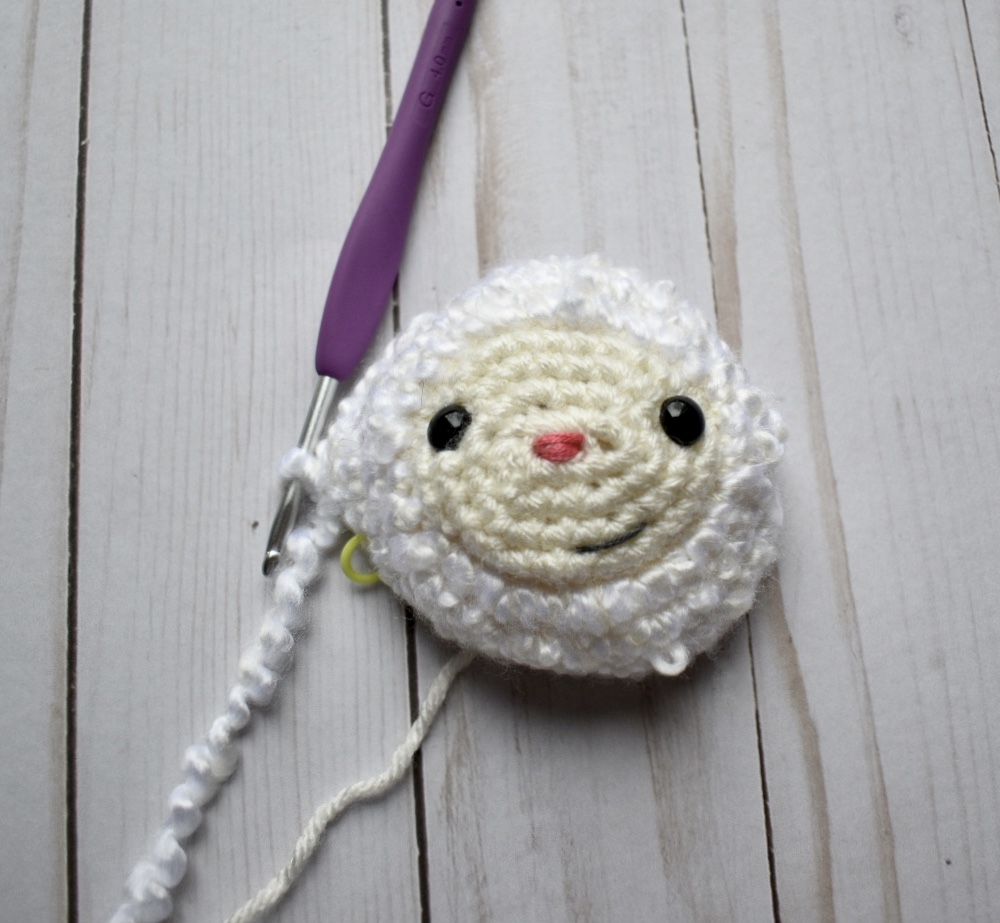
To make the head, you’ll start with the face. The face is made in an off-white colored worsted weight yarn and starts out as an oval, by working single crochet increases into the back loops of the foundation chain, then turning your work and continuing to work single crochet increases into the front loops as well.
From here, it’s a simple matter of increasing every few stitches, while continuing to work into the round.

The last round worked in this yarn will be a round of slip stitches. This pushes the stitches forward, creating a bit of a divot between the fluffy white yarn and the cream yarn.
From here, you will switch to the fluffy white yarn. This style yarn can be a little challenging to work with because you have to feel for the stitches rather than see them, but it also does a really good job of hiding any imperfections, so as long as your count is correct for each round, theres no need to sweat it too much.
You’ll work several rounds in this white yarn without any increases, which will start to shape the head into a sphere.
Before you start to decrease, you will want to add on the eyes, nose and mouth. I placed the eyes between the 3rd & 4th round of the off-white portion on either side of the head. I used a technique that Stephanie of All About Ami uses to indent the eyes a bit. You can read about how she does that here.
I kept embroidery simple and just threw on a few passes of pink floss right over the starting chain for the nose and a little smirk in charcoal floss for the mouth.
Once the face is completed, you can start to work the finishing rounds of decreases, stuffing with fiber fill as you go.
The last round will not completely close off the back of the head, but that’s okay. By leaving a bit of a tail, you can weave that in and out around the opening, pull tight and tie off for a complete closure.
Next, I made the body, which is more tube shaped. This entire portion is worked in the white fluffy yarn.
I started out with a magic ring, and worked only 2 rounds with increases before working the long portion of the body of single crochets around. If you are unfamiliar with the magic ring, I recommend this tutorial here.


As you work the tube of the body, you will want to stuff with fiberfill as you go. You will then close off the top in the same fashion as you did the head. There’s no need to completely close this up though, as you’ll be attaching this part of the body to the back of the head for assembly.


Next are the legs. Which may look a little more complicated, but they are actually just long tubes that I folded to give my lamb that laying-down look. I made these in the off-white yarn instead of the fluffy yarn, simply because that was what my husband voted for.
I couldn’t decide if I liked these or the fluffy white legs more, so feel free to work them with whichever yarn you more prefer. If you do work with the fluffy white yarn instead, you will not need to stuff the legs, as they will already be on the bigger side and you’ll want to make sure they fold okay.
The legs also start with the magic ring, but there are no increases or decreases involved. Just single crochets around for all 9 rounds. I stuffed my legs lightly with fiberfill once they were done, rather than as I went.

When you fasten off each leg, make sure to leave a long tail for assembly, which we’ll get to more in a minute.
After making all 4 legs, I crocheted the ears. These are a tear drop shaped, with only one round of single, half double and double crochet stitches. Again, you will be working around the foundation chain as you did with the face, but you will be working 3 double crochets into the last chain, turning as you go. This exaggerates the one end of the ear giving it that tear drop shape.

The last required part to crochet is the tail, which is just a small ball in the fluffy white yarn. Again, it starts in the magic ring, but there are just 2 rounds after that, then you’ll fasten off leaving a tail for assembly. I did not stuff my tail, as it doesn’t really need it with how fluffy the yarn is.
Assembly is relatively simple. You’ll begin by adding the legs to the body. You’ll attach the top of each front leg right around the 3rd round of the body, approximately 3 stitches apart from each other. Attach the top of the back legs around the 10th round.
Once the legs are secure in place, bend the front legs so that there is a slight bend towards the upper portion and secure in place with yarn. Bend the back legs up towards the front legs then towards the body and stitch in place. The legs should be secured down to look something like this:

After the legs are added, you can add the ears to the head. I pinched the thin part of the ears so that the tear drop shape curves inward. I then attached them inline with the eyes on either side of the head about 3-4 rows back on the fluffy yarn.
You can now attach the head to the body. I placed center of the body a bit below the center of the back of the head and attached the two together.

I then pushed the head towards the front leg and tacked it to the side of the body so that the head is not facing forward, but off to the side.

All that is left to attach is the tail, which is just placed directly over the starting round of the body, between the back legs.

Linda is now officially complete, but if you want a more spring look, you can add some flowers to her head like I did.

The flowers and leaves are all made out of embroidery floss and a smaller hook (I used a 2.75 mm hook). I made 3 different patterns, but they’re all worked fairly similar to one another.
The basic outlay is that you’ll start with a circle and work your petals around it. For the small and medium size flowers, you’ll be working all of your stitches into the center of the circle.


The large flower will be worked into the stitches of a magic ring, but the same idea applies.
Each petal is made up of a slip stitch followed by a few double crochets, and another slip stitch and each flower is made up of 5 petals total. The differences between the sizes comes from the starting stitches and the amount of double crochets worked into each petal. Once complete, I wove the tails in towards the center circle for easier and more symmetrical attachment.
I also made 2 bows that functioned as foliage (or leaves) on my flowers. These are worked as an oval (working in the front and back loops of the chain row), with varying stitches to create wider ends and a thin center.
You’ll start by working your foundation chain, then working 2 half double crochets into the 3rd chain from your hook.

From here you will be working into each chain across, crocheting 2 single crochets, 3 slip stitches, and 2 more single crochets. You’ll then work 3 half double crochets in the last chain, turning your work as you do. Then you will repeat the process of working 2 single crochets, 3 slip stitches and 2 more single crochets into the back front loops of the row. You’ll work one more half double crochet on the other side of the first chain you worked into, and fasten off.

Again I weaved the tail in towards the center for easier fastening to the head. Now all that’s left is securing in a bunch on top of the head- I placed mine in a cluster right above the right ear.
And there you have it! I hope you enjoyed making this sweet little crocheted lamb as much as I did!
