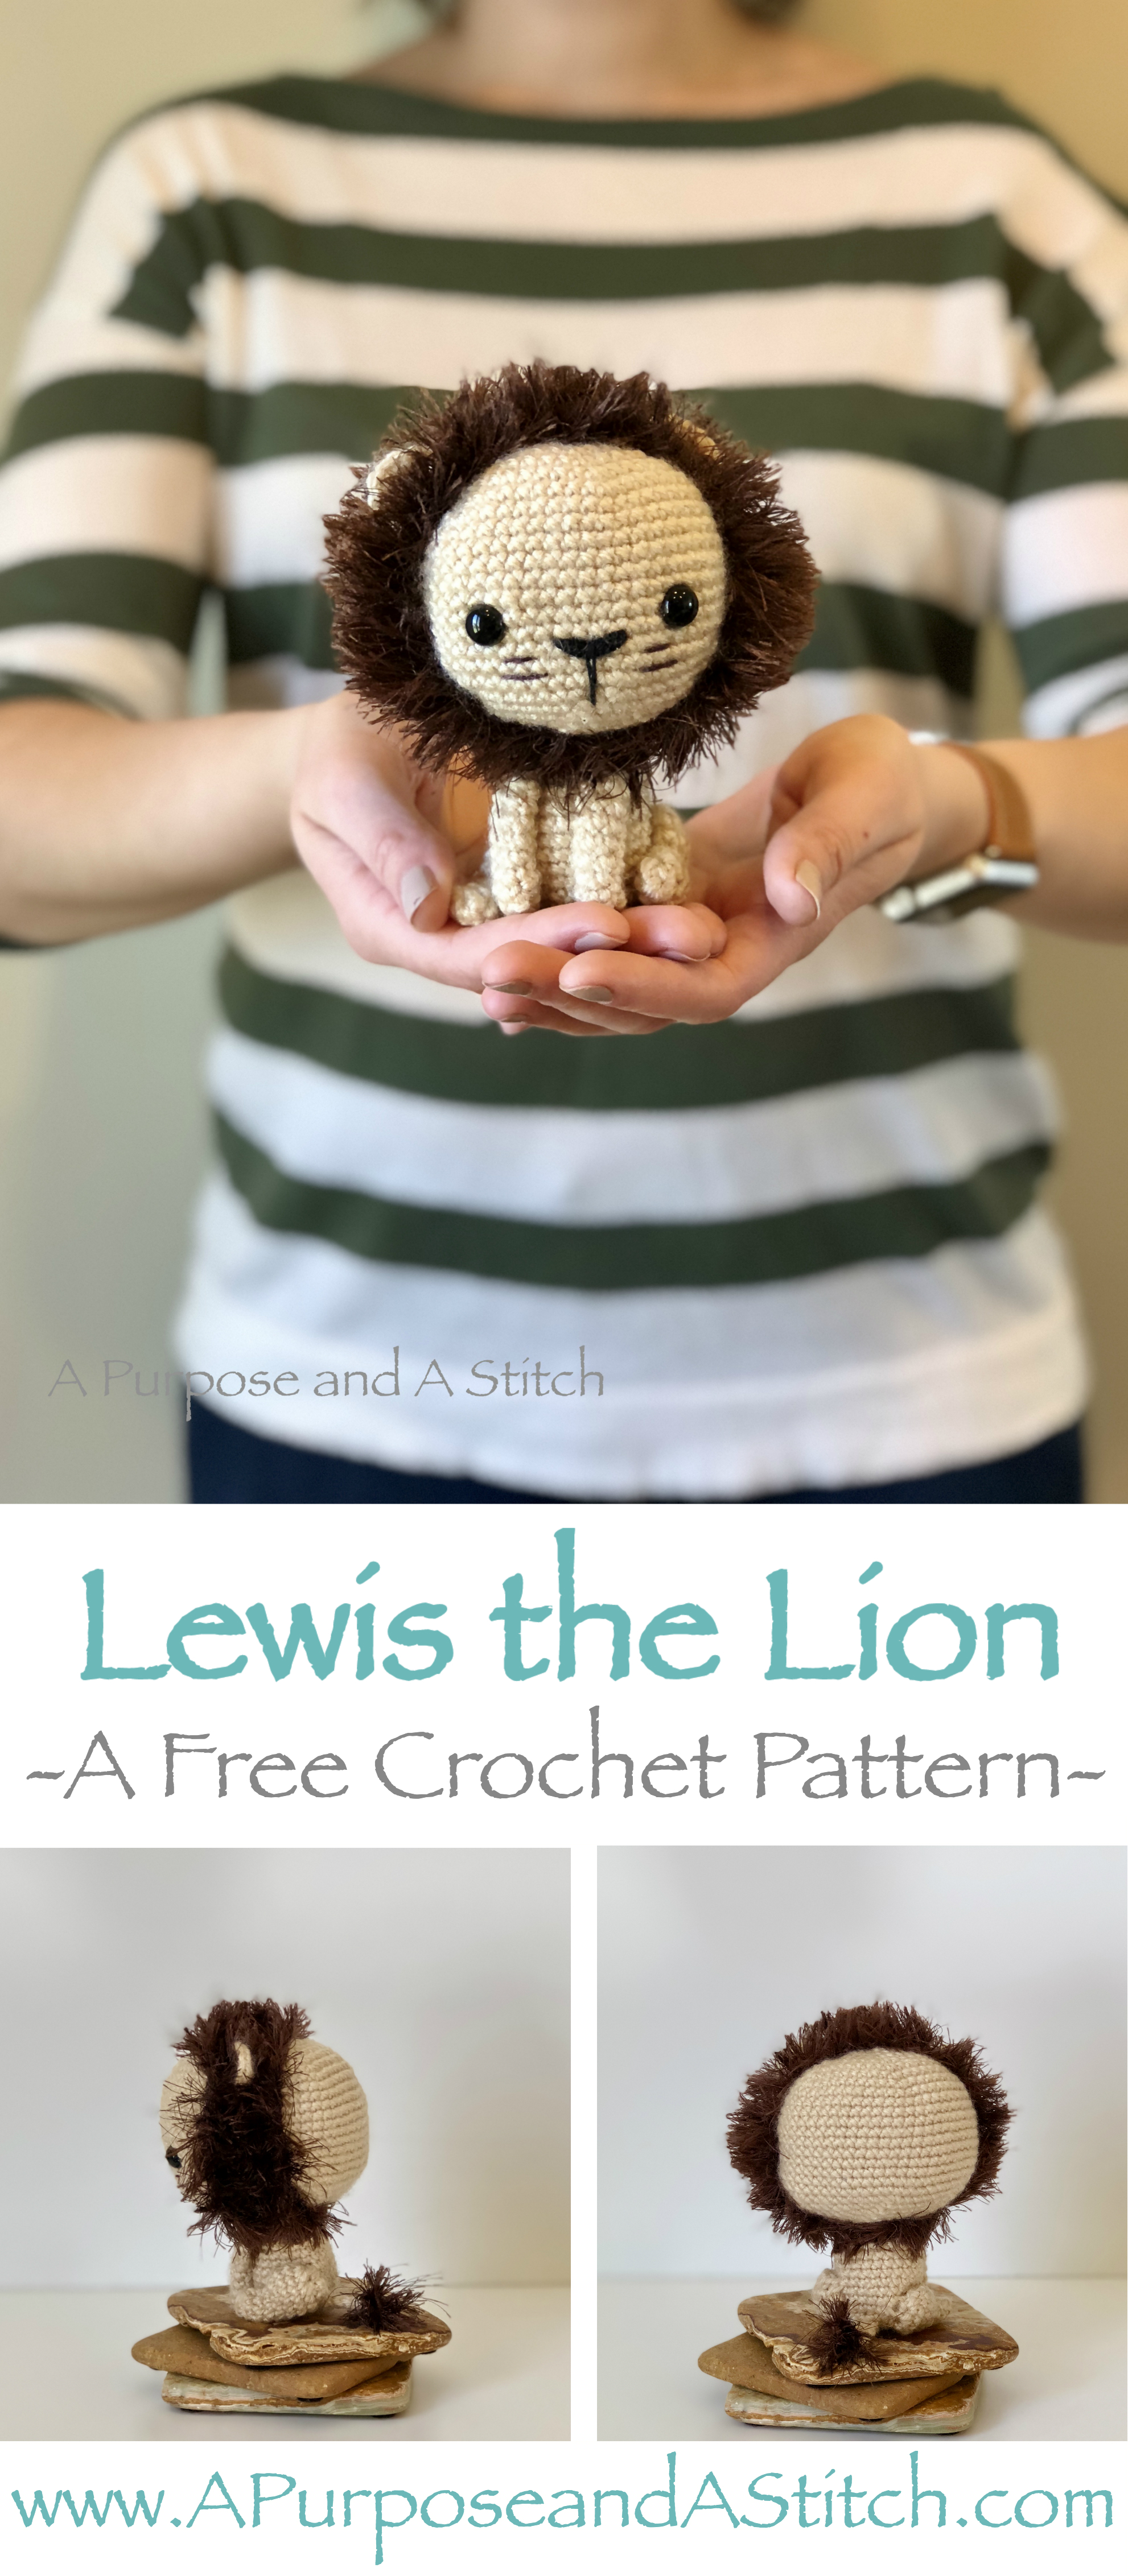
Lewis the Lion- Free Pattern

**Below you will find the step-by-step pictures and instructions for making Lewis, as well as the free written pattern.**
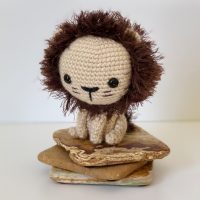
Last year I made it my goal to make Audrey an amigurumi every year for her Easter Basket and knew for this year that I wanted to go with something that had meaning to why we celebrate Easter in the first place. I give you: Lewis the Lion. Gah! I’m totally in love with this little guy.
So why a lion? Jesus is often been referred to as “the lion and the lamb” so in honor of Jesus’ resurrection from the grave, I have made part one of that symbolic title. I’m thinking a lamb is in store for next Easter. 😉
For now I hope you enjoy this super cute and sweet lion friend.

This guy is pretty easy to whip up, the mane being the most time consuming part but I’ll walk you through it all.
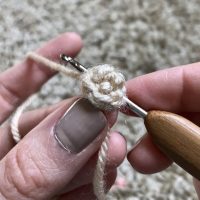
To start, I made the head starting with a magic ring. If you are unfamiliar with how to work a magic ring, I highly recommend this very detailed and helpful video tutorial by June Gilbank here.


Once your magic ring is created you will slowly start to increase each round and then work a few rounds with only single crochets followed by some rounds of slowly decreasing. This will give your lion a nice round head.
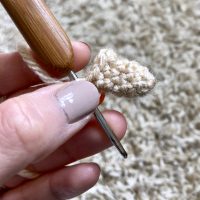
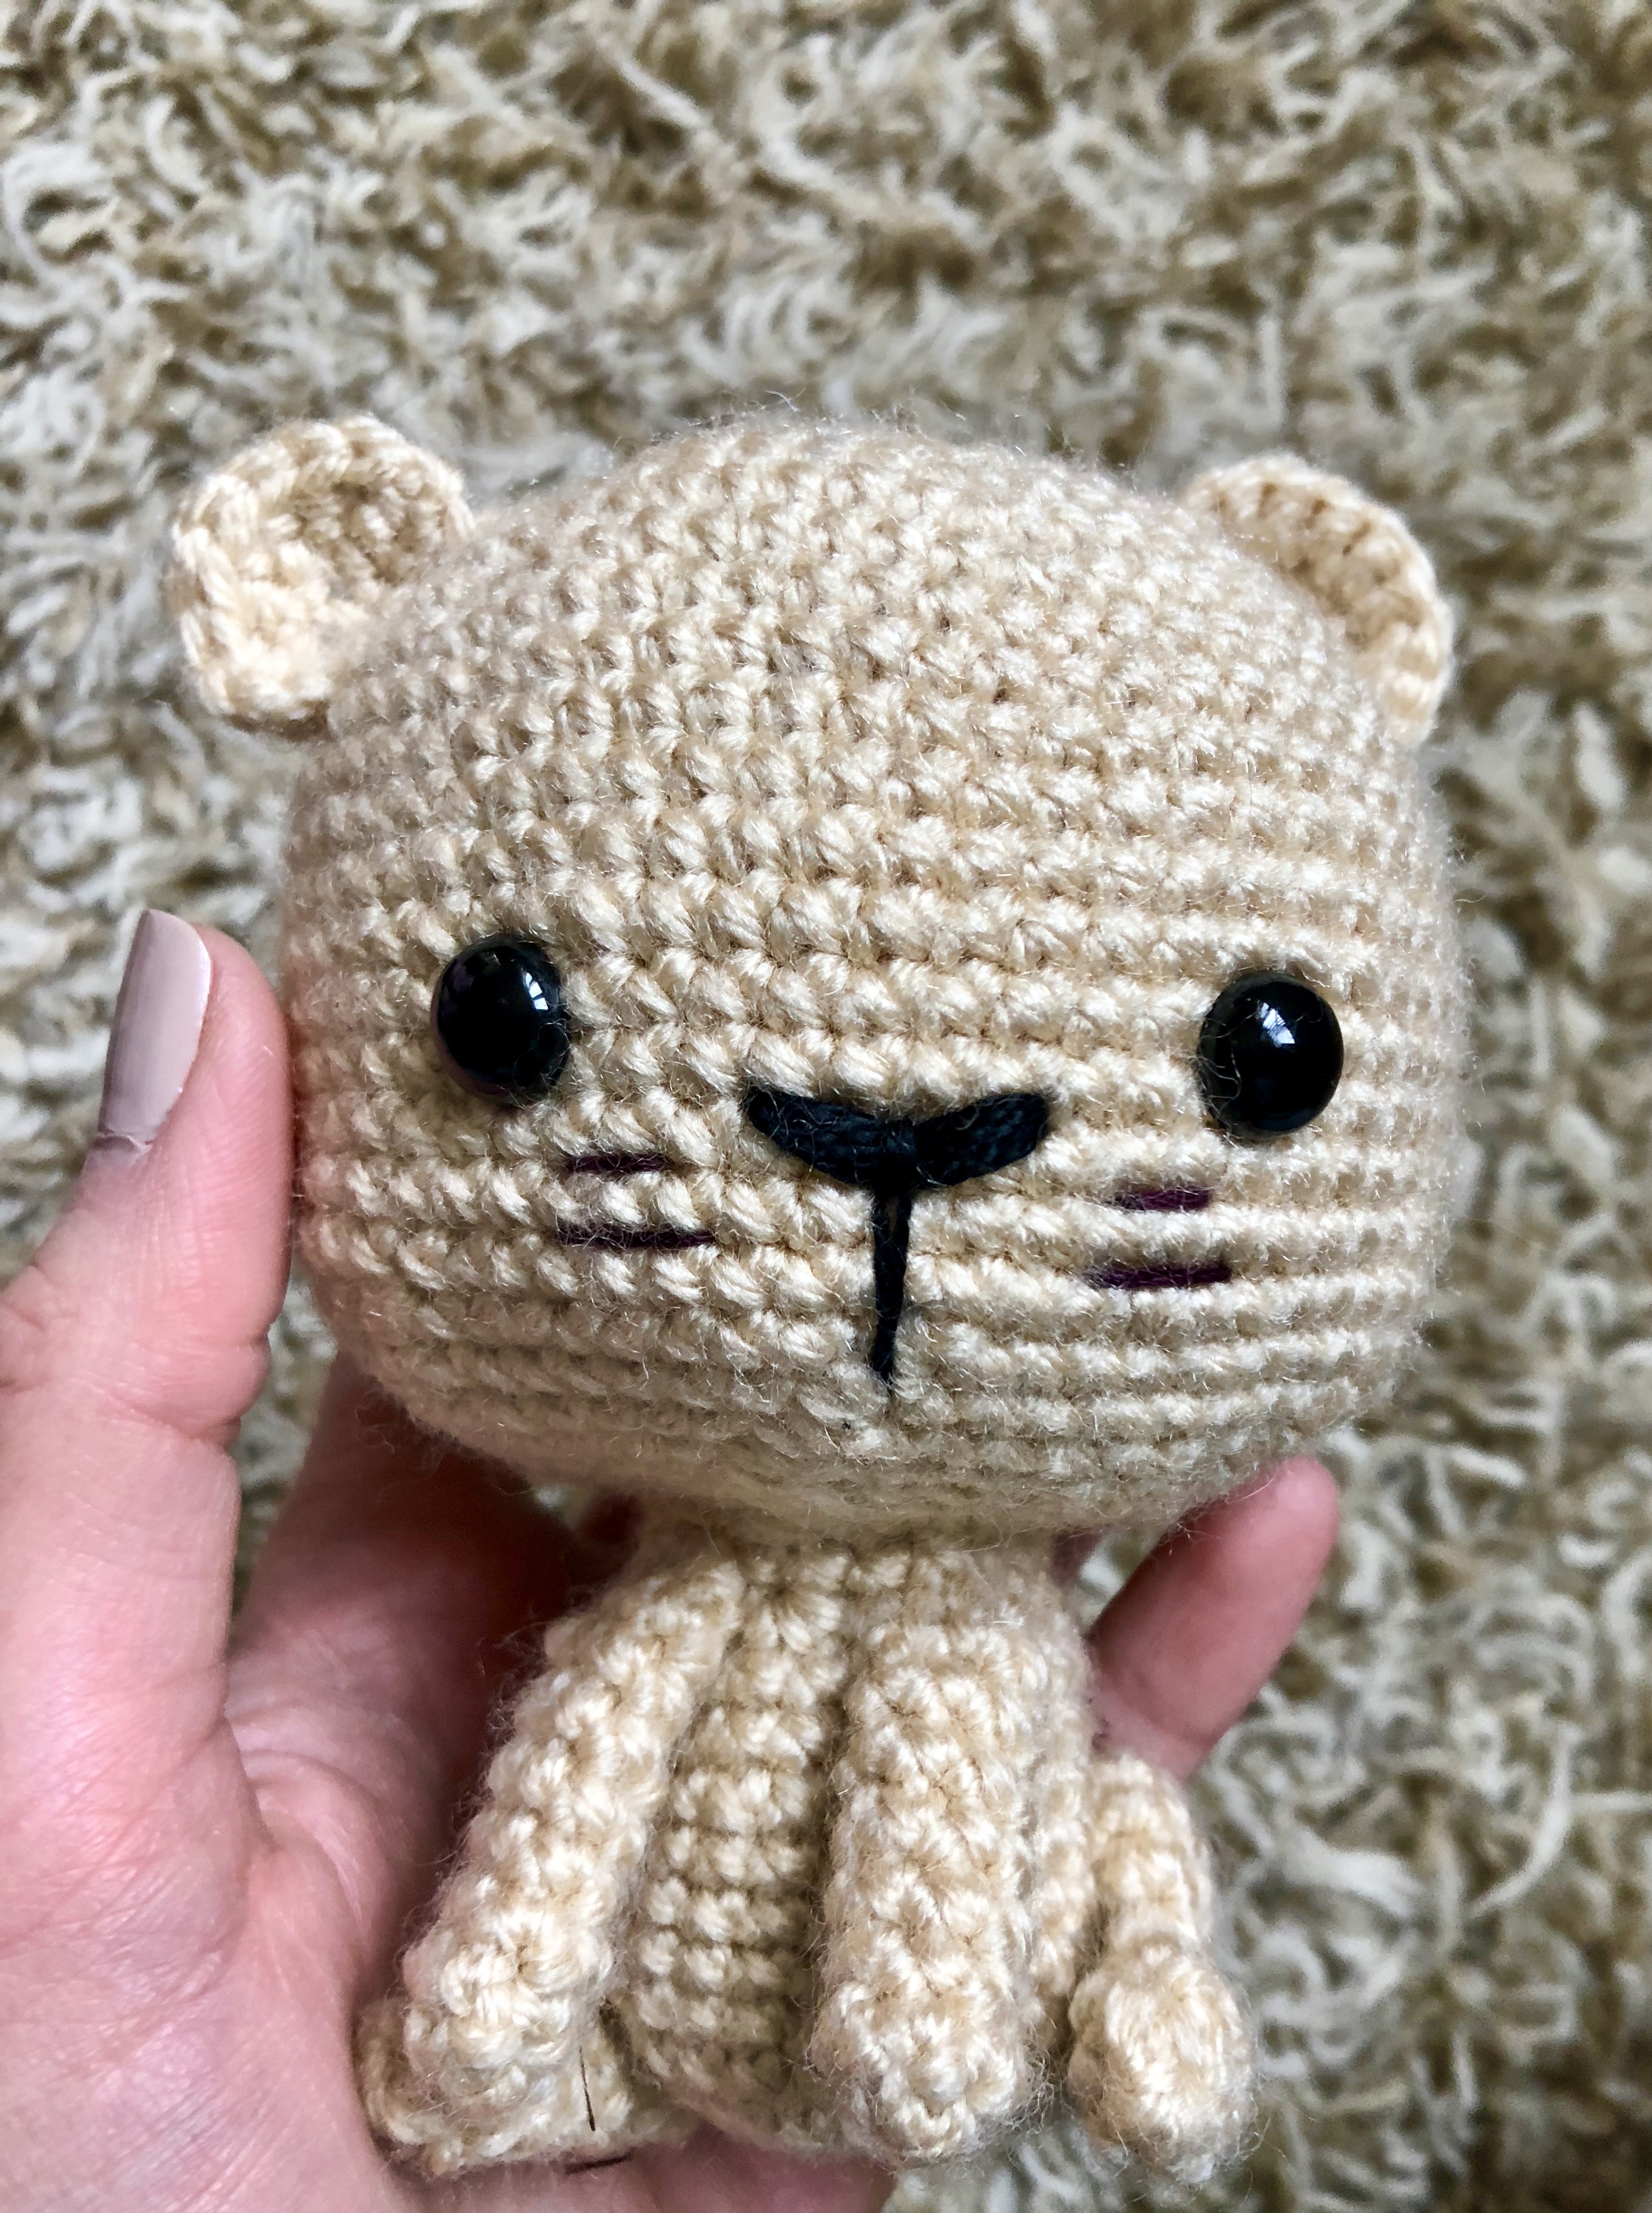
Before you decrease too much, you will want to add the face on. I used safety eyes for the eyes and black embroidery floss for the nose and brown for the whiskers.

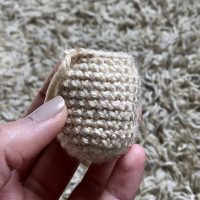
After completing the head, you will begin working the body. Just like you did with the head, you will begin with a magic ring and slowly increase, followed by several rounds of single crochets only to gain some height making a tube shape.

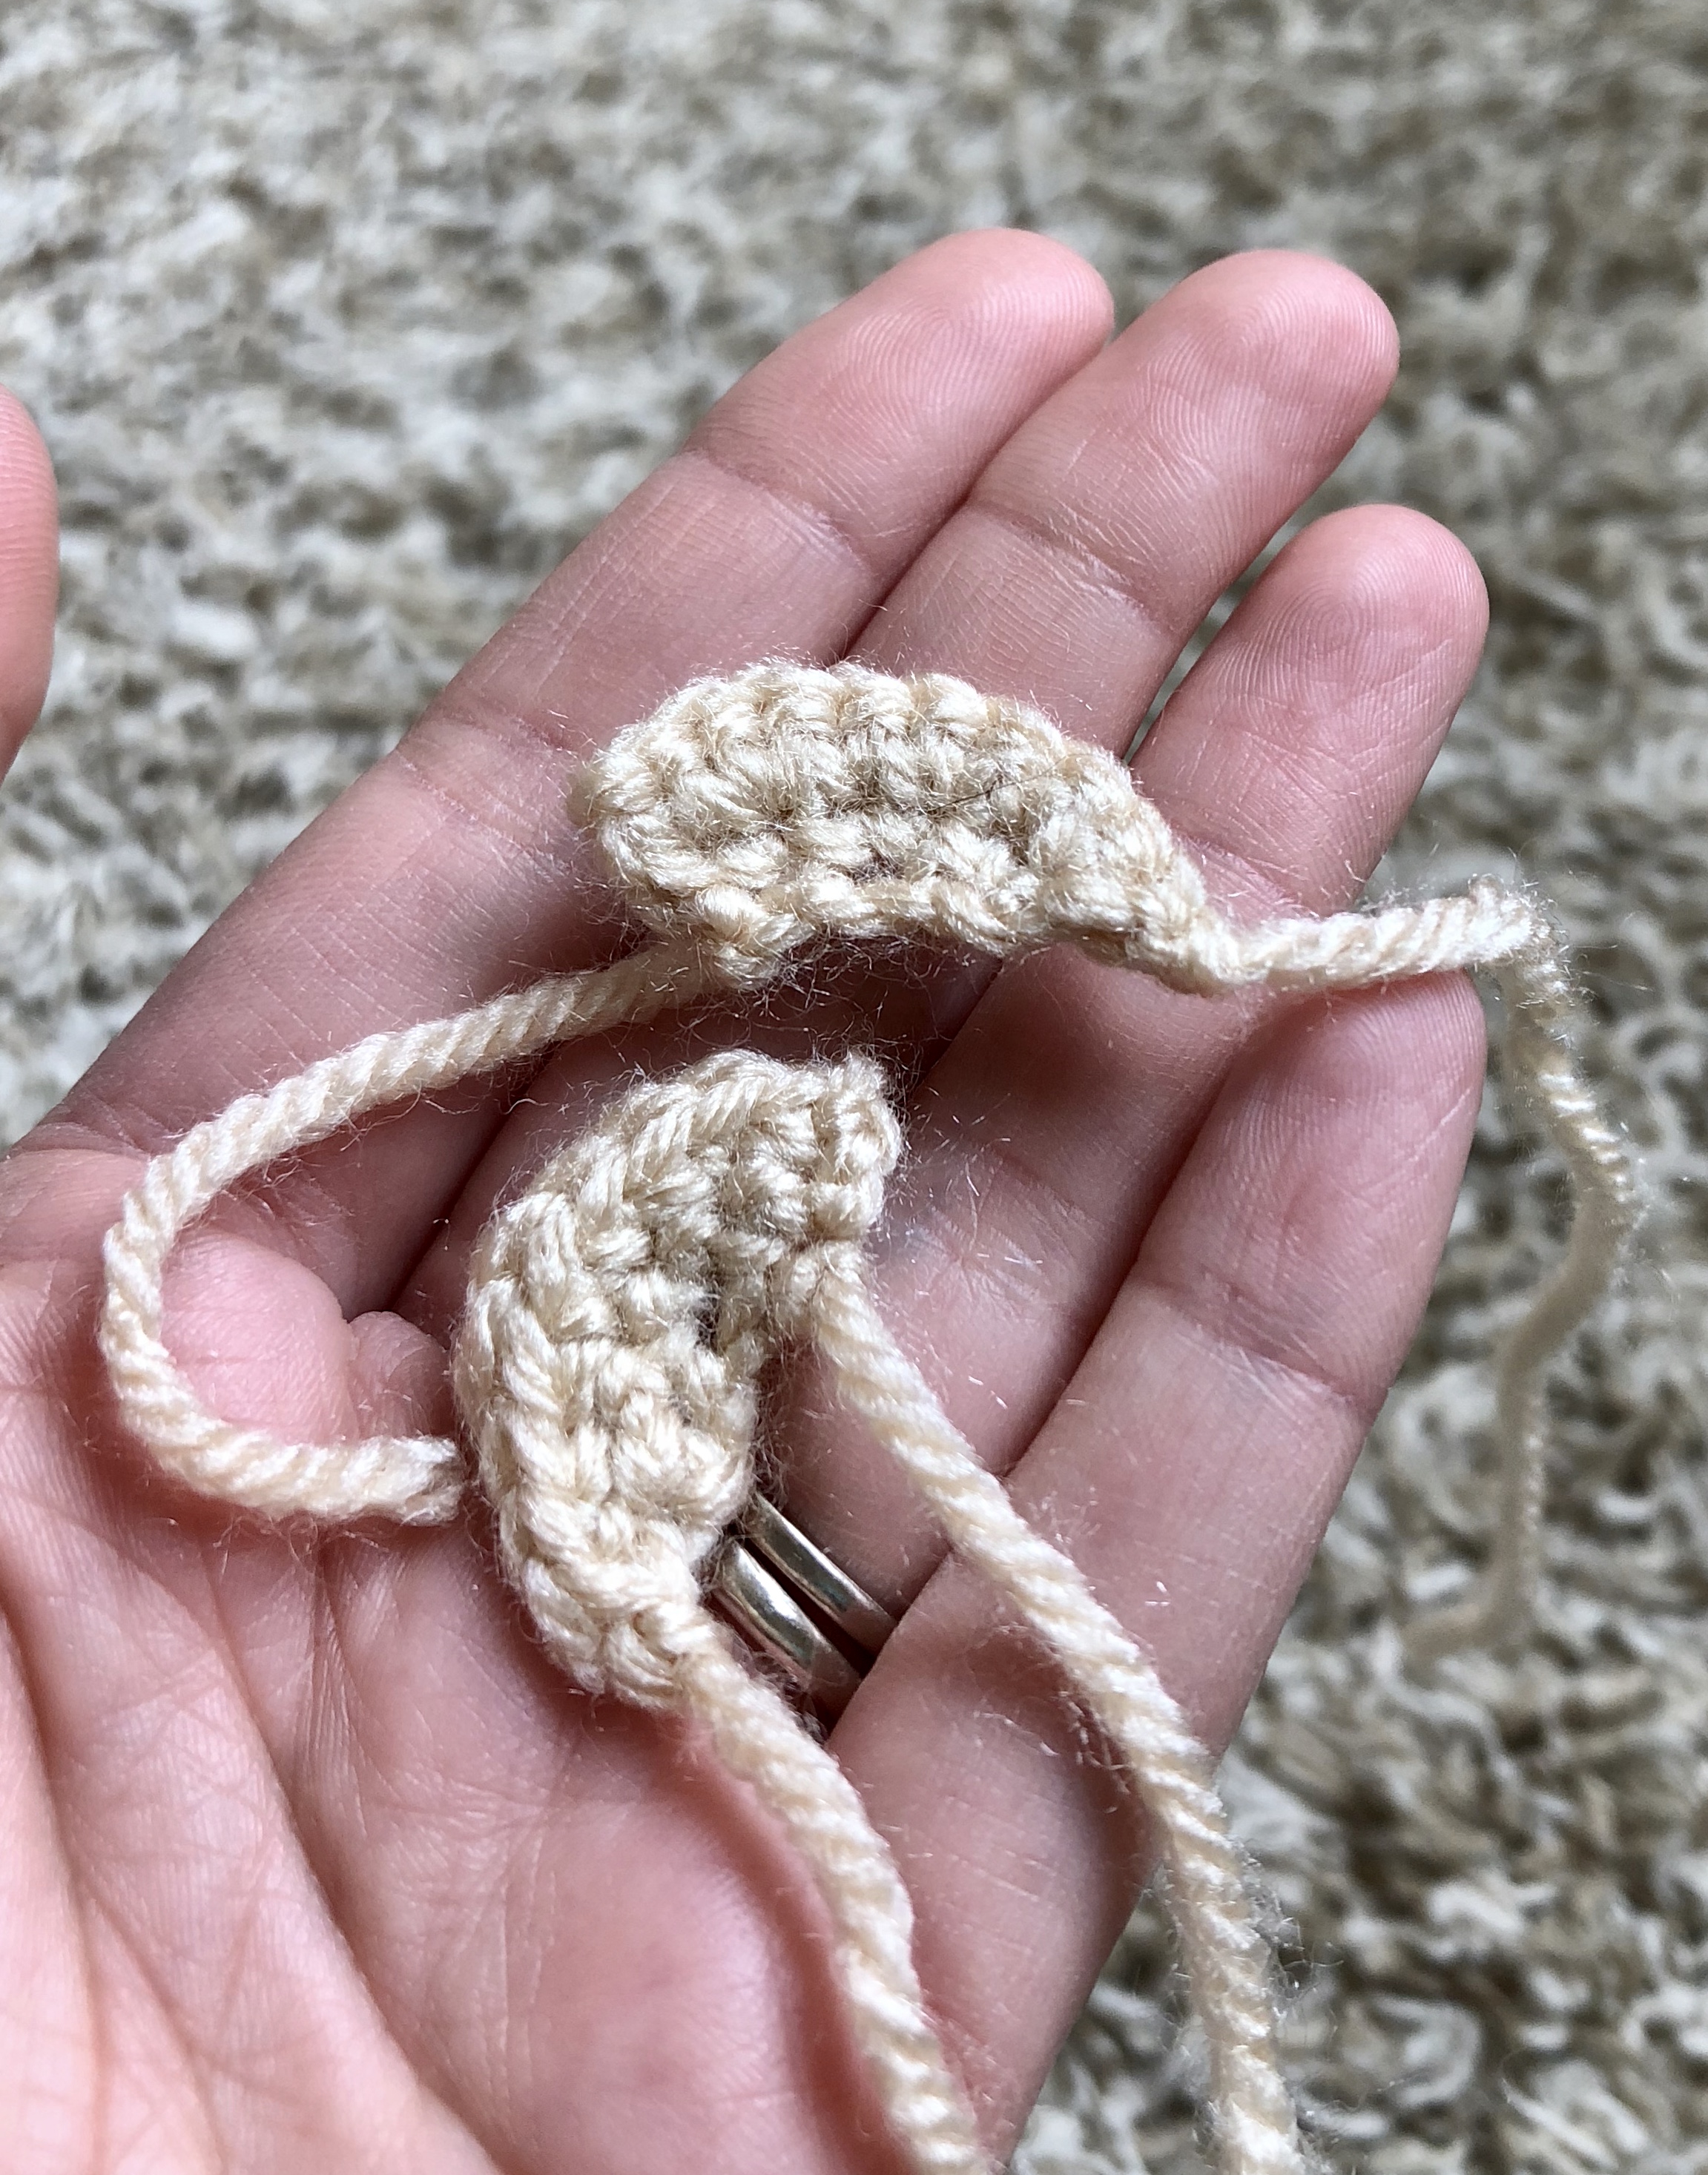
Once the body is completed, you will begin to make your appendages. The front legs are simple, starting out with more magic rings and simply working up for length.


The hind legs are a little more complex, but you will also begin those with the magic ring. After a few rounds, you will start to increase across the top to give more of a hip look.


From here you will make your ears. Those are just a few rows high with slow increases to create a half circle.
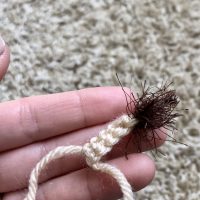
The last piece to make is the tail which is just a few chains, and one row of single crochets. At the very end of the tail you will add in some eyelash yarn or embroidery floss to give a fluffy finish.


Once all your pieces are made, you will begin assembly. I added on the front legs to the body before attaching the head so that the head would not get in the way of adding them on later. Once the front legs are on, you can pretty much assemble in whatever order works best for you. I added on the head next, followed by the ears, hind legs and tail.

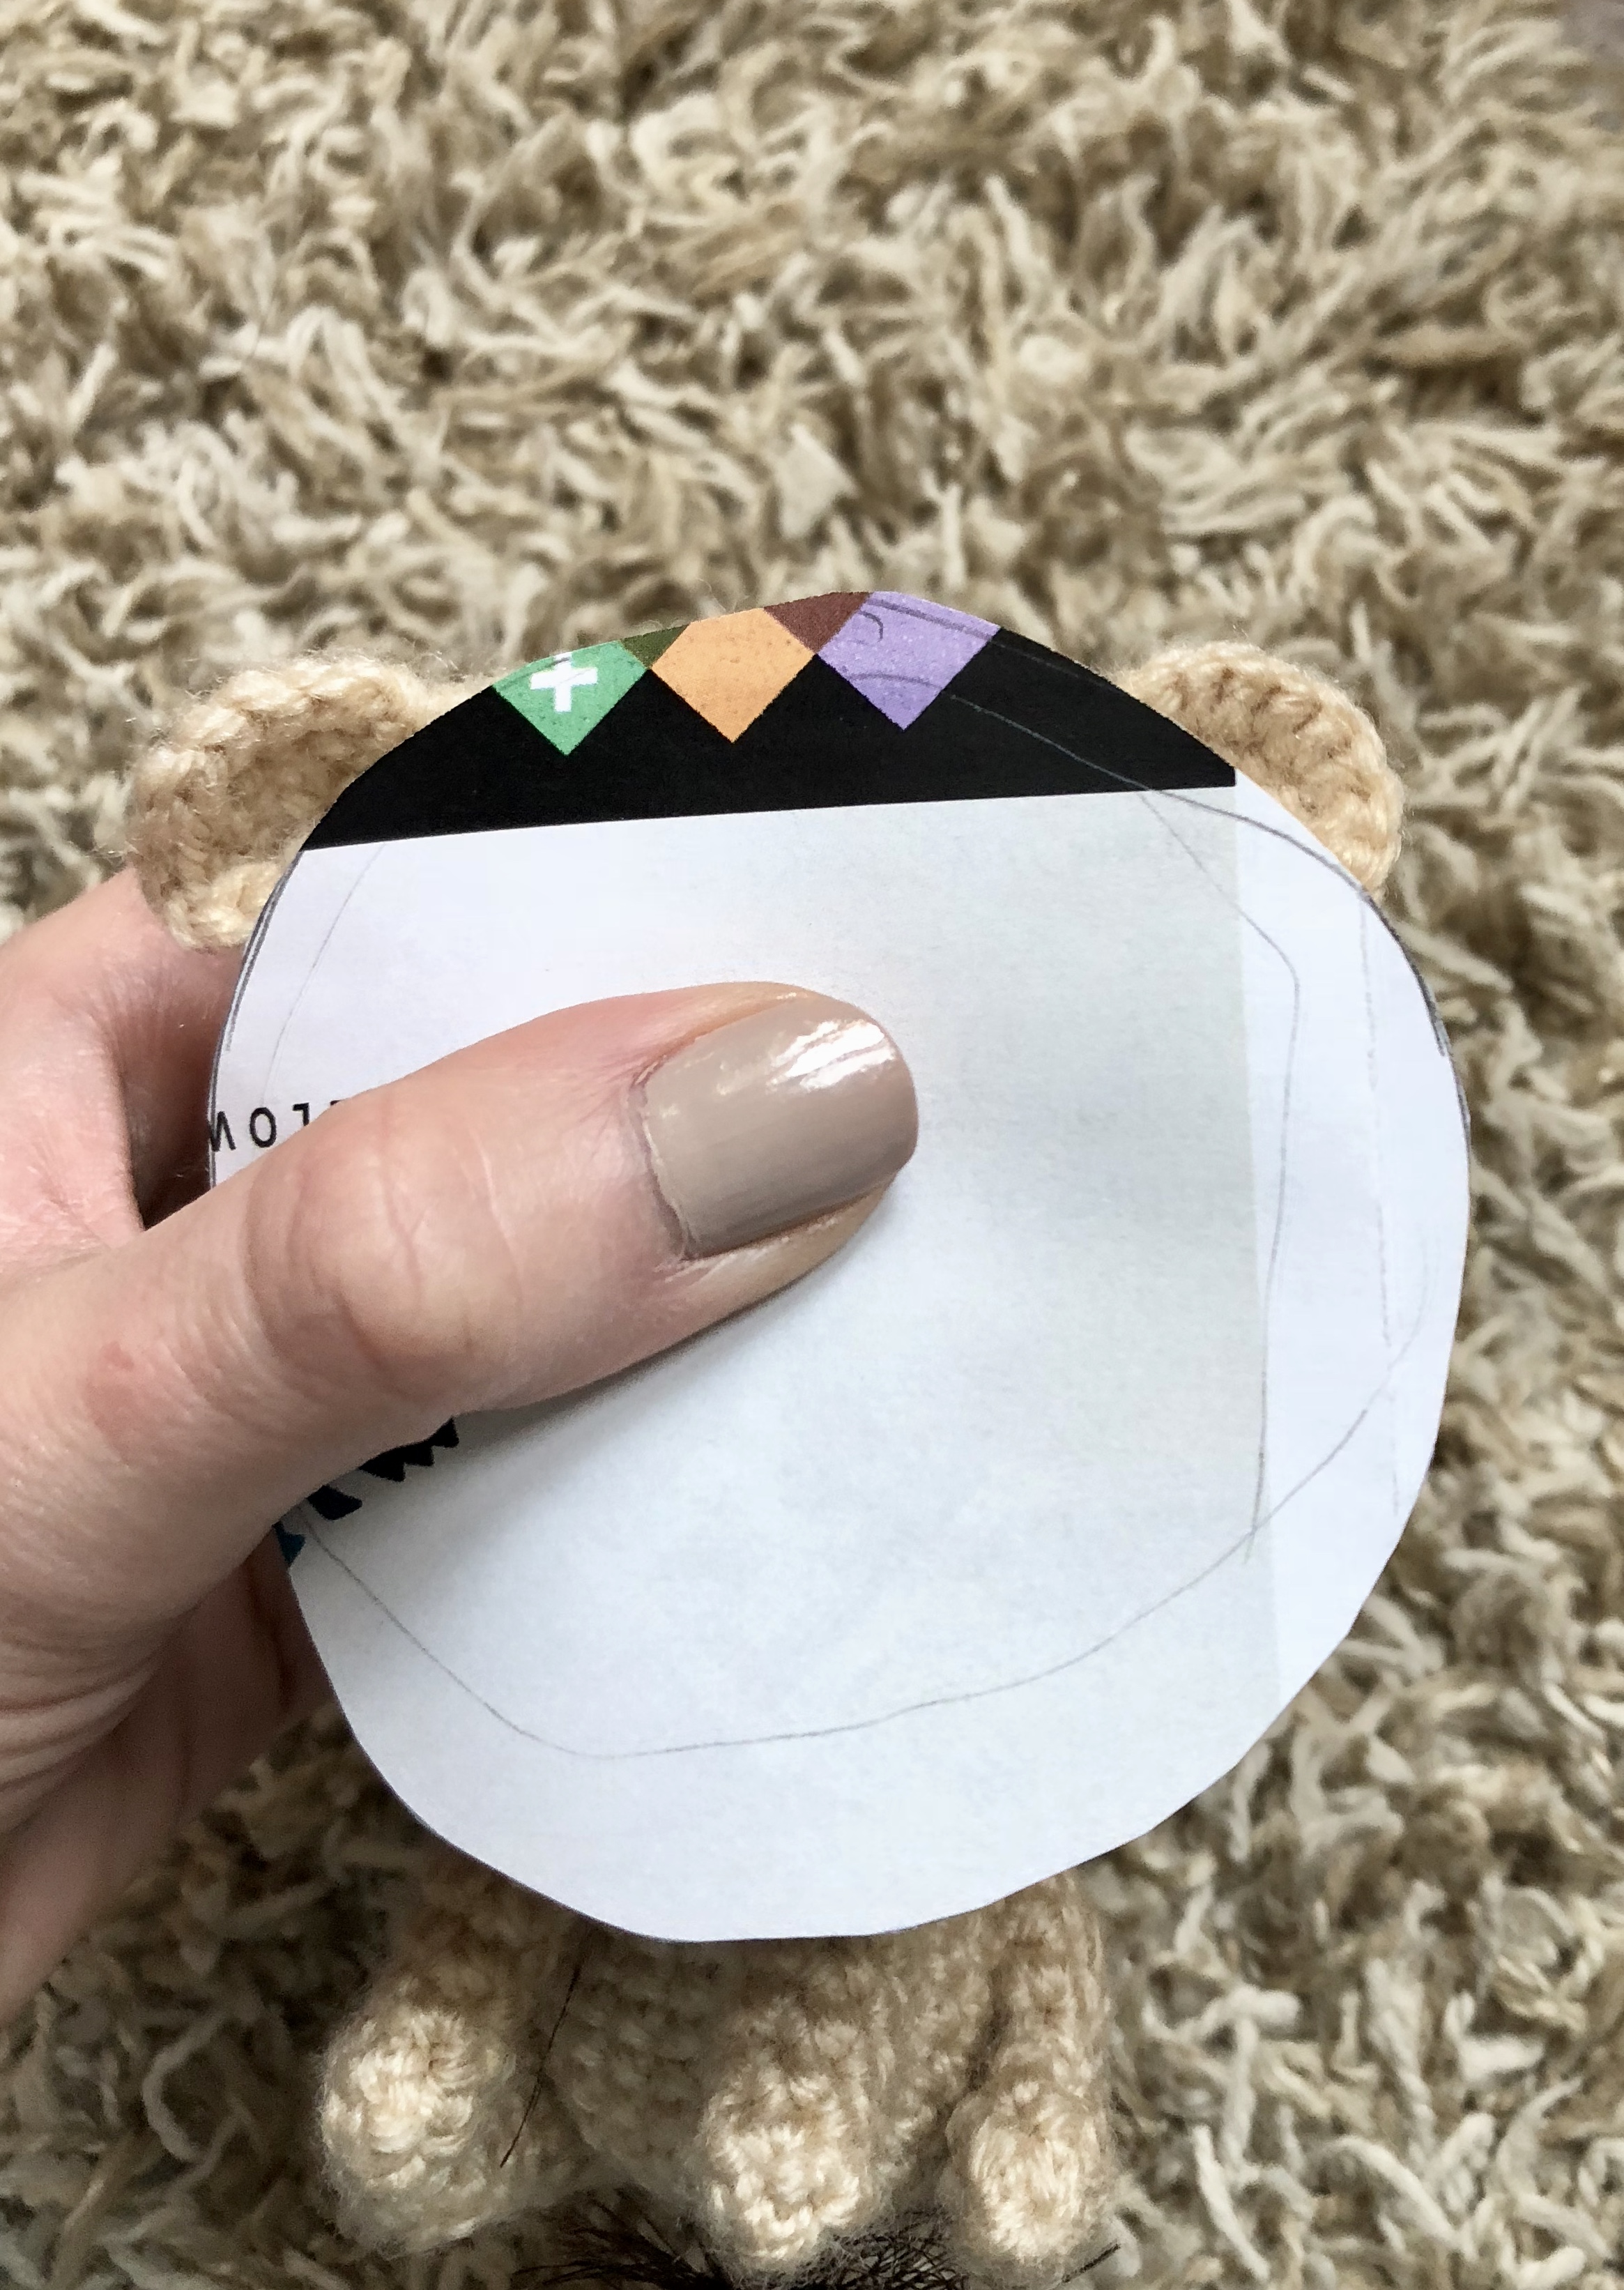
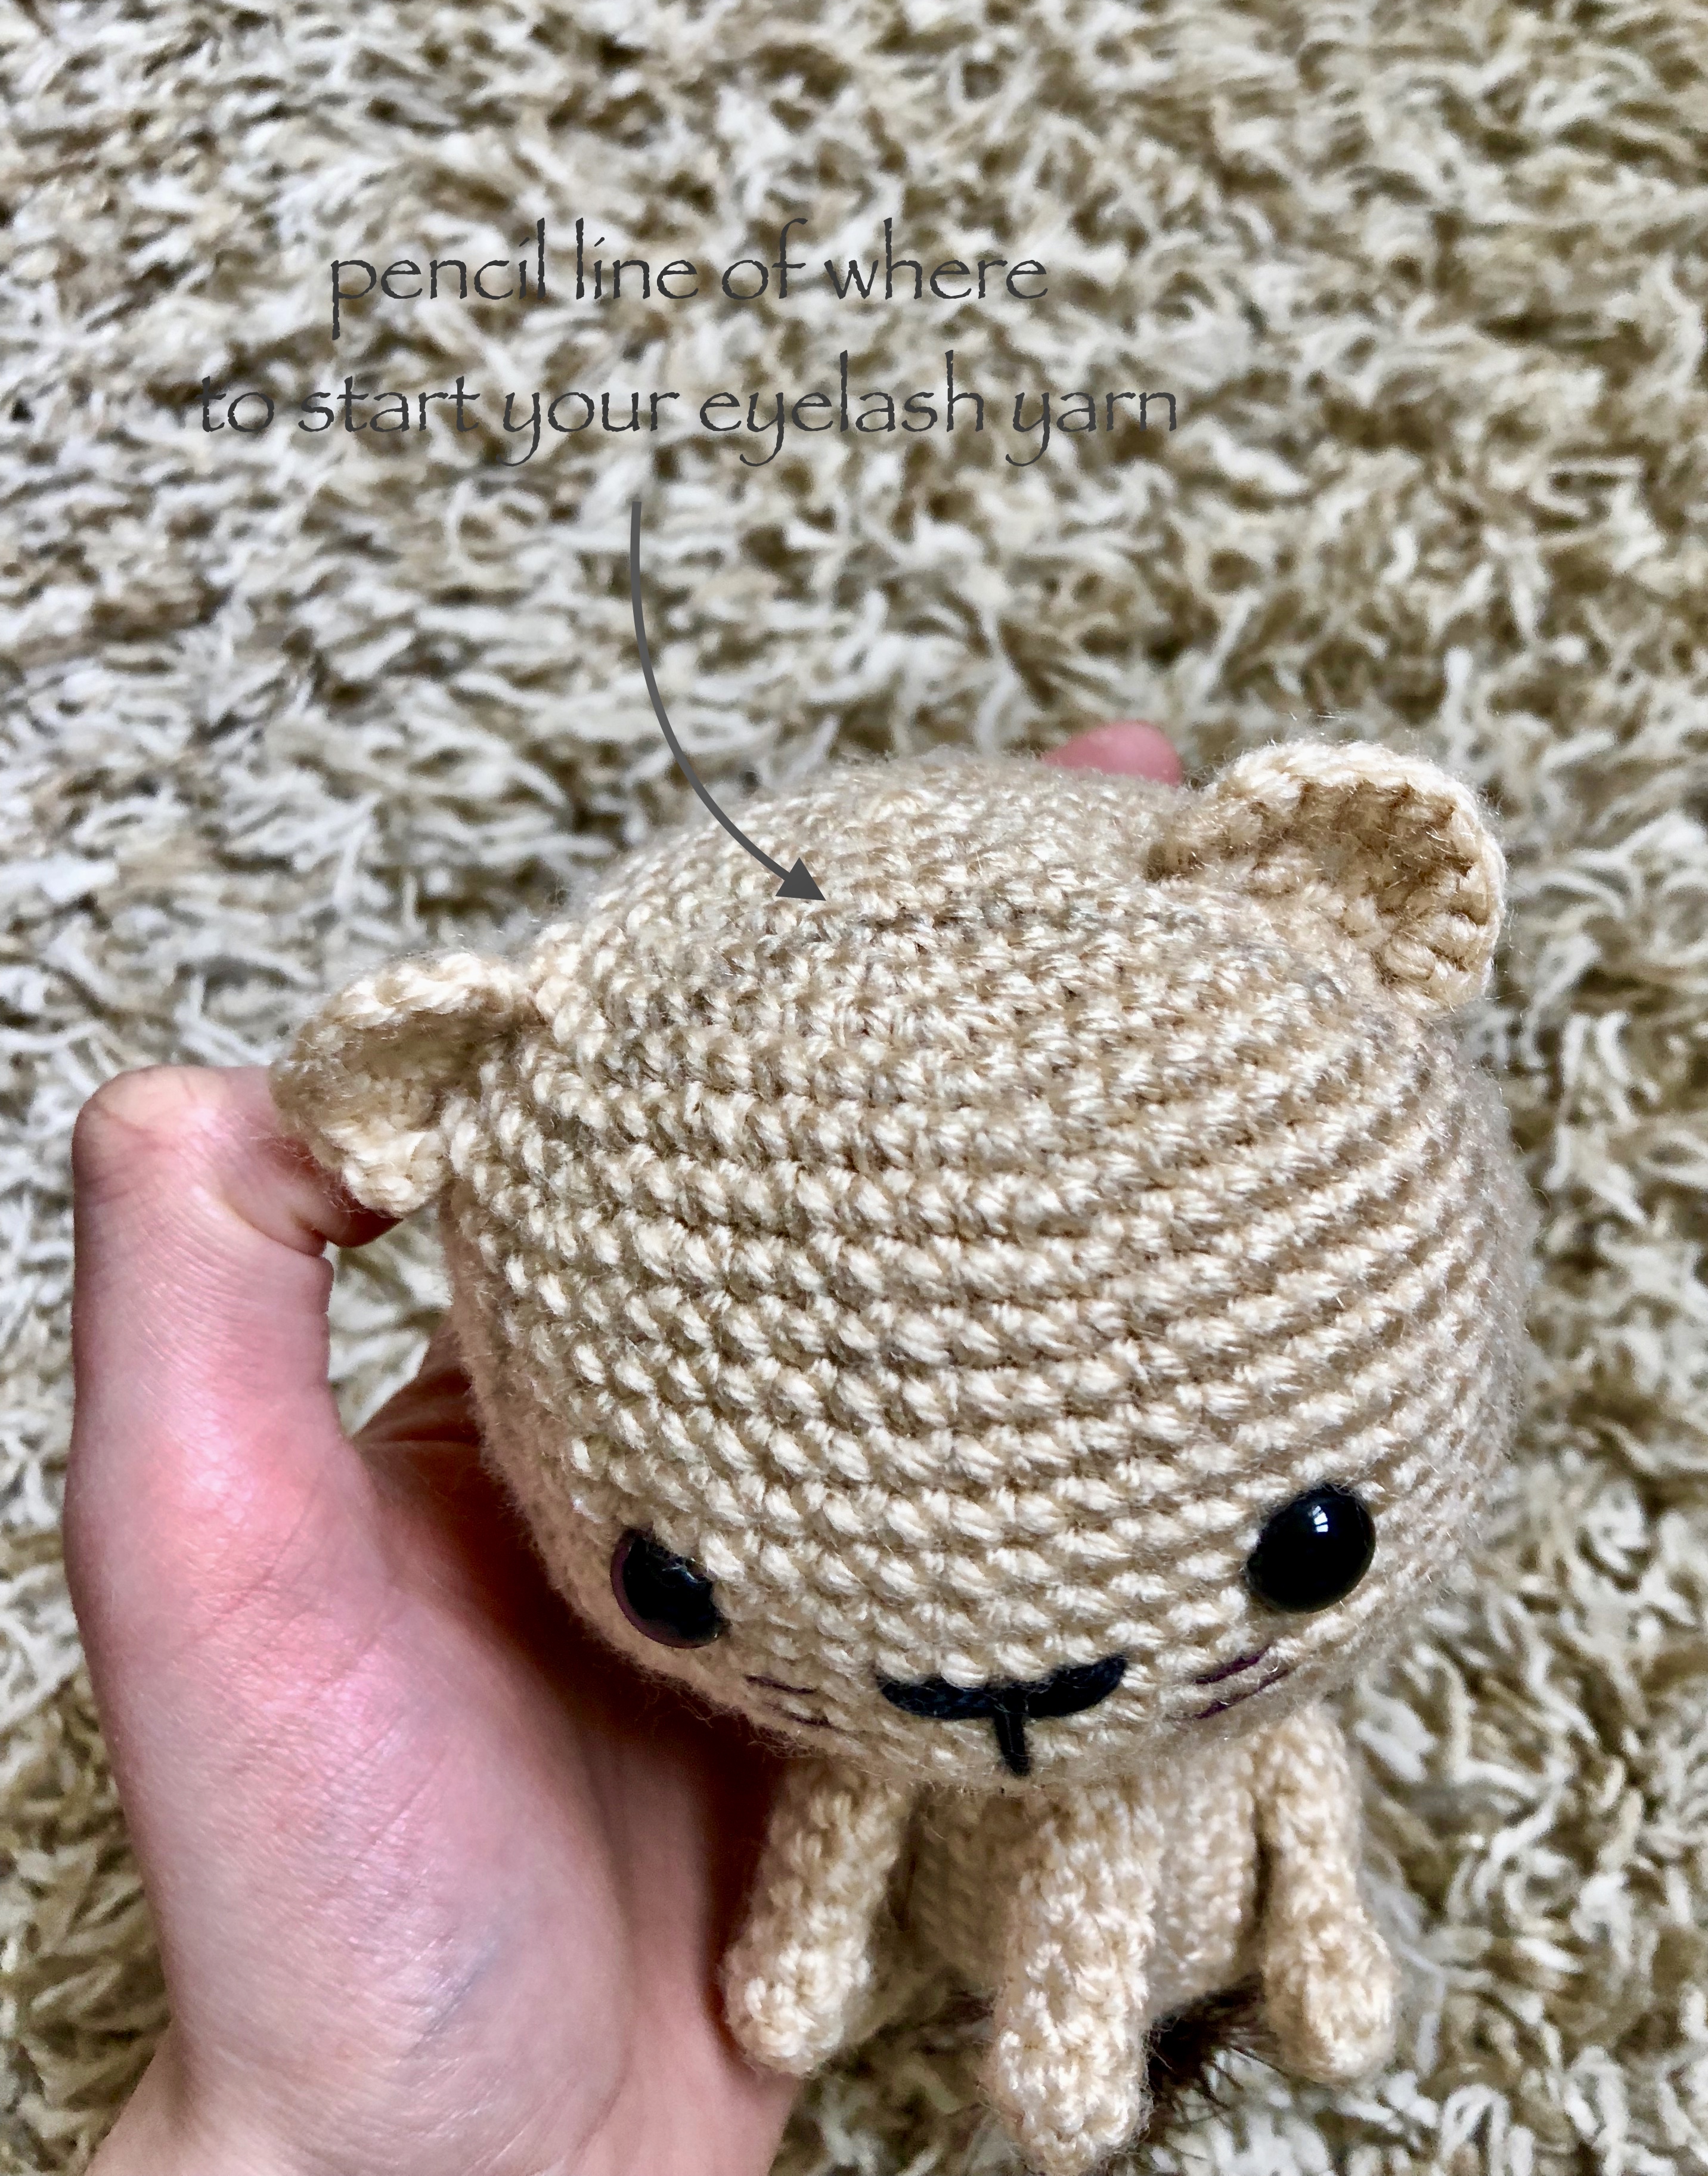
Lewis is almost done, now all he needs is a mane. Before I started working the mane, I used a pencil to lightly trace where I wanted the first round of eyelash yarn to go. This helped me to keep a nice and circular pattern since you will be working perpendicular to the rounds of the head. Once you know where you will be working, you will use your eyelash yarn to begin working single crochets over the head into the single crochets of the head.
I worked 4 rounds of eyelash yarn around but you could certainly keep going if you want the whole back of the head to be covered in the mane.

After fastening off the eyelash yarn, I used a dog slicker brush to brush out the mane. This will help grab up any fibers that might be trapped, and give a smoother and fuller look to the mane. I then gave him a nice haircut and trimmed the mane so that it was all an even length.

The exact pattern for Lewis can be found below:
What you need
2.75 mm crochet hook
Tan medium weight (4) yarn
Brown eyelash yarn- approxima
2 10MM safety eyes
Black embroidery floss
Brown embroidery floss
Dog slicker brush
Fiber Fill
My Amazon Picks
Completed Measurements
11″ wide around the head
5″ tall
Abbreviations Used
sc: single crochet
sc2tog: single crochet two together (aka decrease)
ch: chain
Special Stitches
Increase: single crochet 2 into one stitch
Decrease: single crochet 2 together -insert hook, yarn over, pull up, insert hook into next stitch, yarn over pull up, yarn over and pull through all three loops on hook.
Pattern for the Head
*Please note that this entire pattern is worked in continuous rounds (vs. joined rounds)*
Round 1: work 6 in a magic ring
Round 2: sc 2 in each around (12)
Round 3: *sc, increase*, repeat from * around (18)
Round 4: *sc 2, increase*, repeat from * around (24)
Round 5: *sc 3, increase*, repeat from * around (30)
Round 6: *sc 4, increase*, repeat from * around (36)
Round 7: *sc 5, increase*, repeat from * around (42)
Round 8: *sc 6, increase*, repeat from * around (48)
Round 9: *sc 7, increase*, repeat from * around (54)
Round 10: *sc 8, increase*, repeat from * around (60)
Round 11-22: sc around (60)
Round 23: *sc 8, decrease*, repeat from * around (54)
Round 24: *sc 7, decrease*, repeat from * around (48)
Round 25: *sc 5, decrease*, repeat from * around (42)
Add safety eyes between rounds 17 & 18. Embroider on face. I added nose between rounds 18 & 19 four single crochets wide. Begin to stuff with fiber fill.

Round 26: *sc 4, decrease*, repeat from * around (36)
Round 27: *sc 3, decrease*, repeat from * around (30)
Round 28: *sc 2, decrease*, repeat from * around, fasten off, leaving long tail for sewing. Firmly stuff with fiber fill. (24)
Pattern for the Body
Round 1: work 6 in a magic ring (6)
Round 2: sc 2 in each around (12)
Round 3: *sc, increase*, repeat from * around (18)
Round 4: *sc 2, increase*, repeat from * around (24)
Round 5-13: sc around
Round 14: *sc 2, decrease*, repeat from * around, fasten off (18)
Pattern for Front Legs (make 2)
Round 1: work 6 in magic ring
Round 2-8: sc around, fasten off leaving long tail for sewing. (6)
Pattern for Hind Legs (make 2)
Round 1: work 6 in a magic ring
Round 2-4: sc around (6)
Round 5: increase in next 3, sc 3 (9)
Round 6: sc, increase in next 3, sc 5 (12)
Round 7-8: sc around (12)
Round 9: sc2tog around, fasten off leaving long tail and weave in ends. (6)
Pattern for the Ears (make 2)
Row 1: ch 4, turn
Row 2: Starting in second ch from hook, sc 2 in each , turn (6)
Row 3: ch 1, *sc, increase*, repeat from * across, fasten off leaving long tail for sewing. (9)
Pattern for the Tail
Row 1: ch 6, turn
Row 2: sc 5, fasten off. Pull some brown embroidery floss or strands of eyelash yarn through the turning ch at the end and tie in place. Trim the eyelash yarn to your liking.
Assembly
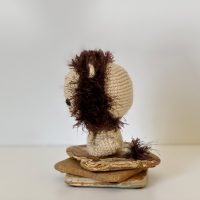
Fasten front legs to the front of the body so that the top of the legs are lined up with the 3rd row down from the top of the body. I also recommend making sure that the front legs are secured towards the bottom of the body as well to help Lewis stand better on his own. Firmly stuff the body with fiber fill. Attach the head to the top of the body, next attach the hind legs on either side of the body towards the back. After that, you will attach the ears to either side of the top of the head. Last you will attach the tail towards the base of the body in the center of the back.
The first step in adding the mane is to designate where you will start the first round of eyelash yarn. I used a pencil and round piece of paper to lightly trace out the face of my lion. Since you are working perpendicular to the rounds of the head, this will help to ensure a nice round mane. Next you will pick up your eyelash yarn towards the bottom of the head in front of the body. From here you will pick up single crochets (working into the single crochets of the head) every few stitches, working around the head in a circular motion following your pencil line. I worked 2 rounds of eyelash yarn in front of the body and ears.


I then continued working with the eyelash yarn behind the ears and towards the back of the body in more of a “U” motion, stopping when I hit the body and turning to continue working the next row. The last round I did with eyelash yarn I finished working a circle behind the body. You may continue working the eyelash yarn to completely cover the back of the head if you choose, but I stopped here.
Use the dog slicker brush and brush out any fibers from the eyelash yarn that might be pinched underneath, this will also give a smoother look to the mane. Try to avoid brushing the ears or any part showing of the head as this will agitate the fibers of your tan yarn as well. From here you will give your lion a haircut. Trim the fibers of the mane down so that it is all even and the length you like.
And there you have it, your very own Lewis the Lion. I hope you enjoyed making him as much as I did!

Happy Crocheting!
Thank you so much, this lion is adorable!
You’re so welcome! Enjoy! 😊