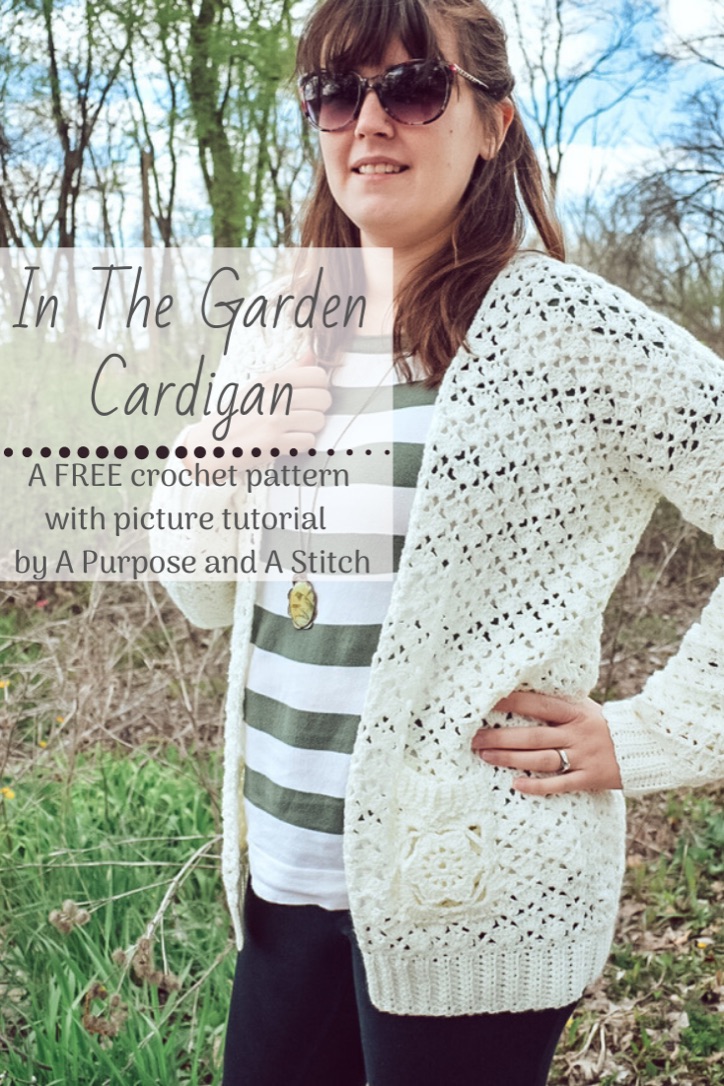
In The Garden Cardigan- Free Pattern

About The Pattern
If you have any troubles along the way in making this pattern, I have put together a step-by-step picture tutorial for you on our blog post that you can find here.
To get the inexpensive, large font PDF version of that pattern, you can purchase it directly from our site here, from our Etsy shop here, or our Ravelry shop here. This PDF comes pre-highlighted, with different colors marking different sizes, making following the pattern even easier. It also comes with some step by step pictures, notes for comprehensive sizing and is easily printable.
And did you know that 50% of all of our PDF pattern sales are donated to help eradicate human trafficking and modern day slavery? You can learn more about that here.
Pineapple and Pine Designer Spotlight
For today (08/13/2020) only, we are being featured as the designer of the day over on Pineappleandpine!
To help celebrate this fun event, we are offering the PDF for this pattern for 50% off across all our stores (our site, Etsy, and Ravelry)! Just use coupon code PandPfeature at checkout, but hurry, the sale is only good for today!
About The Design
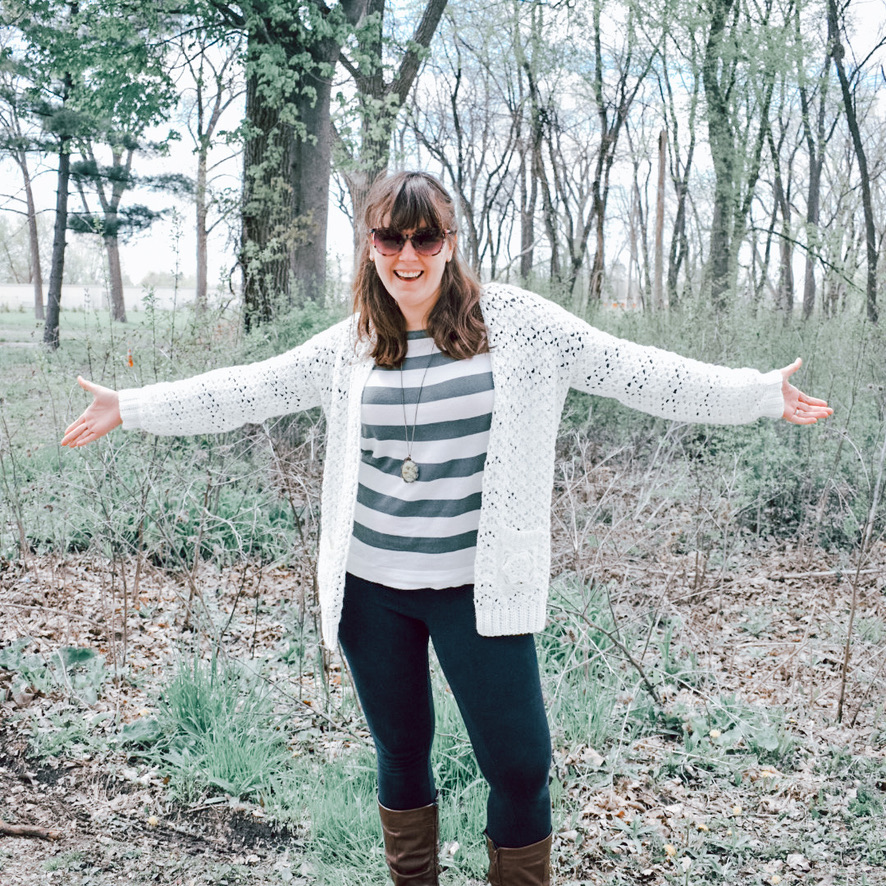
I am almost always wearing a cardigan sweater, or as my husband affectionately calls them, a “granny sweater”. Unless I am outside in the middle of the day in summer, I’m usually pretty cold. Or even if I’m not cold, I’m not a huge fan of a slight breeze on my arms… I guess I’ve had one too many run-ins with bugs crawling on me that the slightest thing tingling my arm puts me in a total tizzy. lol!
The problem with most of my cardigans though, is that most of them are blue. It may seem like a silly reason to set out to make a cardigan, but I also really love designing garments, and couldn’t get the idea of a breezy, white cardigan out of my head.
After designing my Cobblestone Cardigan (coming this fall), I knew I wanted this cardigan to be a bit more flowy. The Cobblestone is fantastic for winter months, but a bit much for my summer nights wearing of cardis. I really love my Mary’s Cardigan, so I knew I wanted something with similar fit, but with more details.
So I set out to find the perfect stitch, and I did in my Big Book of Stitches. It’s called the “flower garden” stitch (hence the name of this cardigan), and I just love the beauty obtained from repeating shell and V stitches!
I also wanted this pattern to be on the easier side of things (rather than more advanced like some of the raglans I’ve been designing as of late), so I went with a panel style design.

The final thing to mention is the pocket. Have you seen the pocket?!? After the immense popularity of the cabled pocket pattern of the Cobblestone Cardigan, I knew I wanted to make another detailed pocket for this cardigan. I settled on using our Petal Perfect Granny Square (perfect for this granny sweater, haha!) as the base, with some ribbing details at the top. While the granny square will not be the best for holding small item (lots of little holes), it works perfect for phones, which is what I use my pockets for anyways. But if you’re concerned, and would rather have a more functional pocket, I have also included a pocket out of the Flower Garden stitch pattern as well.
| What You Need |
|
| Approximate Completed Measurements |
 |
| Gauge Used |
| 18 sts= 4” 8 rows= 4” |
| Gauge Pattern |
| Foundation: Ch a multiple of 8 plus 5, dc in 5th ch from hook; *sk 3 chs, Shell st in next, sk 3, V st in next, repeat from * across, turn. Row 1: Ch 3, dc 2 in ch-1 sp, *sk 3 dc, V st in next dc, Shell st in next ch-1 sp, repeat from * to last st, dc 3 in last, turn Row 2: Ch 4, dc in first st, *Shell st in next ch-1 sp, sk 3 dc, V st in next dc, repeat from * across, turn Repeat rows 1&2 for swatch |
| Ribbing Gauge Used |
| 10 sts= 2” 7 rows= 2” |
| Abbreviations Used |
ch= chain hdc= half double crochet blo= back loop only pu= pick up [stitch] sc= single crochet sk= skip [stitch] ss= slip stitch dc= double crochet Ch-1 sp= chain 1 space fo= fasten off |
| Special Stitches |
| Shell Stitch= dc 5 into designated stitch V Stitch= dc, ch 1, dc |
| Pattern Notes |
|
Back Panel Ribbing Pattern
Foundation: ch 12
Row 1: starting in 3rd ch from hook, hdc in blo across, turn (10)
Row 2-41 (45,49, 53, 57, 65, 67, 71, 75): ch 2, hdc in 1st, hdc in blo 8, hdc in last, turn (10)
Do NOT fasten off
Back Panel Pattern
(continuing from “Back Panel Ribbing Pattern”)
Foundation: turn ribbing lengthwise, ch 1, and pick up 1 sc in the first row and 2 sc in each remaining row across, turn (81, 89, 97, 105, 113, 129, 133, 141, 149)
For sizes XS, S, M, L, XL, 2XL
Row 1: ch 4, dc, *sk 3, shell st, sk 3, V st, repeat from * across, turn (83, 91, 99, 107, 115, 131)
Row 2: ch 3, dc 2, *sk 3 dc, V st, shell st in next ch-1 sp, repeat from * across, dc 3 in last ch-1 sp, turn (81, 89, 97, 105, 113, 129)
For sizes 3XL, 4XL, 5XL
Row 1: ch 4, dc, *sk 3, shell st, sk 3, V st, repeat from * across to last 4 sts, sk 3, dc 3 in last, turn (134, 142, 150)
Row 2- 52 (52, 53): ch 4, dc, *shell st in next ch-1 sp, sk 3 dc, V st, repeat from * across, to lsat V st, dc 3, turn (134, 142, 150) fo leaving long tail
For sizes XS, S, M, L, XL, 2XL
Row 3: ch 4, dc, *shell st in next ch-1 sp, sk 3 dc, V st, repeat from * across, turn 83, 91, 99, 107, 115, 131)
Row 4- 48 (49, 50, 50, 51, 51): repeat rows 2& 3, fo leaving long tail
Front Panel Ribbing Pattern (make 2)
Foundation: ch 12
Row 1: starting in 3rd ch from hook, hdc in blo across, turn (10)
Row 2-19 (21,23, 25, 27, 31, 33, 35, 37): ch 2, hdc in 1st, hdc in blo 8, hdc in last, turn (10)
Do NOT fasten off
Front Panel Pattern (Make 2)
(continuing from “Front Panel Ribbing Pattern”)
Foundation: turn ribbing lengthwise, ch 1, and pick up 1 sc in the first row and 2 sc in each remaining row across, turn(37, 41, 45, 49, 53, 61, 65, 69, 73)
For sizes XS, M, XL, 2XL, 4XL
Row 1: ch 4, dc, *sk 3, shell st, sk 3, V st, repeat from * to last 4 sts, sk 3, dc 3 in last, turn (38, 46, 54, 62, 70)
Row 2- 48 ( 50, 51, 51, 52): ch 4, dc, *shell st in next ch-1sp, sk 3 dc, V st, repeat from * across, to last V st, dc 3, turn (38, 46, 54, 62, 70) fo, leaving long tail
For sizes S, L, 3XL, 5XL
Row 1: ch 4, dc, *sk 3, shell st, sk 3, V st, repeat from * across, turn (43,51, 67, 75)
Row 2: ch 3, dc 2, *sk 3 dc, V st, shell st in next ch-1 sp, repeat from * across, dc 3 in last ch-1 sp, turn(41, 49, 65, 73)
Row 3: ch 4, dc, *shell st in next ch-1sp, sk 3 dc, V st, repeat from * across, turn (43,51, 67, 75)
Row 4- 49( 50,52, 53): repeat rows 2& 3, fo leaving long tail
Sleeve Ribbing Pattern (Make 2)
Foundation: ch 12
Row 1: starting in 3rd ch from hook, hdc in blo across, turn (10)
Row 2-18 (18,19, 19, 20, 20, 21, 21, 22): ch 2, hdc in 1st, hdc in blo 8, hdc in last, turn (10)
Row 19 (19,20, 20, 21, 21, 22, 22, 23): join foundation to last row, and work a ss into each st and foundation ch across. (10)
Do NOT fasten off
Sleeve Pattern (Make 2)
(continuing from “Front Panel Ribbing Pattern”)
Foundation: turn ribbing lengthwise, ch 1, and pick up 48 ( 53, 56, 61, 69, 77, 85, 88, 93) sc into the ribbing around, ss to first( 48, 53, 56, 61, 69, 77, 85, 88, 93)
For sizes XS, M, 4XL
Round 1: ch 3, dc 2, *sk 3, V, sk 3, shell, repeat from * around, dc 2 into base of ch 3, ss to top of starting ch (48,56,88)
Round 2: ch 4, dc in 1st st, * shell st in next ch-1 sp, sk 2 dc, V st, repeat from * around, ss to top of ch 4 (48,56,88)
Round 3: ch 3, dc 2 into ch-1 sp, *sk 2 dc, V st, shell into next ch-1 sp, repeat from *around, dc 2 into base of starting ch 3, ss into top of ch 3 (48,56,88)
Round 4- 26 (27, 30): repeat rounds 2&3, fo leaving long tail
For sizes S, L, XL, 2XL, 3XL,5XL
Round 1: ch 4, dc in 1st st, *sk 3, shell st, sk 3, V st, repeat from * around to last 4, sk 4, dc 3 in last, ss to top of ch 4 (54,62,70, 78, 86,94)
Round 2: ch 3, dc 2 into ch-1 sp, *sk 2 dc, V st, shell into next ch-1 sp, repeat from *around, V st into last dc, ss into top of ch 3 (54,62,70, 78, 86,94)
Round 3: ch 4, dc into same st, *shell st in next ch-1 sp, sk 2 dc, V st, repeat from * around, ss to top of ch 4 (54,62,70, 78, 86,94)
Row 4-27 (28, 28, 29, 29,30): repeat rounds 2&3 fo, leaving long tail
Floral Pocket Pattern (Make 2)
Pocket Pattern
Foundation: Ch 6, sl st into your 1st ch (farthest from your hook)
Round 1: ch 1, sc 12 into the loop created (rather than into stitches), sl st into 1st sc
Round 2: ch 2, dc into 1st sc, *ch 1, sk 1, V st into next, repeat from * around, ch 1, sl st into top of ch 2
Round 3: ch 2, *shell st into ch-1 sp of V st, sc into the next ch-1 space (located right after your “v”), repeat from * around, sl st into 1st dc
Round 4: sl st 2 (to get to the top of your “petal”), *ch 7, sk 5, sc, repeat from * around, sc into 2nd sl st of this round (at the top of your 1st “petal”)
Round 5: *ch 3, sk 3, sc (into 4th st of ch 7 from previous round), ch 3, sk 3, sc, repeat from * around, sc into 1st st
Round 6: ch 2,* dc 5 into ch 3 sp from previous round, ch 4, dc 5 into same ch 3 sp, ch 2, sk 3, sc, ch 2, sk 3, sc, repeat from * around right before corner, then ss into top of ch 2 and each remaining st to get to the next corner.
Do NOT fasten off
Ribbing Pattern
Foundation: Ch 6
Row 1: starting in 2nd ch from hook, sc across, ss into first 2 sts at top of pocket, turn (5)
Row 2: ch 1, sc in blo across, turn (5)
Row 3: ch 1, sc in first, sc in blo 4, ss into next 2 sts from top of pocket, turn (5)
Row 4-20: repeat rows 2&3, fo leaving long tail.
Standard Pocket (Make 2)
Ribbing Pattern
Foundation: ch 6
Row 1: starting in 3rd ch from hook, hdc across, turn
Row 2-10: ch 2, hdc, hdc blo 3, hdc, turn (5)
Do NOT fasten off
Pocket Pattern
Foundation: pu 1 sc in first, and 2 sc in each remaining row across (21)
Row 1: ch 4, dc, *sk 3, shell st, sk 3, V st, repeat from * across to last 4, sk 3, dc 3 in last, turn (22)
Row 2-8: ch 4, dc, *shell st in next ch-1sp, sk 3 dc, V st, repeat from * across to last V st, dc 3, turn (22)
Assembly
Lay the tops of the front panels on top of either end of the back panel and join together using the mattress stitch (or method of choice).
Using the mattress stitch (or method of choice), join the sides of the front and back panels on either side starting at the bottom and working up to leave a 5.25” (5.75”, 6”, 6.5”, 7.25”, 8.25”, 9”, 9.5”, 10”) opening for the sleeves.
Lay the sleeves flat so that the join is located towards the bottom. Use the mattress stitch (or seaming method of choice) to join one sleeve to the armhole opening on the right side, repeat on the left side.
Lay pockets on top of each front panel approximately 2 rows above ribbing, and 2 shell stitches in from the opening of the cardigan. Mattress stitch (or use seaming method of choice) the pockets in place. Fasten off
Weave in all ends.
Last thing to do, is enjoy your bad self with this new beautiful cardigan! 🎉


Hi! I just found this pattern and would love to make it! I have discovered the zz twist yarn is no longer being made. Do you suggest any other yarn that would work well for this?
Hi Kim,
So happy you’d like to give this pattern a go! Any other dense and smooth (not very fuzzy or bouncy) Aran/light worsted weight yarn would do. ZZ Twist was rated worsted weight, but the twist on it made it slightly finer than a bargain brand worsted and it was more dense which helped with the definition of the stitch on this pattern. My first suggestion would be a bamboo blend, if you can find it. If you can’t find something like that- any yarn you can make gauge with should suffice, it may just alter the definition a bit. ☺️
Hope this helps and happy crocheting!
-Bernadette
Hi! I am starting your Garden sweater, it looks so comfy and I love the pockets! I have gone down to a 3.5 hook to meet gauge on the ribbing- just wondering if it is correct tho- the ribbing for the front panel will be just 6” long for size small?
Hi Kathy,
I am so pleased to hear that you like the look of this pattern! sorry to hear you’ve had to drop down so much in hook size, hopefully the gauge for the body will be easier for you to meet 😊. The front panel ribbing will start out as 6″, but will stretch a bit once the main stitch is added to it. The bottom of this cardigan is meant to become a little more form fitting, with the rest being fairly comfortable and oversized. Hope this helps and happy crocheting!
-Bernadette