Cozy Cabled Cowl- Blog Post

**Please note that this is the blog post regarding the Cozy Cabled Cowl, not the free pattern. If you are looking for the pattern for this cowl, you can view it here. If you prefer, you could also purchase the inexpensive, colored PDF from our Etsy shop here**
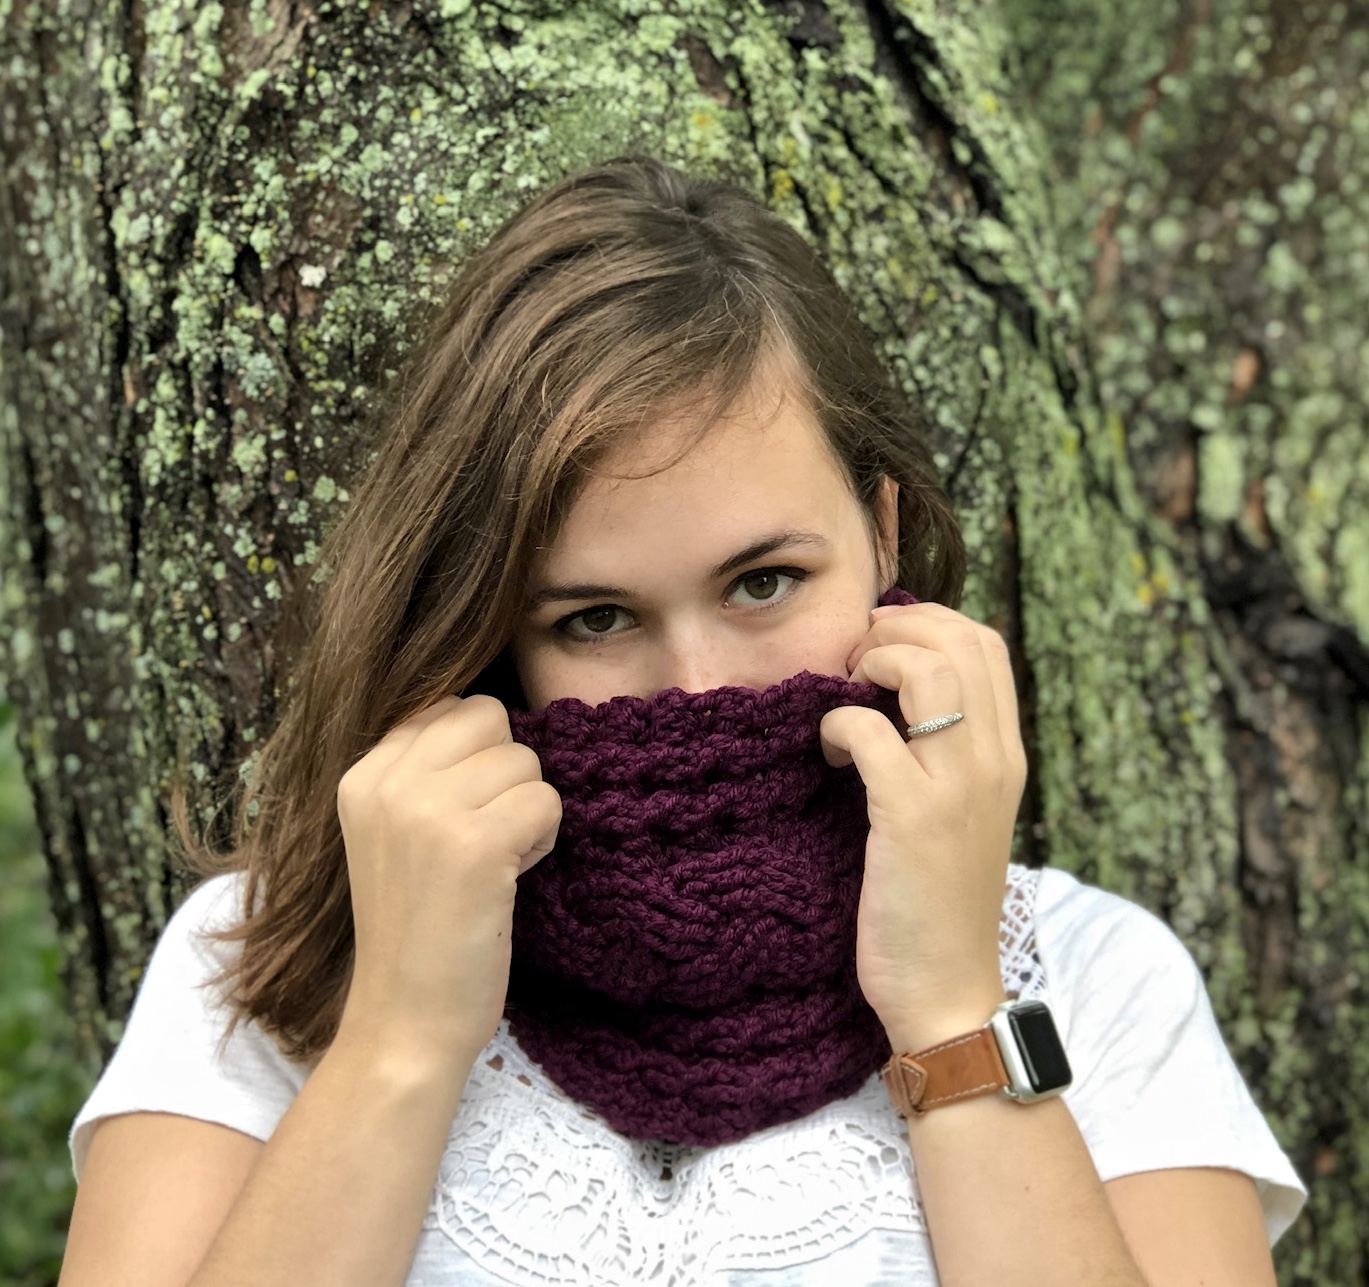
This Cozy Cabled Cowl is overall very simple to whip up, its just a matter of getting comfortable with working in post stitches before it gets to be “easy”. If you have made either my Easy Cabled Mug Cozy or my Murphy Slouchy Beanie, then this tutorial will seem very familiar to you.
If you follow me on social media, then you may know that I had originally hoped that this post would contain a full video tutorial. However, due to my schedule and impending delivery of our second child, I simply didn’t have the time I had hoped to put into the editing of that video.
However, I do have plenty of pictures to share with you, and hope that they are a little easier to follow along with than the picture tutorials for the Mug Cozy or Murphy Slouchy.
To get things started, you will begin with a foundation row, then turn and work a row of double crochets across.


The 2nd row is when you will begin to build up the foundation for the cabling. To start this (and each subsequent) row, you will double crochet 2. Next, you will back post double crochet 2.
To back post double crochet, you will first find the post of your stitch. The post is located below the “v” of your stitch and looks just like what it’s called, a post.
 Insert your hook from behind your work forward, then towards the back again, working a double crochet around the post.


This row is completed by working a series of these back post double crochets with one section of 9 of them smack in the middle of the cowl.

Every time you work on the wrong side of your work (or every even numbered row), you will be working back post double crochets in order, amongst the regular double crochet stitches.
 Every time you work on the right side of your work (or every odd numbed row), you will be working front post stitches amongst the regular double crochet stitches.
  The right side of your work is when the magic happens. You will be skipping some stitches, working in front and behind those skipped stitches and creating your cables while doing so.
The third row is the first time this magic will begin, starting at your first 2 post stitches. After working your 2 regular double crochets, you will skip the first post stitch and work a front post double crochet into the next.

To front post double crochet, you will be inserting your hook from in front of your cowl, behind the post, then back to the front while working a double crochet stitch.


Once this first front post double crochet is complete, you will go back and work another front post double crochet into the stitch you just skipped. You will be working this stitch in front of the first front post double crochet stitch worked (as opposed to behind it).
This creates your first “simple overlapping cable”. You will double crochet 1, work another simple overlapping cable then double crochet 2 more before you reach the 9 post stitches.
The 9 post stitches are the foundation for your braided cable. For Row 3, you will skip the first 3 post stitches, and work 3 front post treble crochets into the next 3.


You will then go back and work 3 more front post treble crochets around the 3 skipped post stitches in front of the first 3 front post treble crochets.


Front post treble crochets are worked in the same fashion as the front post double crochet stitches, just as a treble crochet worked around the post instead of a double crochet.
Work 3 more front post double crochets in the last 3 post stitches of this section.


Repeat the first leg of the pattern by working 2 more simple overlapping cables in between the double crochets.
Turn your work and repeat the steps of row 2 for your 4th row by working back post double crochets into all of your post stitches. Just make sure to work these in order, as the cabling has started to cross the stitches. To make sure you are working into the right stitch, I recommend pulling at the cowl a bit to identify the next stitch.
The 5th row is the last step of working the cabling, and probably the most complex.
The simple overlapping cables are worked in the exact same fashion as they were for the 3rd row, but the braided cable section is not.
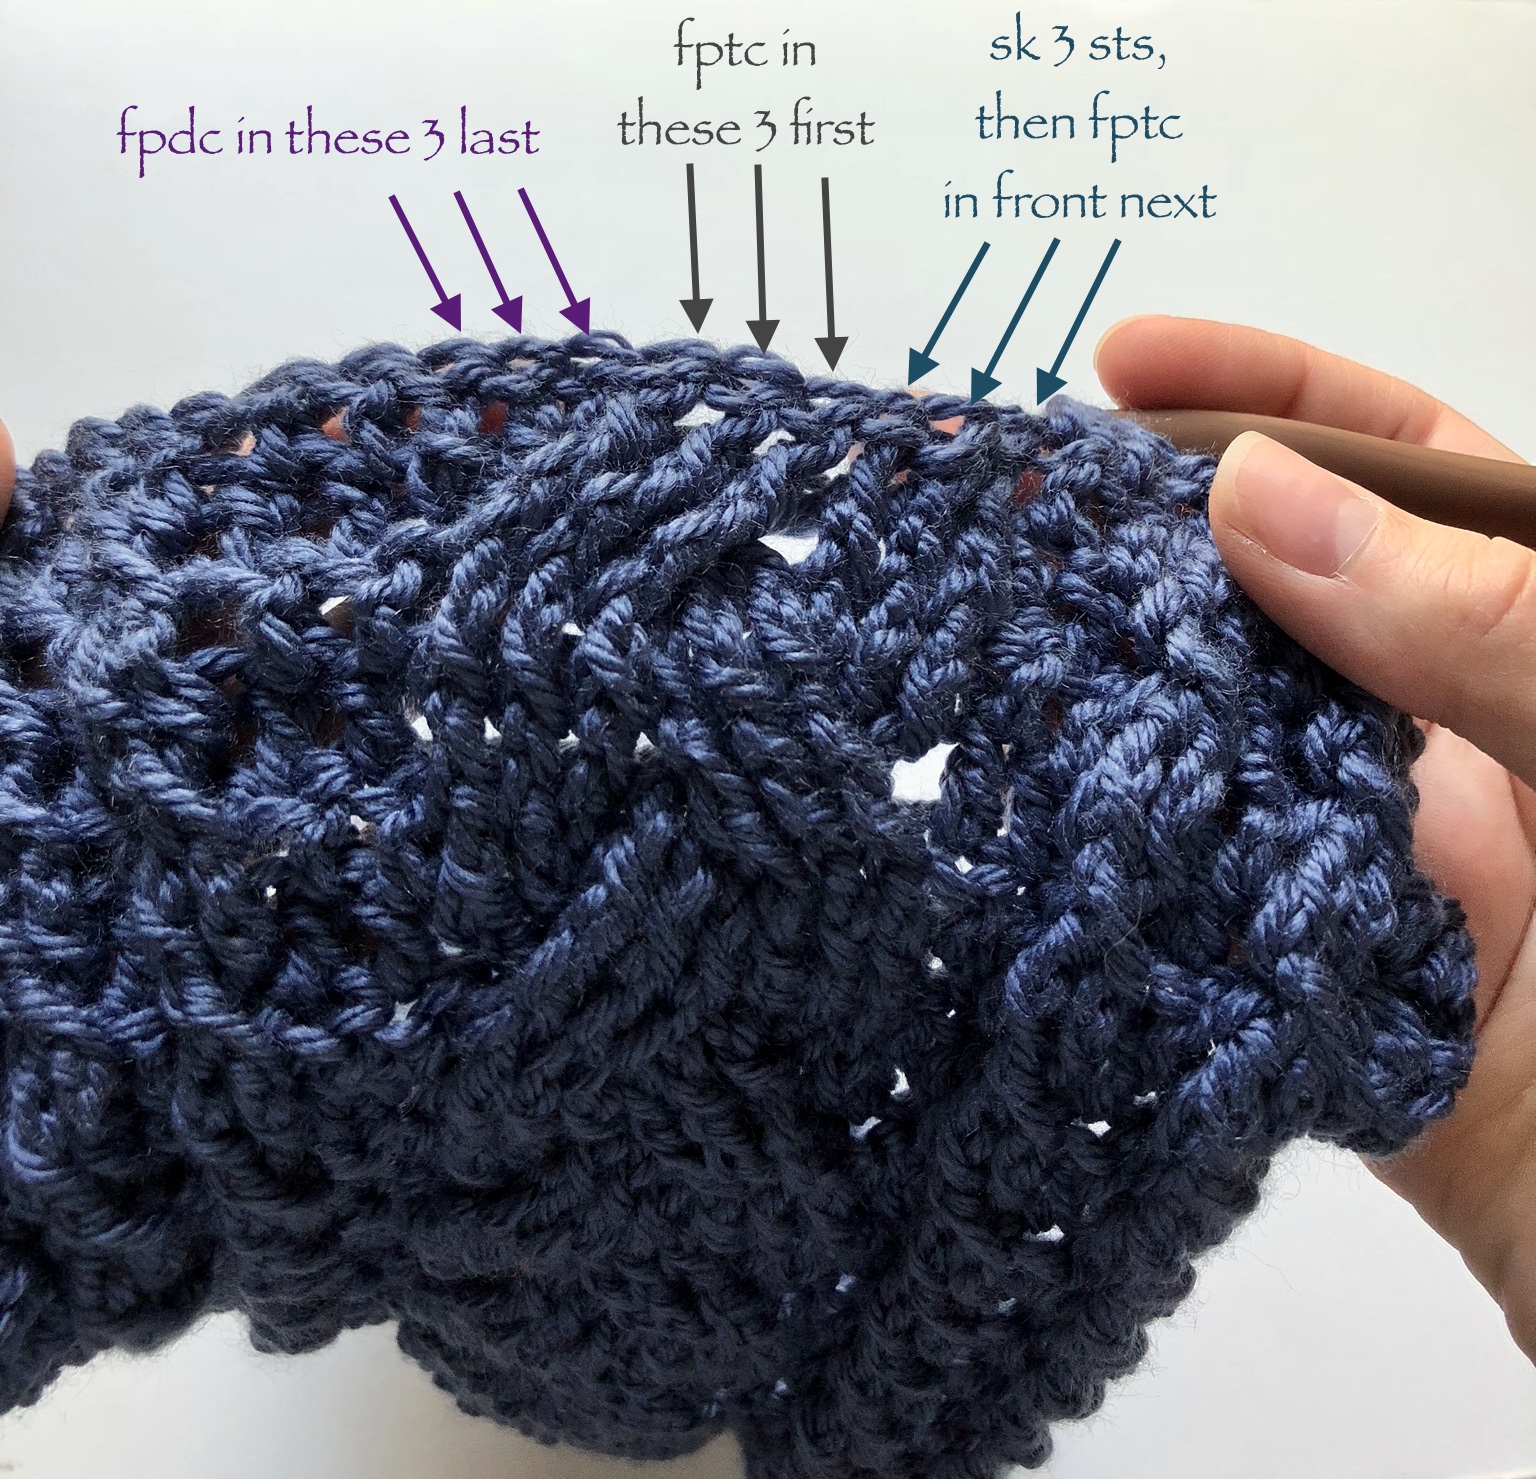
Once you get to the 9 post stitches of the braided cable, you will work 3 front post double crochets into the first 3 posts.

You will then skip the middle 3 and work 3 front post treble crochets into the last 3 stitches of this section. So far so easy, right? Just bear with me for this next part, it’ll hopefully make sense once I’m done explaining.
You will now go back and work 3 front post treble crochets into the 3 skipped stitches, but rather then working in front of the braid, you will work behind the 3 front post treble crochets previously worked.

To do this you will push the first 3 treble crochets worked forward and begin to front post treble crochet into the 3 skipped stitches in order.


Complete the row as you did the first half, turn your work and repeat the 4 steps listed above 15 more times to achieve the length needed.

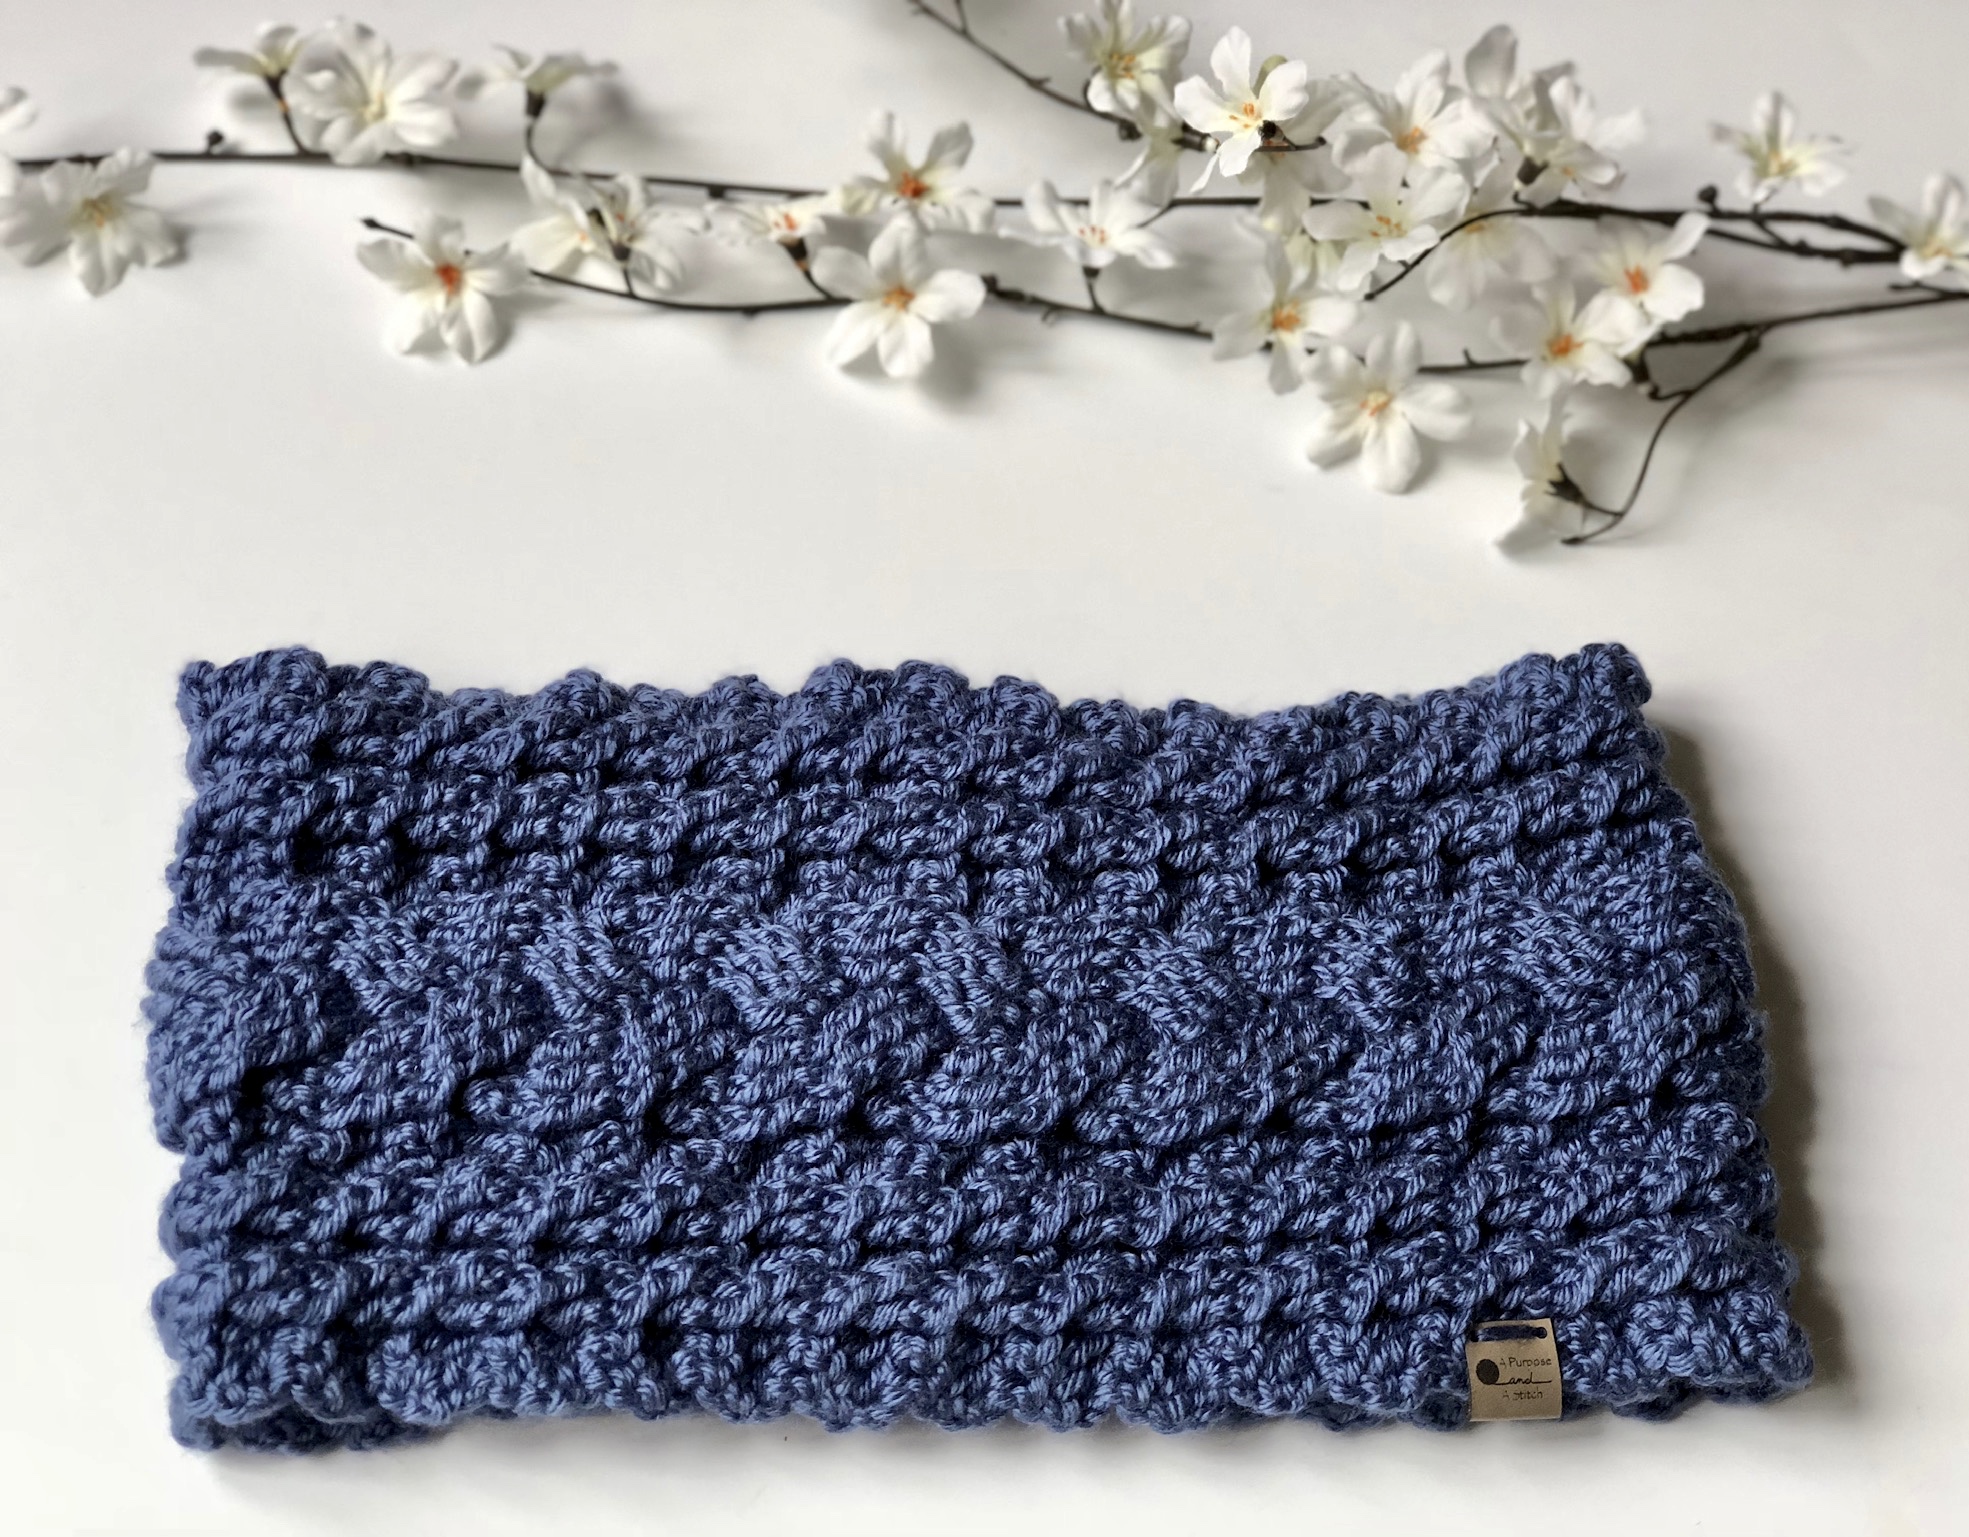
Once you have completed working the stitches, you will fasten off and mattress stitch the edges together to form a circle and to complete your cowl.


If you are unfamiliar with how to work the mattress stitch, I recommend Chi Wei of One Dog Woof’s video tutorial that you can find here.

And that’s all there is to it! I hope you found this tutorial both helpful and easy to read!