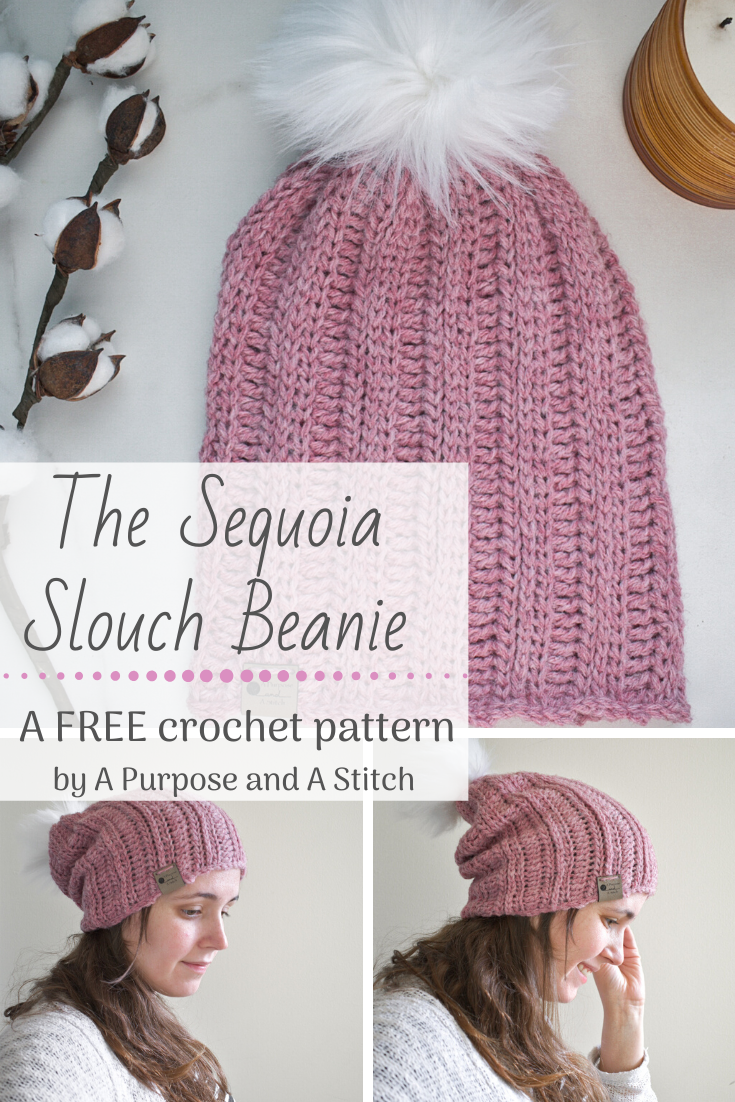
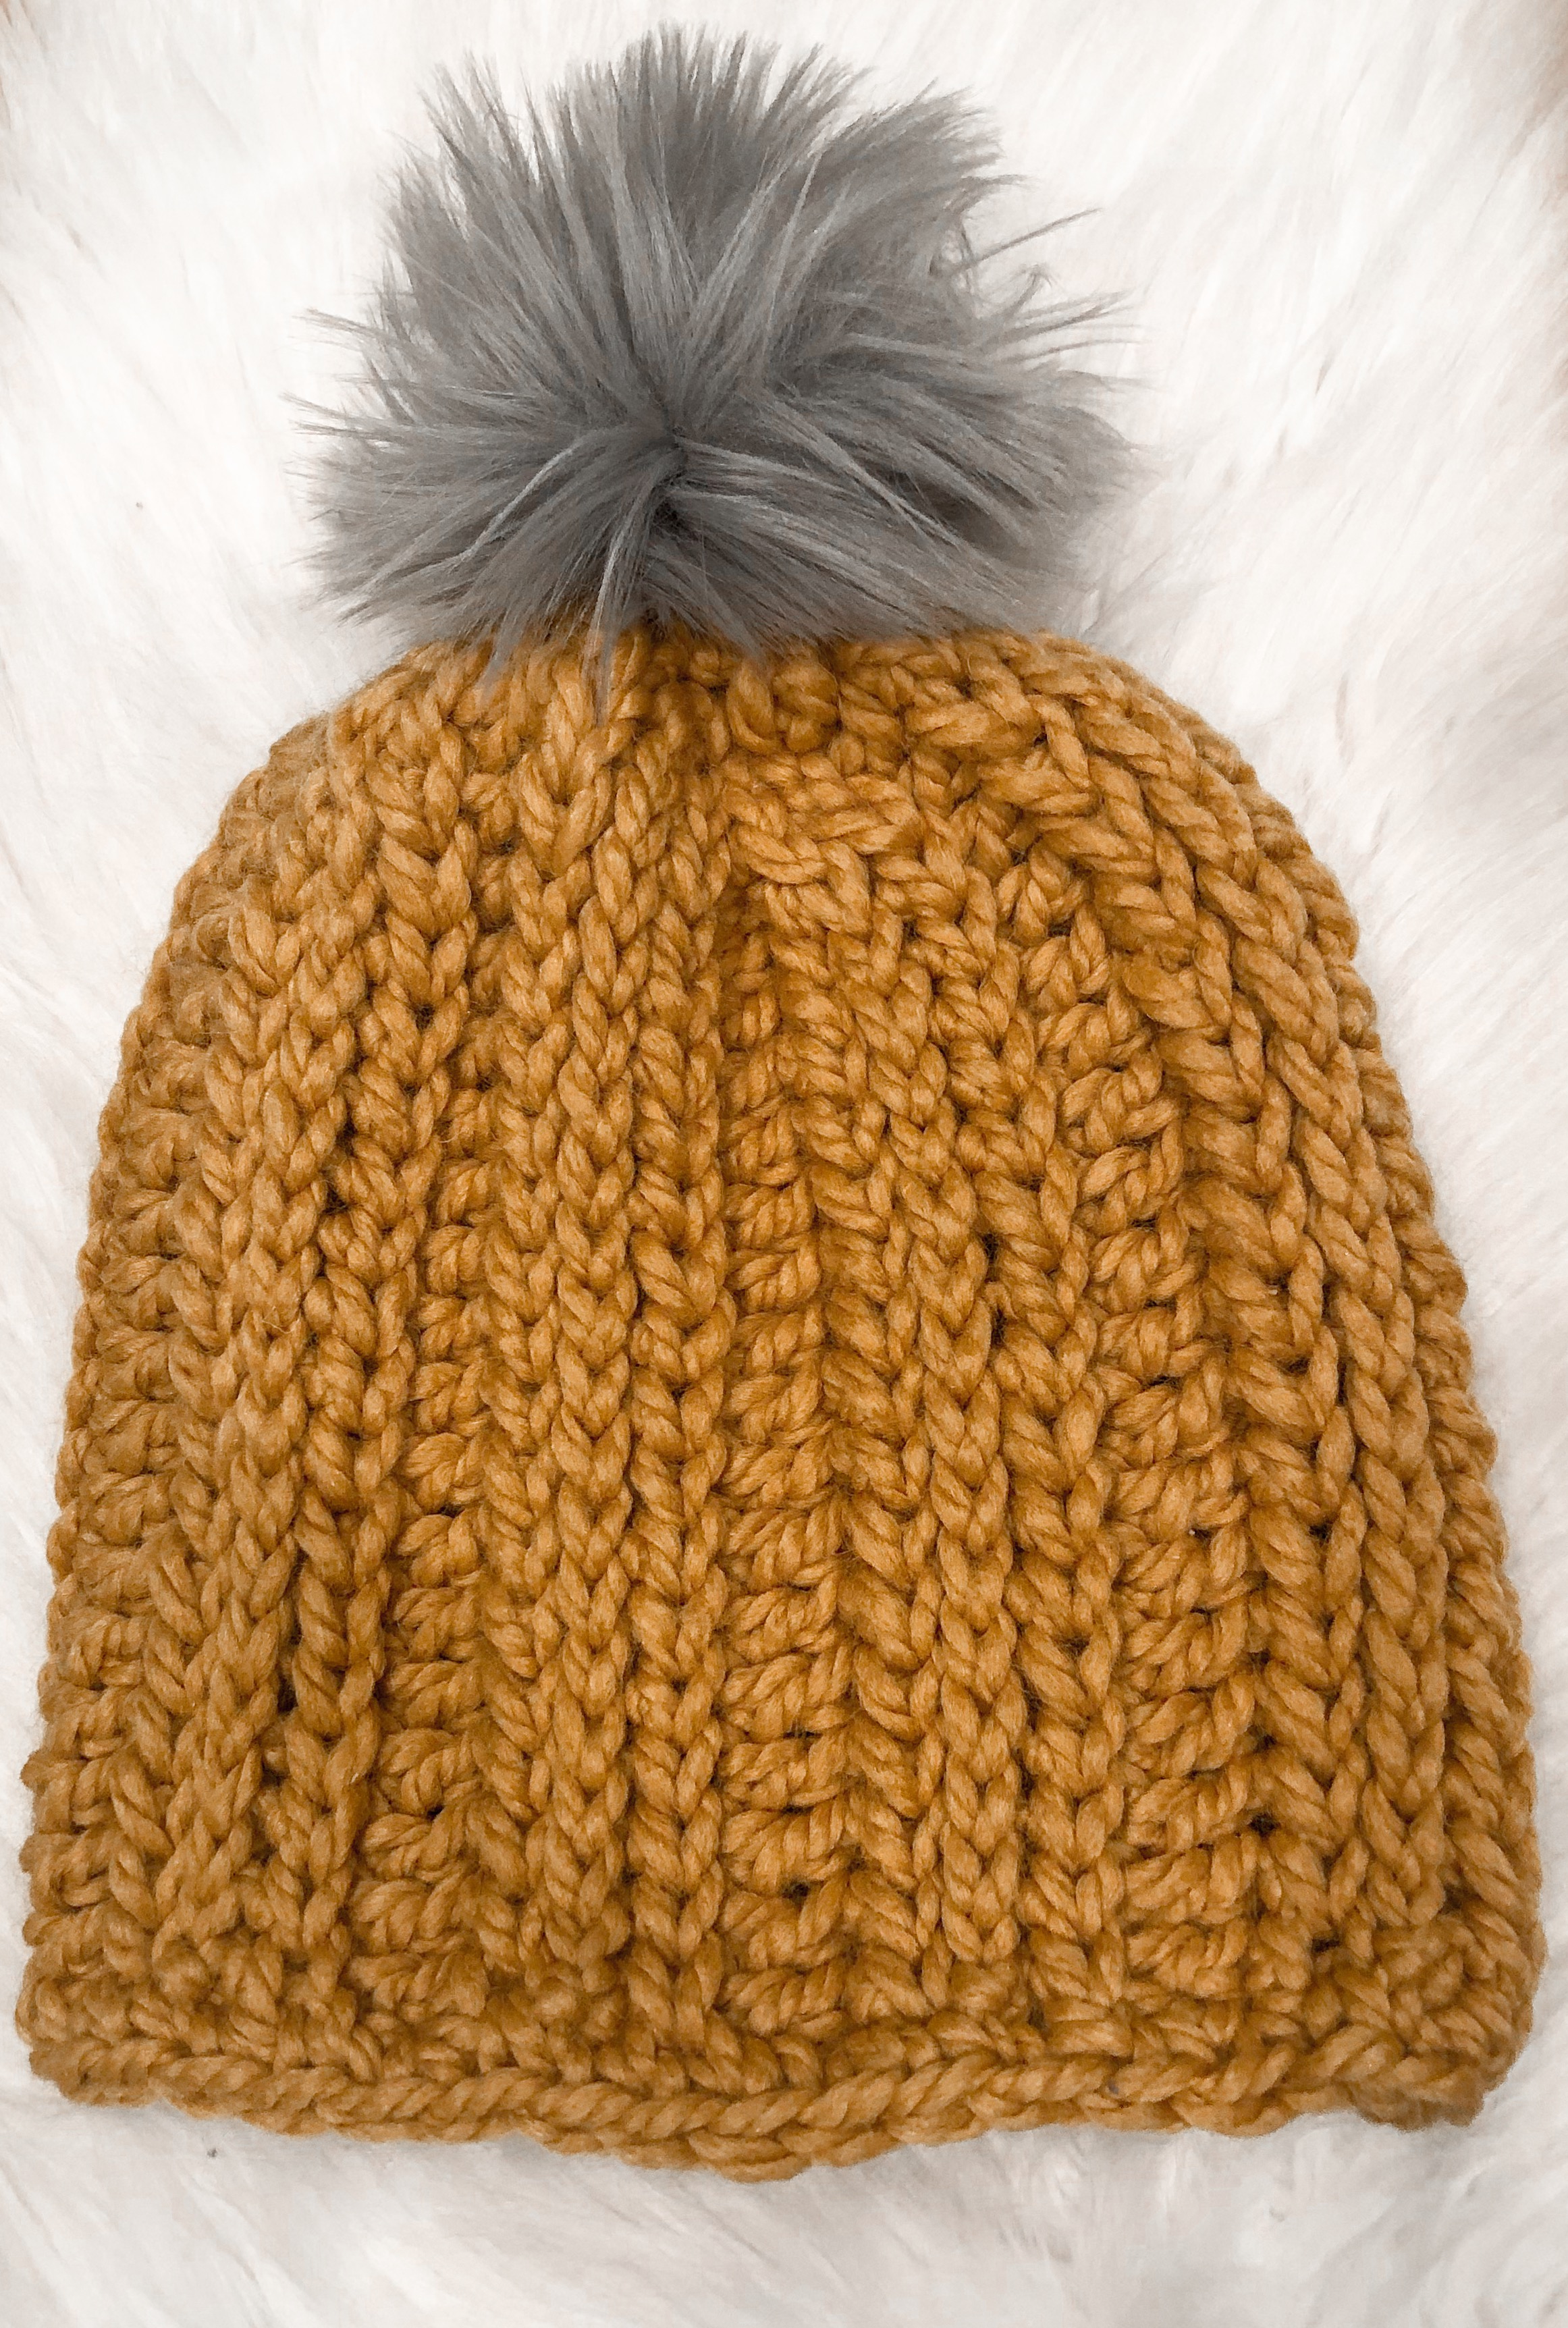
The Sequoia Slouch- Free Crochet Pattern

A new year means new beanie patterns, and I hope you all love this one as much as I do!
To read about the design, construction and story behind this beanie, please check out our blog post on it here. While there, you can also find a helpful photo tutorial and (once it’s ready), a link to a video tutorial!
**If you would prefer an ad-free, large font and inexpensive PDF of this pattern, you can purchase it from our Ravelry or Etsy shops. That clean-look and colored PDF will include both the patterns for the Worsted Weight and Extra Bulky weight sized beanies as well as additional notes for comprehensive sizing not offered on the free version**


Due to the popularity of the Fireside Beanie, I knew going into this season that I wanted to make at least 2 more quick-to-make, 1 skein, Extra Bulky beanies this year, the Linden being our first, and this being our second. But I ended up loving the texture so much that I just had to see it in a worsted weight as well!
So while this beanie will hopefully appeal to those of you who like the quick-make feature of the Fireside and Linden beanies, I hope that it’ll also appeal to those of you who prefer the knit-look and detailed features of the Jennie and Brilliant Cables beanies.
Enjoy and Happy Crocheting!

| What You Need |
| 1 skein of Lion Brand Wool Ease (or similar worsted weight, size 4 yarn) for Worsted Weight Size
or 1 skein of Lion Brand Thick and Quick yarn (or similar extra bulky weight, size 6 yarn) for Extra Bulky Size 6.0mm (US J) crochet hook or hook to meet gauge for Worsted Weight Size 10.0mm (US N) crochet hook or hook to meet gauge for Extra Bulky Size scissors embroidery needle (for weaving in ends) Pom Pom (optional) |
| Approximate Completed Measurements- Worsted Weight Size |
| Newborn: 11.5” circumference & 6” tall
0-6 month: 13” circumference & 7” tall 6-12 month: 14.5” circumference & 7.5” tall 2T-3T: 16” circumference & 8” tall 4T- 10 years: 17.5” circumference & 8.5” tall Teen: 19” circumference & 9.5” tall Adult Female: 19” circumference & 10.5” tall Adult Male: 20.25” circumference & 11” tall |
| Approximate Completed Measurements- Extra Bulky |
| Baby: 14.25” circumference & 7” tall
Toddler: 16.5” circumference & 8” tall Child: 19” circumference & 8.5” tall Tween: 19” circumference & 9” tall Adult Female: 19” circumference & 10.5” tall Adult Male: 21.5” circumference & 11” tall |
| Gauge Used- Worsted Weight Size |
| 14 sts X 11 rows (3 hdc ss, dc) pattern= 4” X 4” square |
| Gauge Used- Extra Bulky Size |
| 9 sts X 7 rows (3 hdc ss, dc, 3 hdc ss) pattern= 4” X 4” square |
| Abbreviations Used |
| ch=chain
p/u= pick up st (s)= stitch(es) blo= back loops only tlo= third loop only hdc= half double crochet dc= double crochet ss=slip stitch sk= skip (stitch) FO= fasten off |
| Special Stitches |
| Hdc ss= half double crochet slip stitch: yo, insert hook into st, p/u loop, pull through 2 loops on hook
Hdc ss in blo= half double crochet slip stitch in back loops only: yo, insert hook into back loop of st only, p/u loop, pull through 2 loops on hook Hdc ss in tlo= half double crochet slip stitch in third loop only: yo, insert hook into the 3rd loop (the stitch closest to you only), p/u loop, pull through 2 loops on hook *please note that the front loop will be located at the front of your work* |
| Pattern Notes |
|
| Additional Pattern Notes for Worsted Weight Size |
|
| Additional Pattern Notes for Extra Bulky Size |
|

Worsted Weight Size Pattern:
*Using Worsted Weight yarn & J hook*
Row 1: ch 23 (26, 28, 30, 32, 35, 38, 40), starting in 3rd ch from hook, dc across, turn (21, 24, 26, 28, 30, 33, 36, 38)
Row 2: ch 1, hdc ss in each st across, turn
Row 3: ch 1, hdc ss in blo across, turn
Row 4: ch 1, hdc ss in tlo across, turn
Row 5: ch 2, dc in blo across
Row 6- 31 (35, 39, 43, 47, 51, 51, 55): repeat rows 2-5
Assembly
Ch 1, ss across the bottom into each row across
Closure Row (or row: 32, 36, 40, 44, 48, 52, 52, 56): ch 1, with right side out, hdc ss into each ch of foundation and into third loop and back loop of ending row across. FO, leaving long tail.
Use tail to weave in and out of top opening (opposite of slip stitches). Pull tight to close hole and tie off. Weave in ends. Attach pom pom if desired.
Extra Bulky Size Pattern:
*Using Extra Bulky weight yarn and N hook*
Row 1: ch 17 (20, 21, 22, 25, 27), starting in 3rd ch from hook, dc across, turn (15, 18, 19, 20, 23, 25)
Row 2: ch 1, hdc ss in each st across, turn (15, 18, 19, 20, 23, 25)
Row 3: ch 1, hdc ss in blo across, turn (15, 18, 19, 20, 23, 25)
Row 4: ch 1, hdc ss in tlo across, turn (15, 18, 19, 20, 23, 25)
Row 5: ch 2, dc in blo 15 (16, 17, 17, 20, 22), sk last 2 (2, 2, 3, 3, 3), turn (15, 16, 17, 17, 20, 22)
Row 6: ch 1, hdc ss in each st across, turn (15, 16, 17, 17, 20, 22)
Row 7: ch 1, hdc ss in blo across, continuing to work into the remaining 2 (2, 2, 3, 3, 3) of row 4, turn (15, 18, 19, 20, 23, 25)
Row 8- 23 (27, 31, 31, 31, 35): repeat rows 4-7
Closure Row (or row: 24, 28, 32, 32, 32, 36): ch 1, with right side out, hdc ss into each ch of foundation and into third loop and back loop of ending row across. (15, 18, 19, 20, 23, 25)
Assembly
Ch 1, ss across the bottom into each row and 2 into each dc row around, FO and weave in tail. Use yarn to weave in and out of top opening, into the longer (hdc ss) rows and opposite of the slip stitches. Pull tight to close hole and tie off. You can use remaining tail to weave in and out of the very top of the dc rows if you so desire, but these bumps will be well hidden in the slouch and under the Pom. Weave in ends. Attach pom pom if desired.