The Jennie Beanie- Blog Post
**Below you will find the story behind and free picture tutorial for The Jennie Beanie. If you’re looking for the free pattern, you can find it here. ** One of the stitches that makes this beanie unique is the Half Double Crochet slip stitch. If you are struggling with how to work this stitch, I recommend our video tutorial on how to make the Sequoia Slouch found on this page. You can also find the high-quality video on our Youtube Channel here.
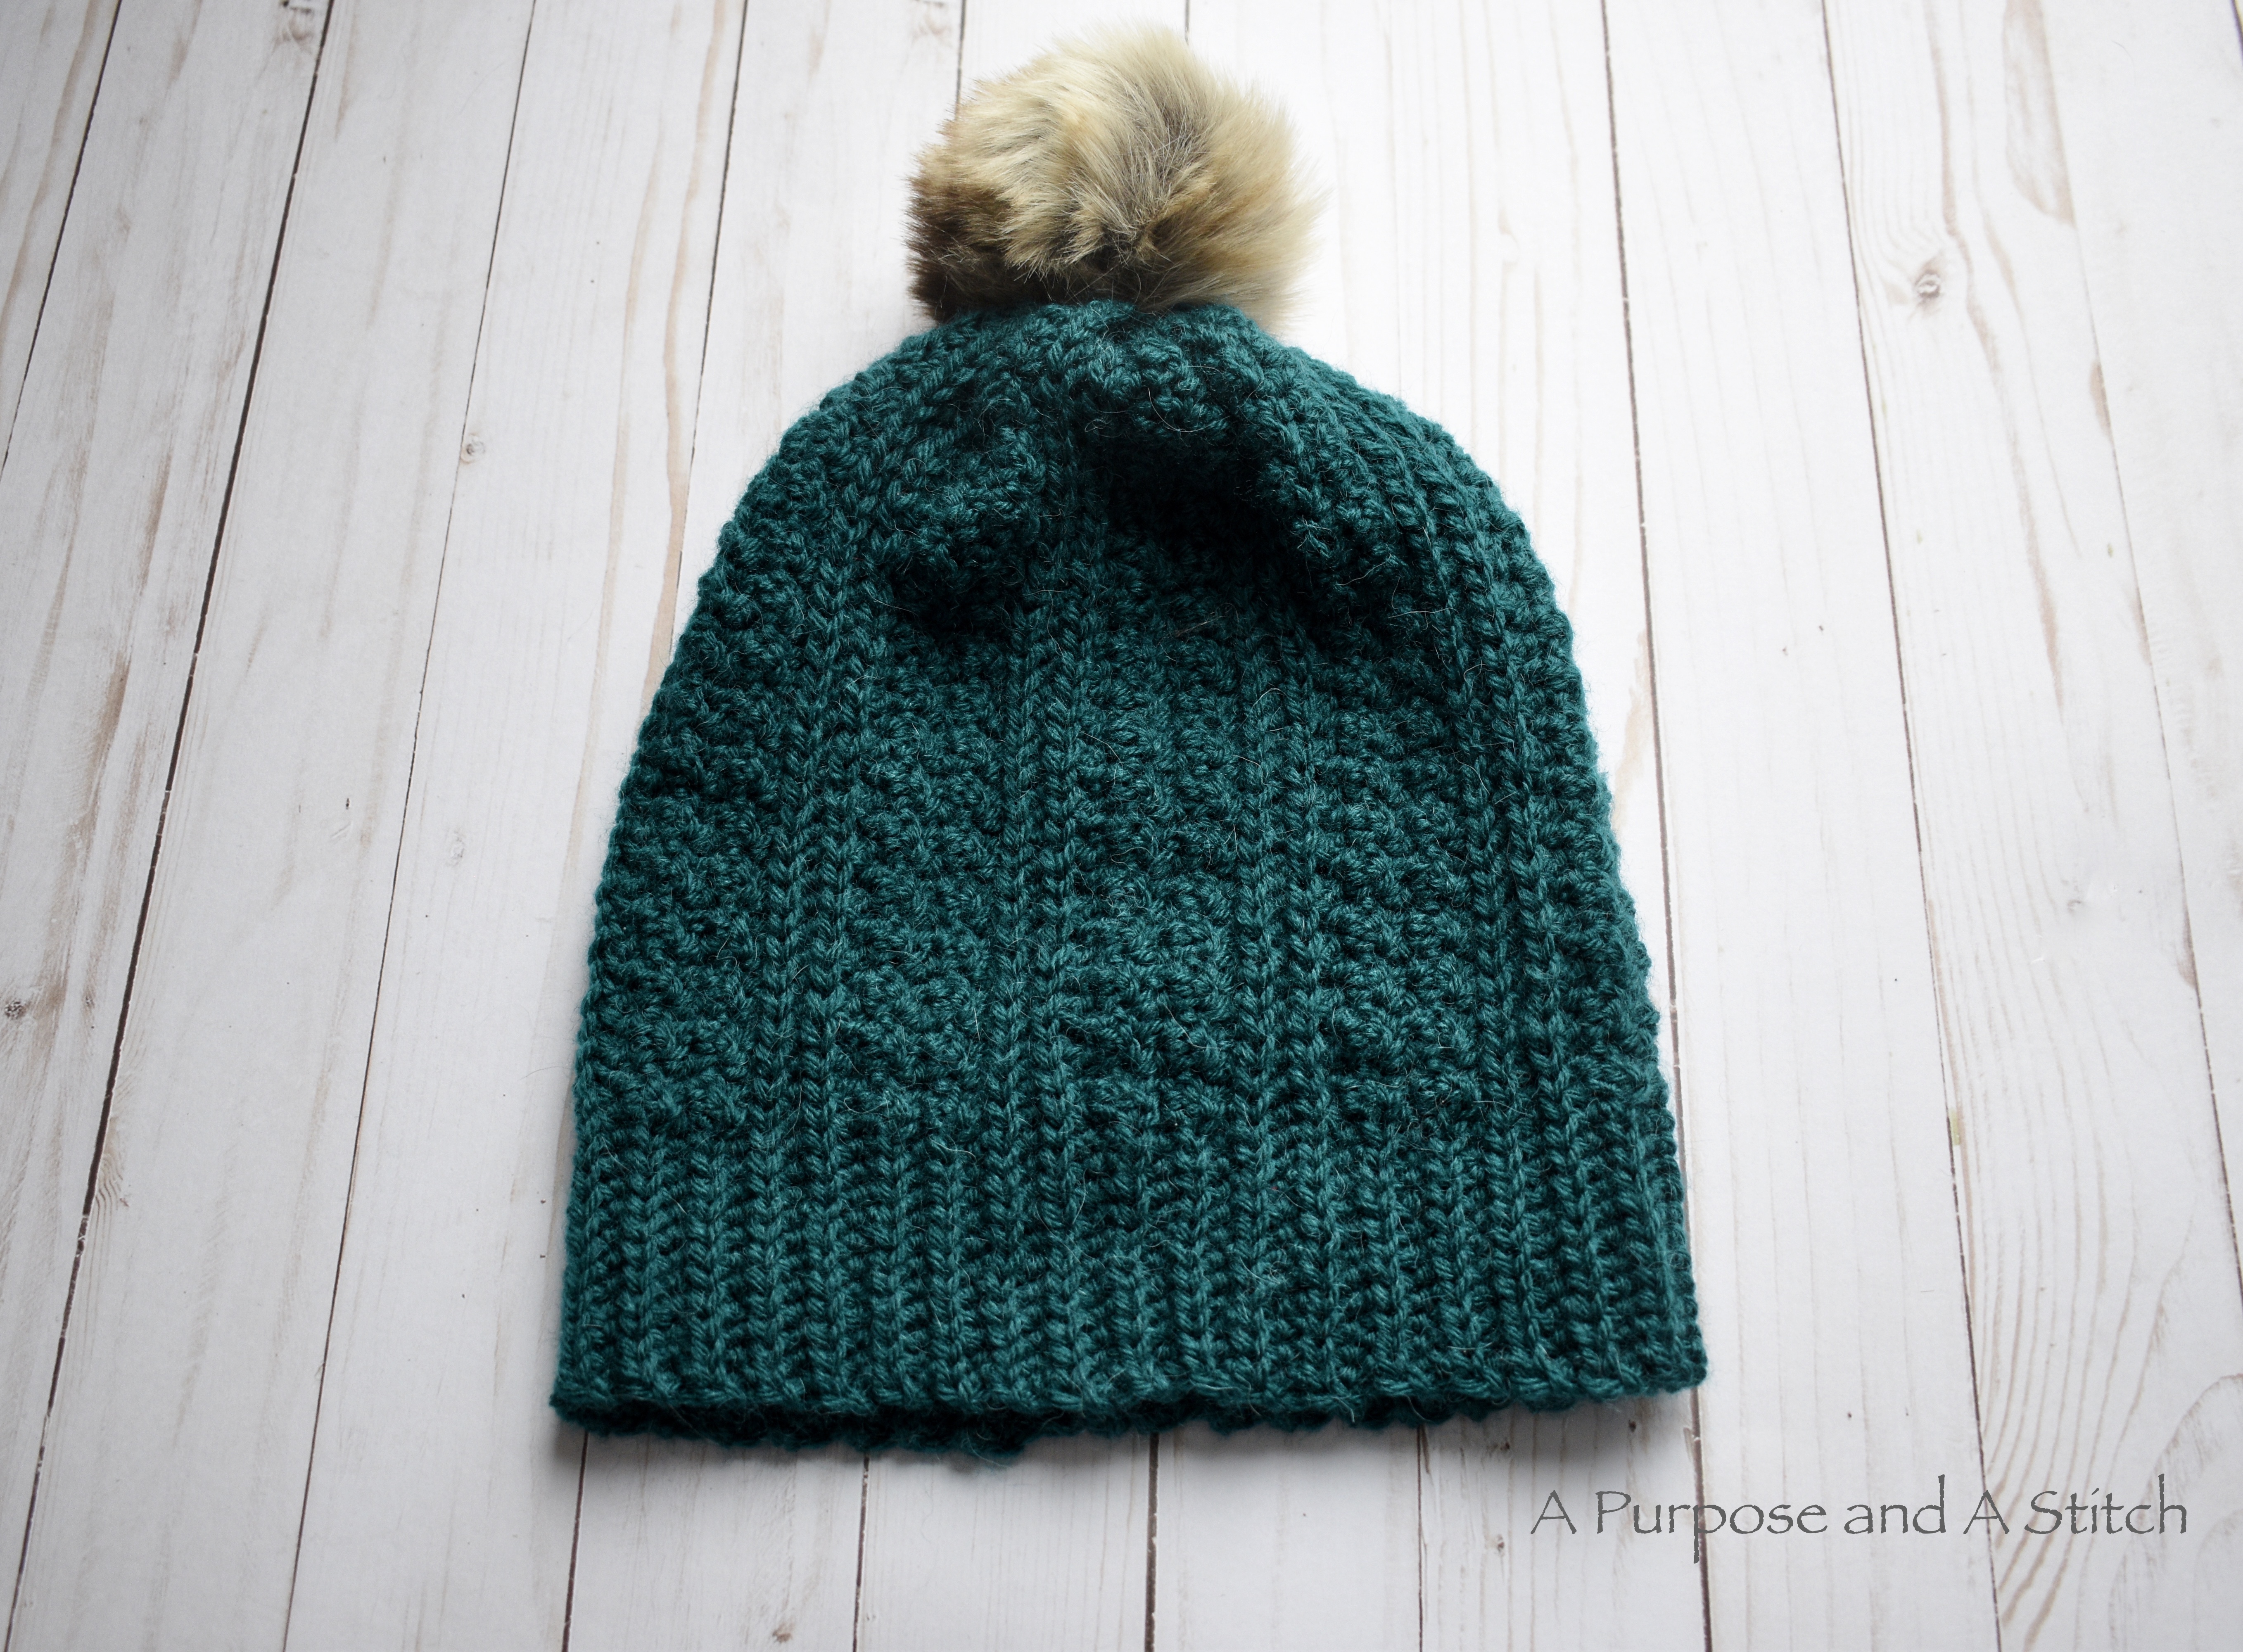
I made this beanie pattern with a very special friend in mind and her name is (can you guess it?)… Jennie.Jennie is actually the friend you may have heard me refer to before as the one who initially taught me how to crochet many moons ago in high school.
We’ve remained close friends since then, but she gave up crocheting when college life became too hectic.. meanwhile, I, well you know… went on to start a crochet blog. LOL
 A few weeks back she asked for me to make her a beanie in this specific color, with a design similar to that of a CC Beanie she liked. Since the Brilliant Cables Beanie was met with such love and appreciation, I knew I wanted to make another knit-looking beanie, and her idea fit the bill.
The biggest hurdle was getting the stockinet looking stitches running vertical across the beanie instead of horizontal and since both the waistcoat and camel stitch work best in the round, I had to think outside of my normal wheelhouse.
I’ve known about the “slip stitch into back loops only” method for a while, which looks almost identical to a knit stockinet stitch. Problem is that it’s very time consuming, and a total yarn eater. I don’t know about you, but I have a bit of crochet ADD. I loose interest if I spend too much time on one project. Hence the “slip stitch into back loops only” beanie sitting in my WIP pile that I started months ago for my dad…
So I toyed around with the idea of using another stitch in the same manner and came up with working a half double crochet slip stitch into back loops only. Worked like a charm. 😉
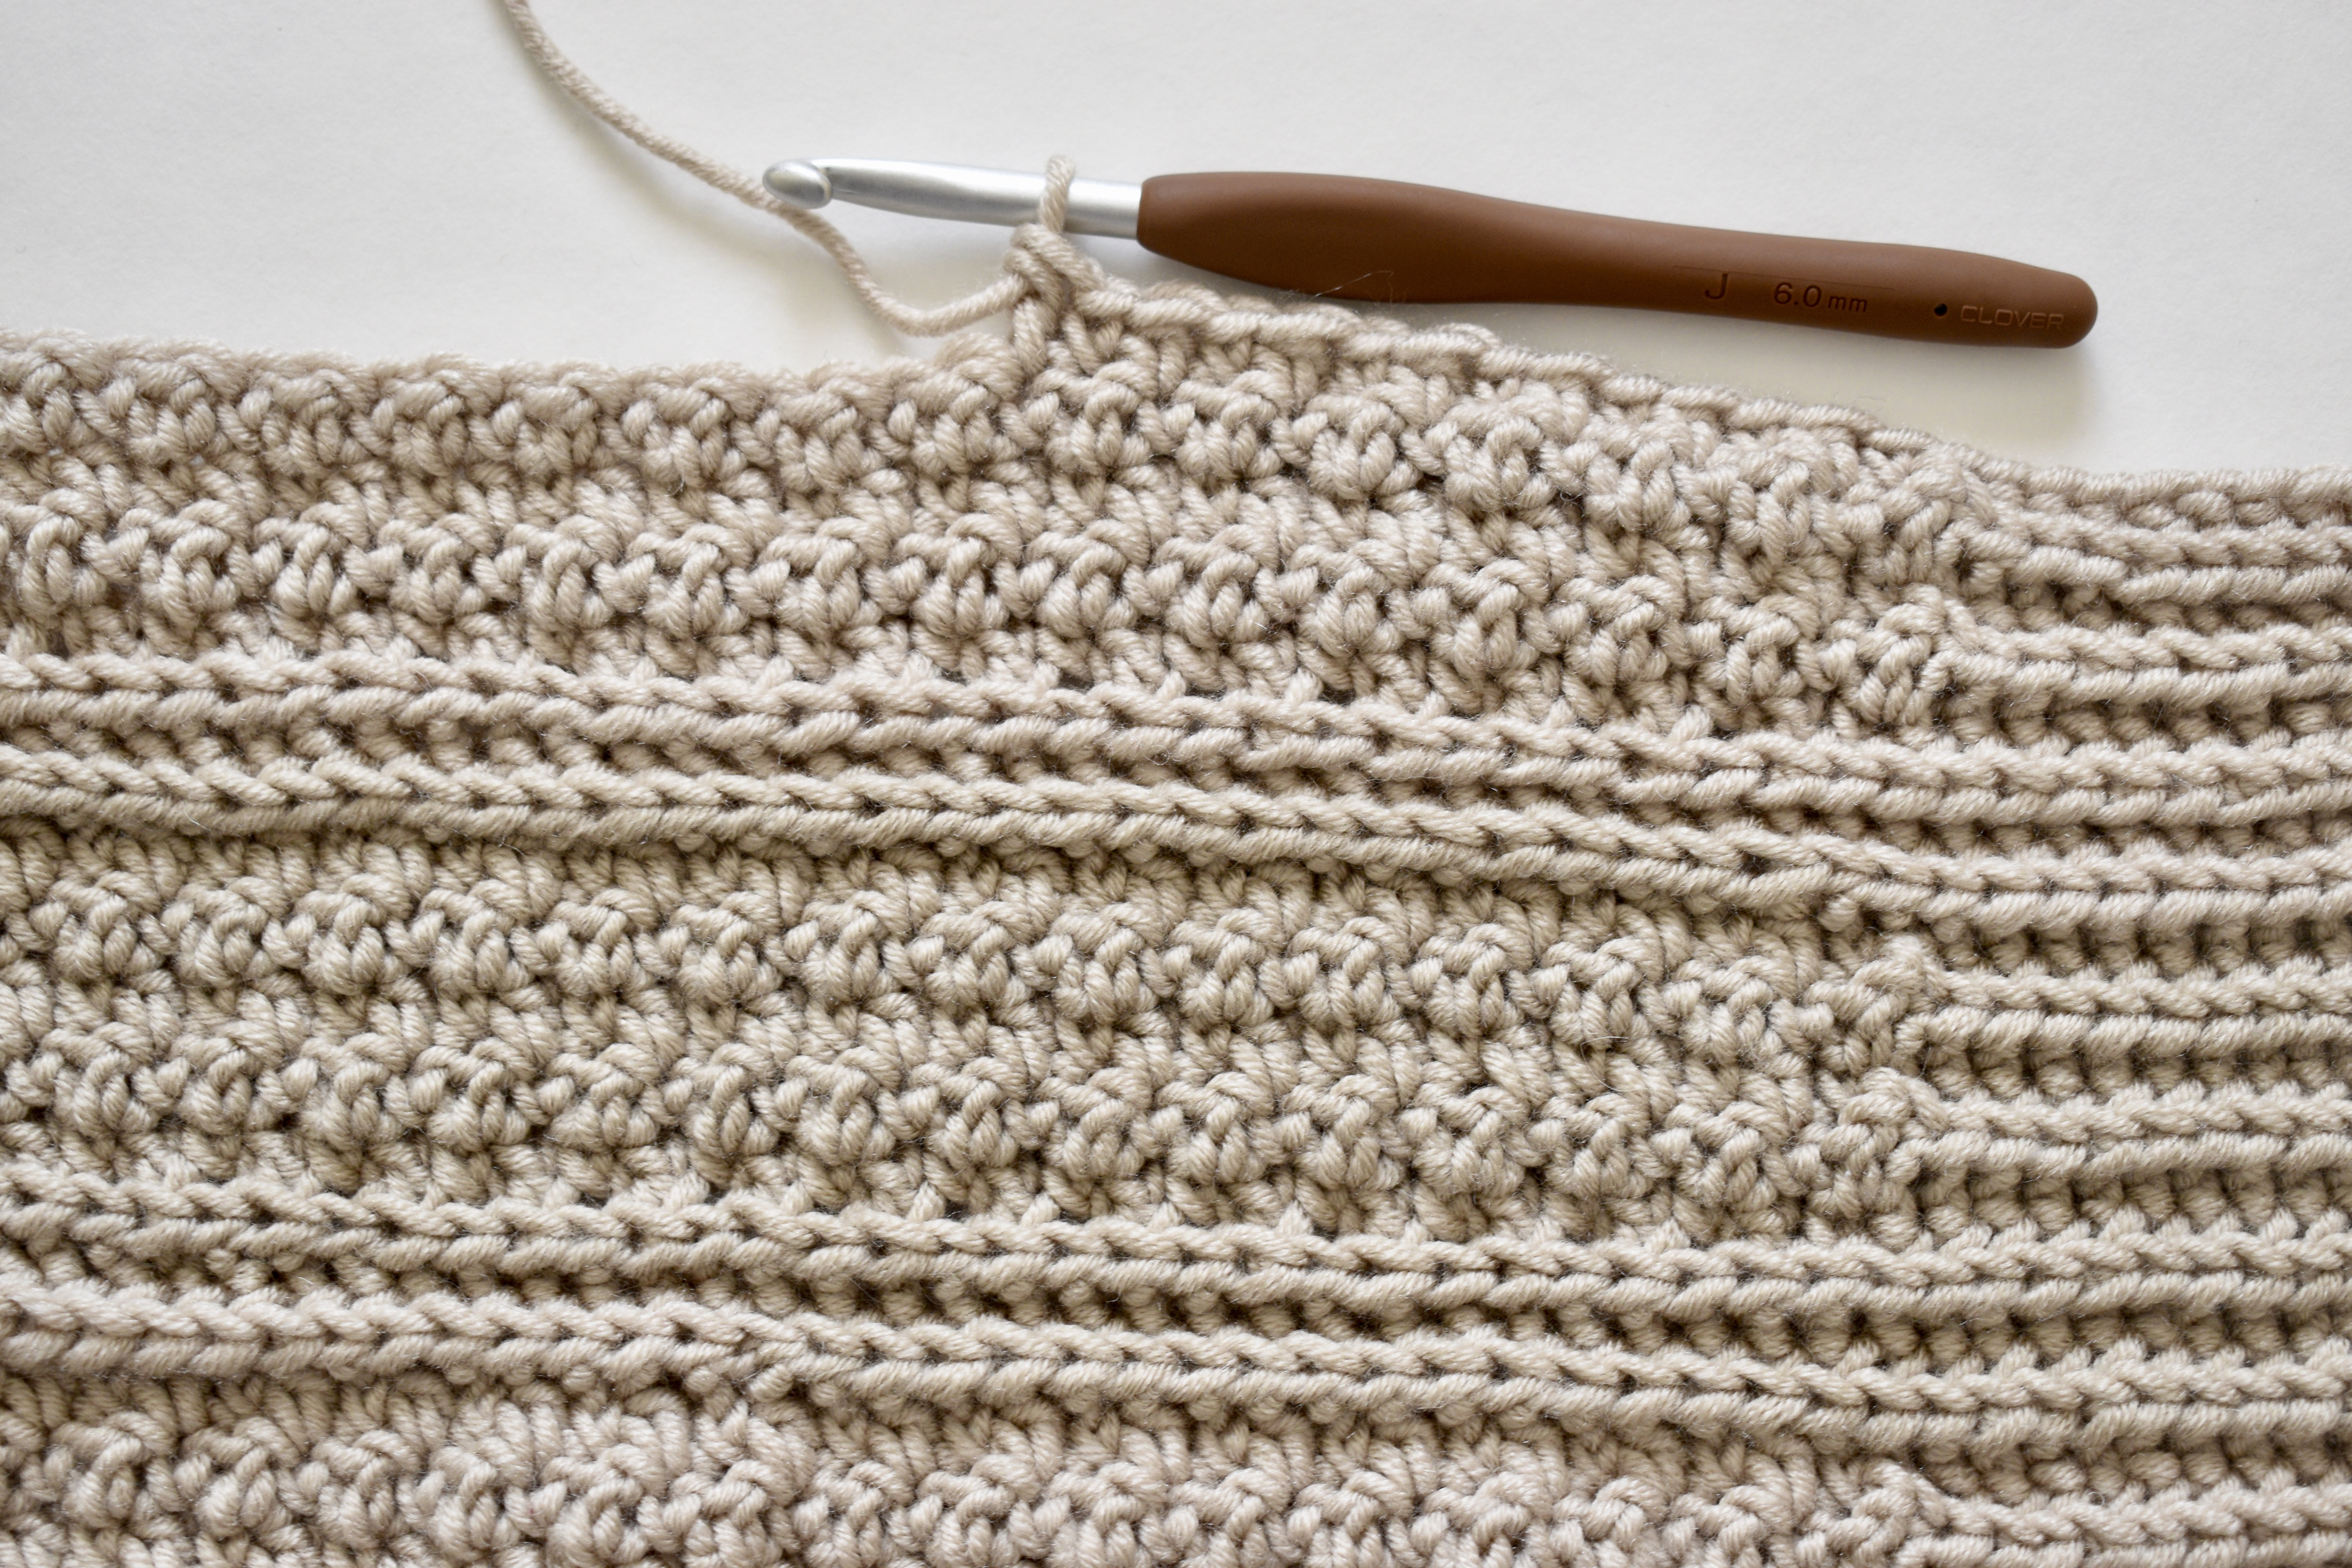
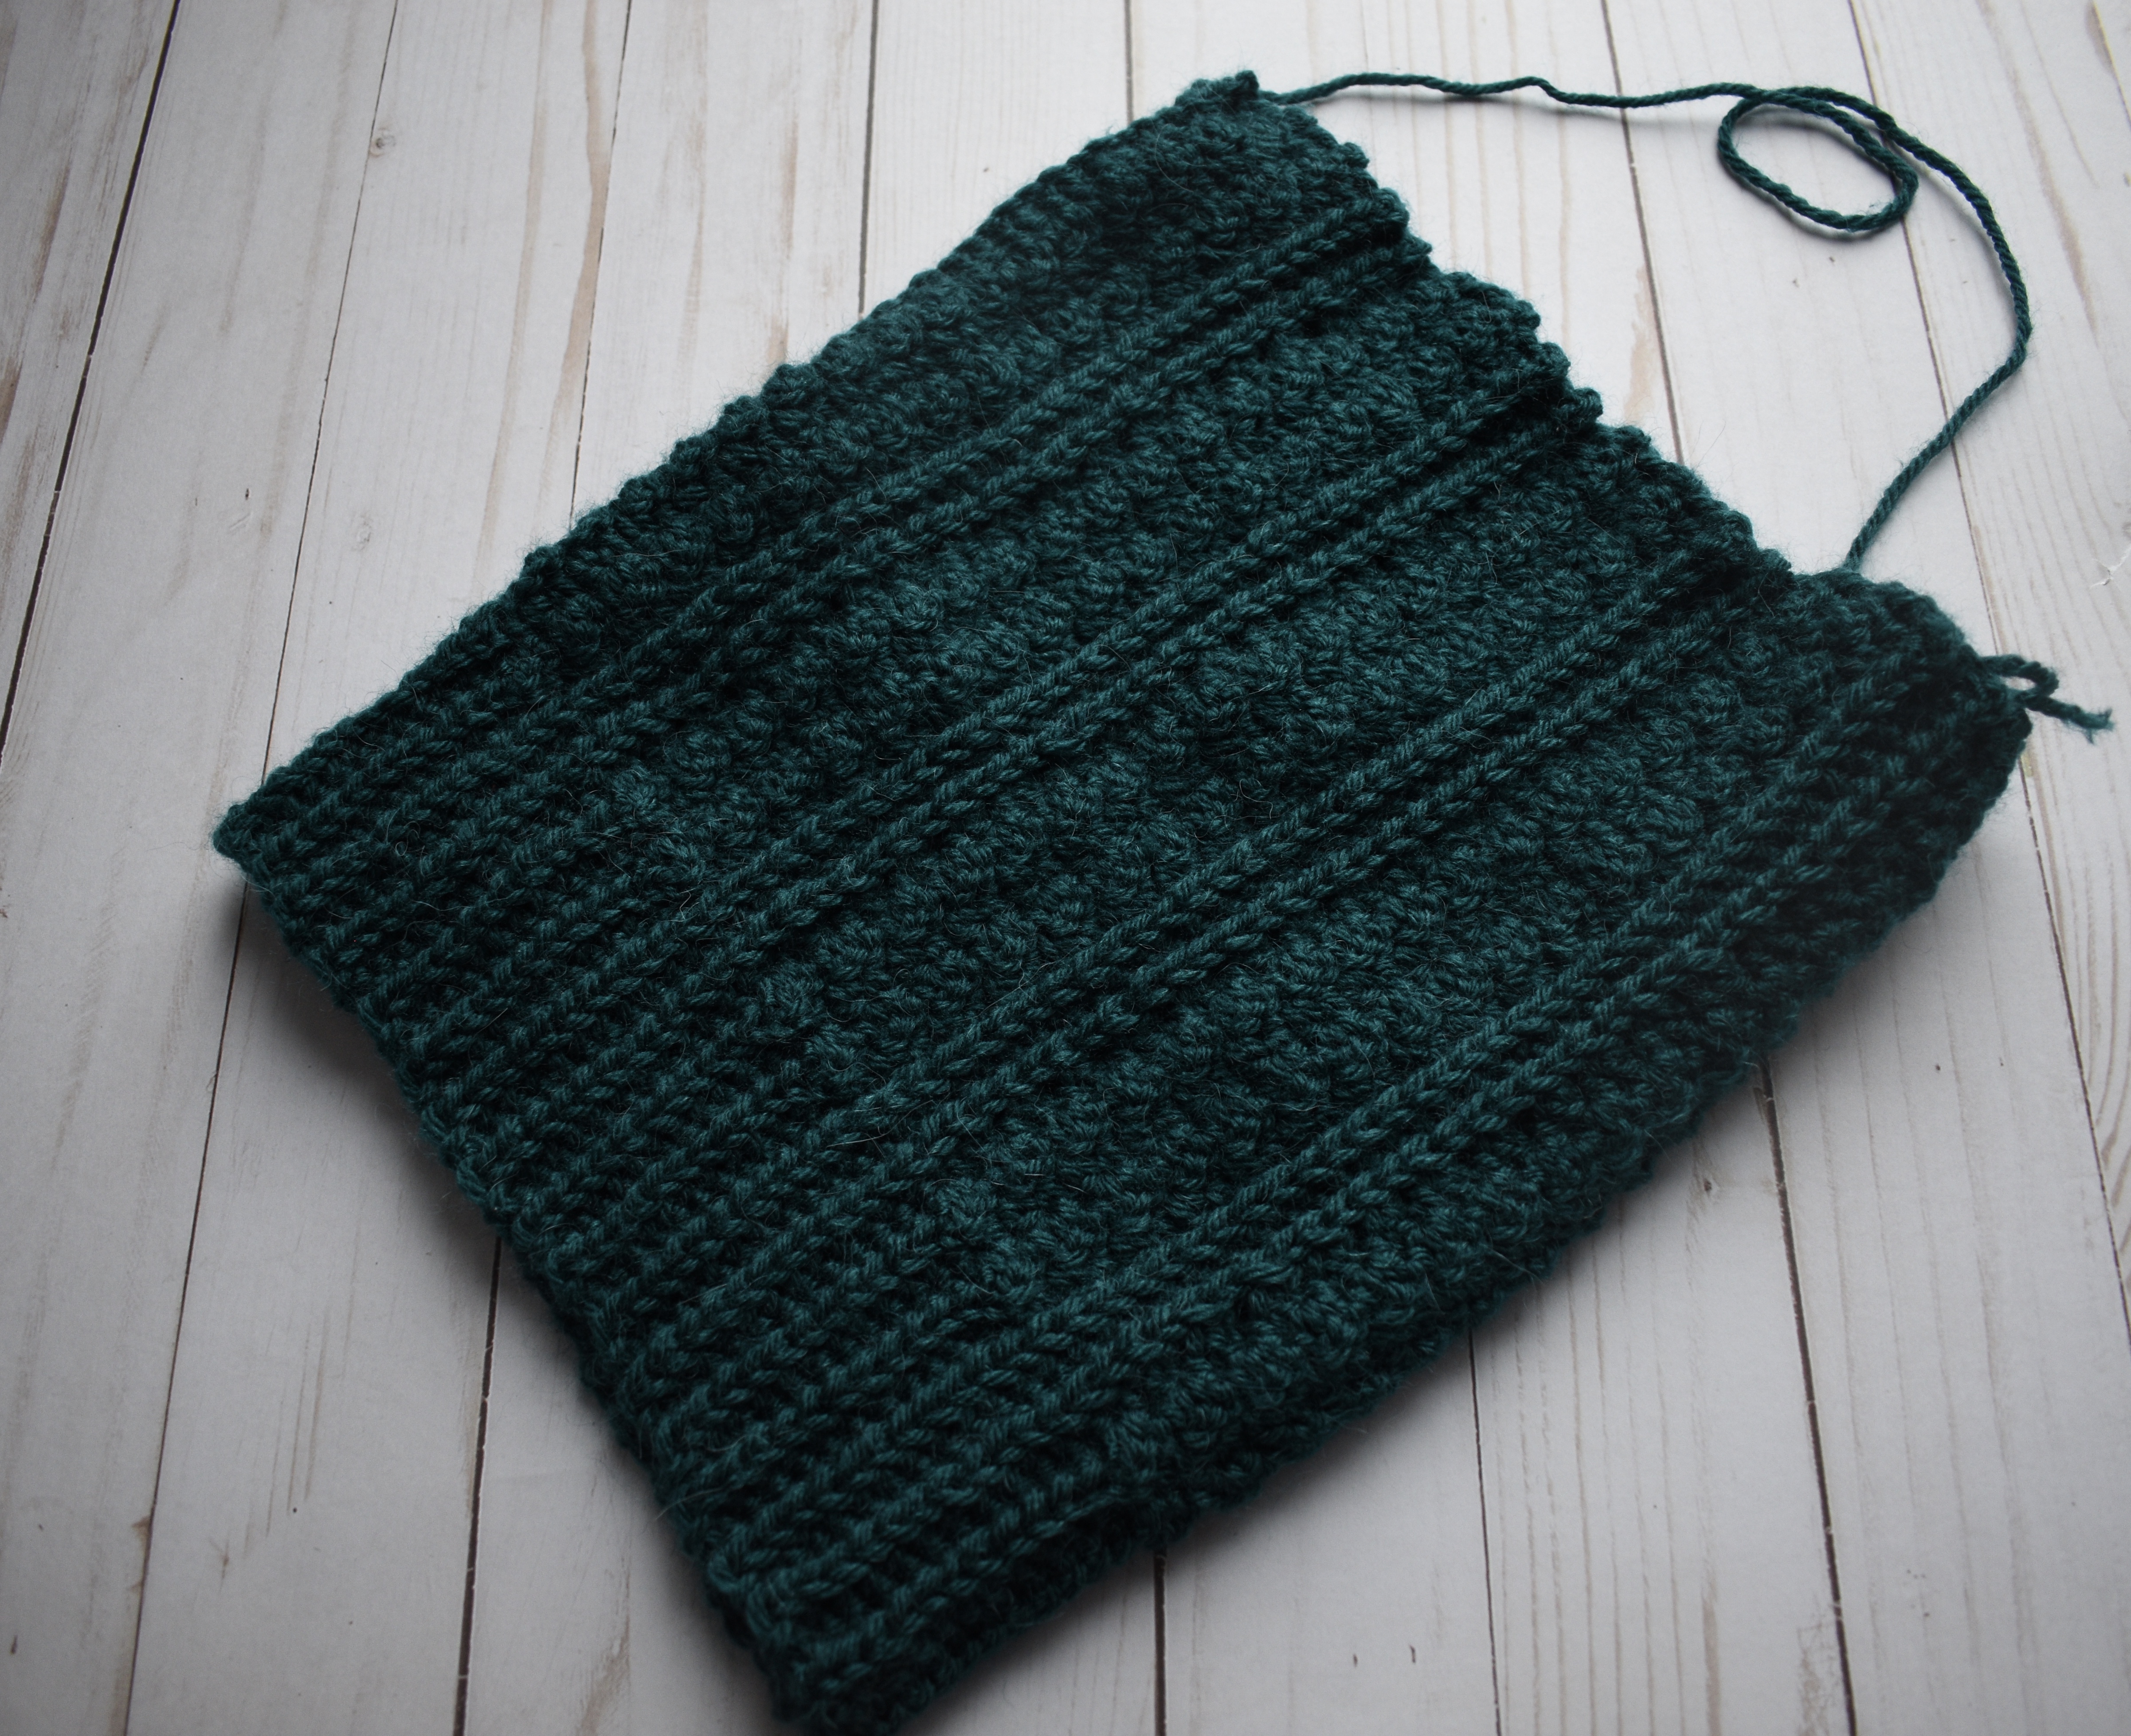
This entire beanie is worked as a large rectangle, joined to form a cylinder, then to close up the top. This type of design makes this beanie amazingly customizable. If you need to make it larger or smaller, you will simply adjust the stitch and row count. I’ll touch on that more in a minute.
You’ll start this beanie by chaining 48, then starting the half double crochet slip stitches (or hdc ss) across.

To work the half double crochet slip stitch, you will yarn over then insert your hook into the designated stitch and pull up a loop. To complete, you’ll pull that loop through the 2 loops on your hook.


This can be a little tricky to get the hang of, but once you get it, it goes by quickly.
The next row will be another row of half double crochet slip stitches, worked into the back loops only.


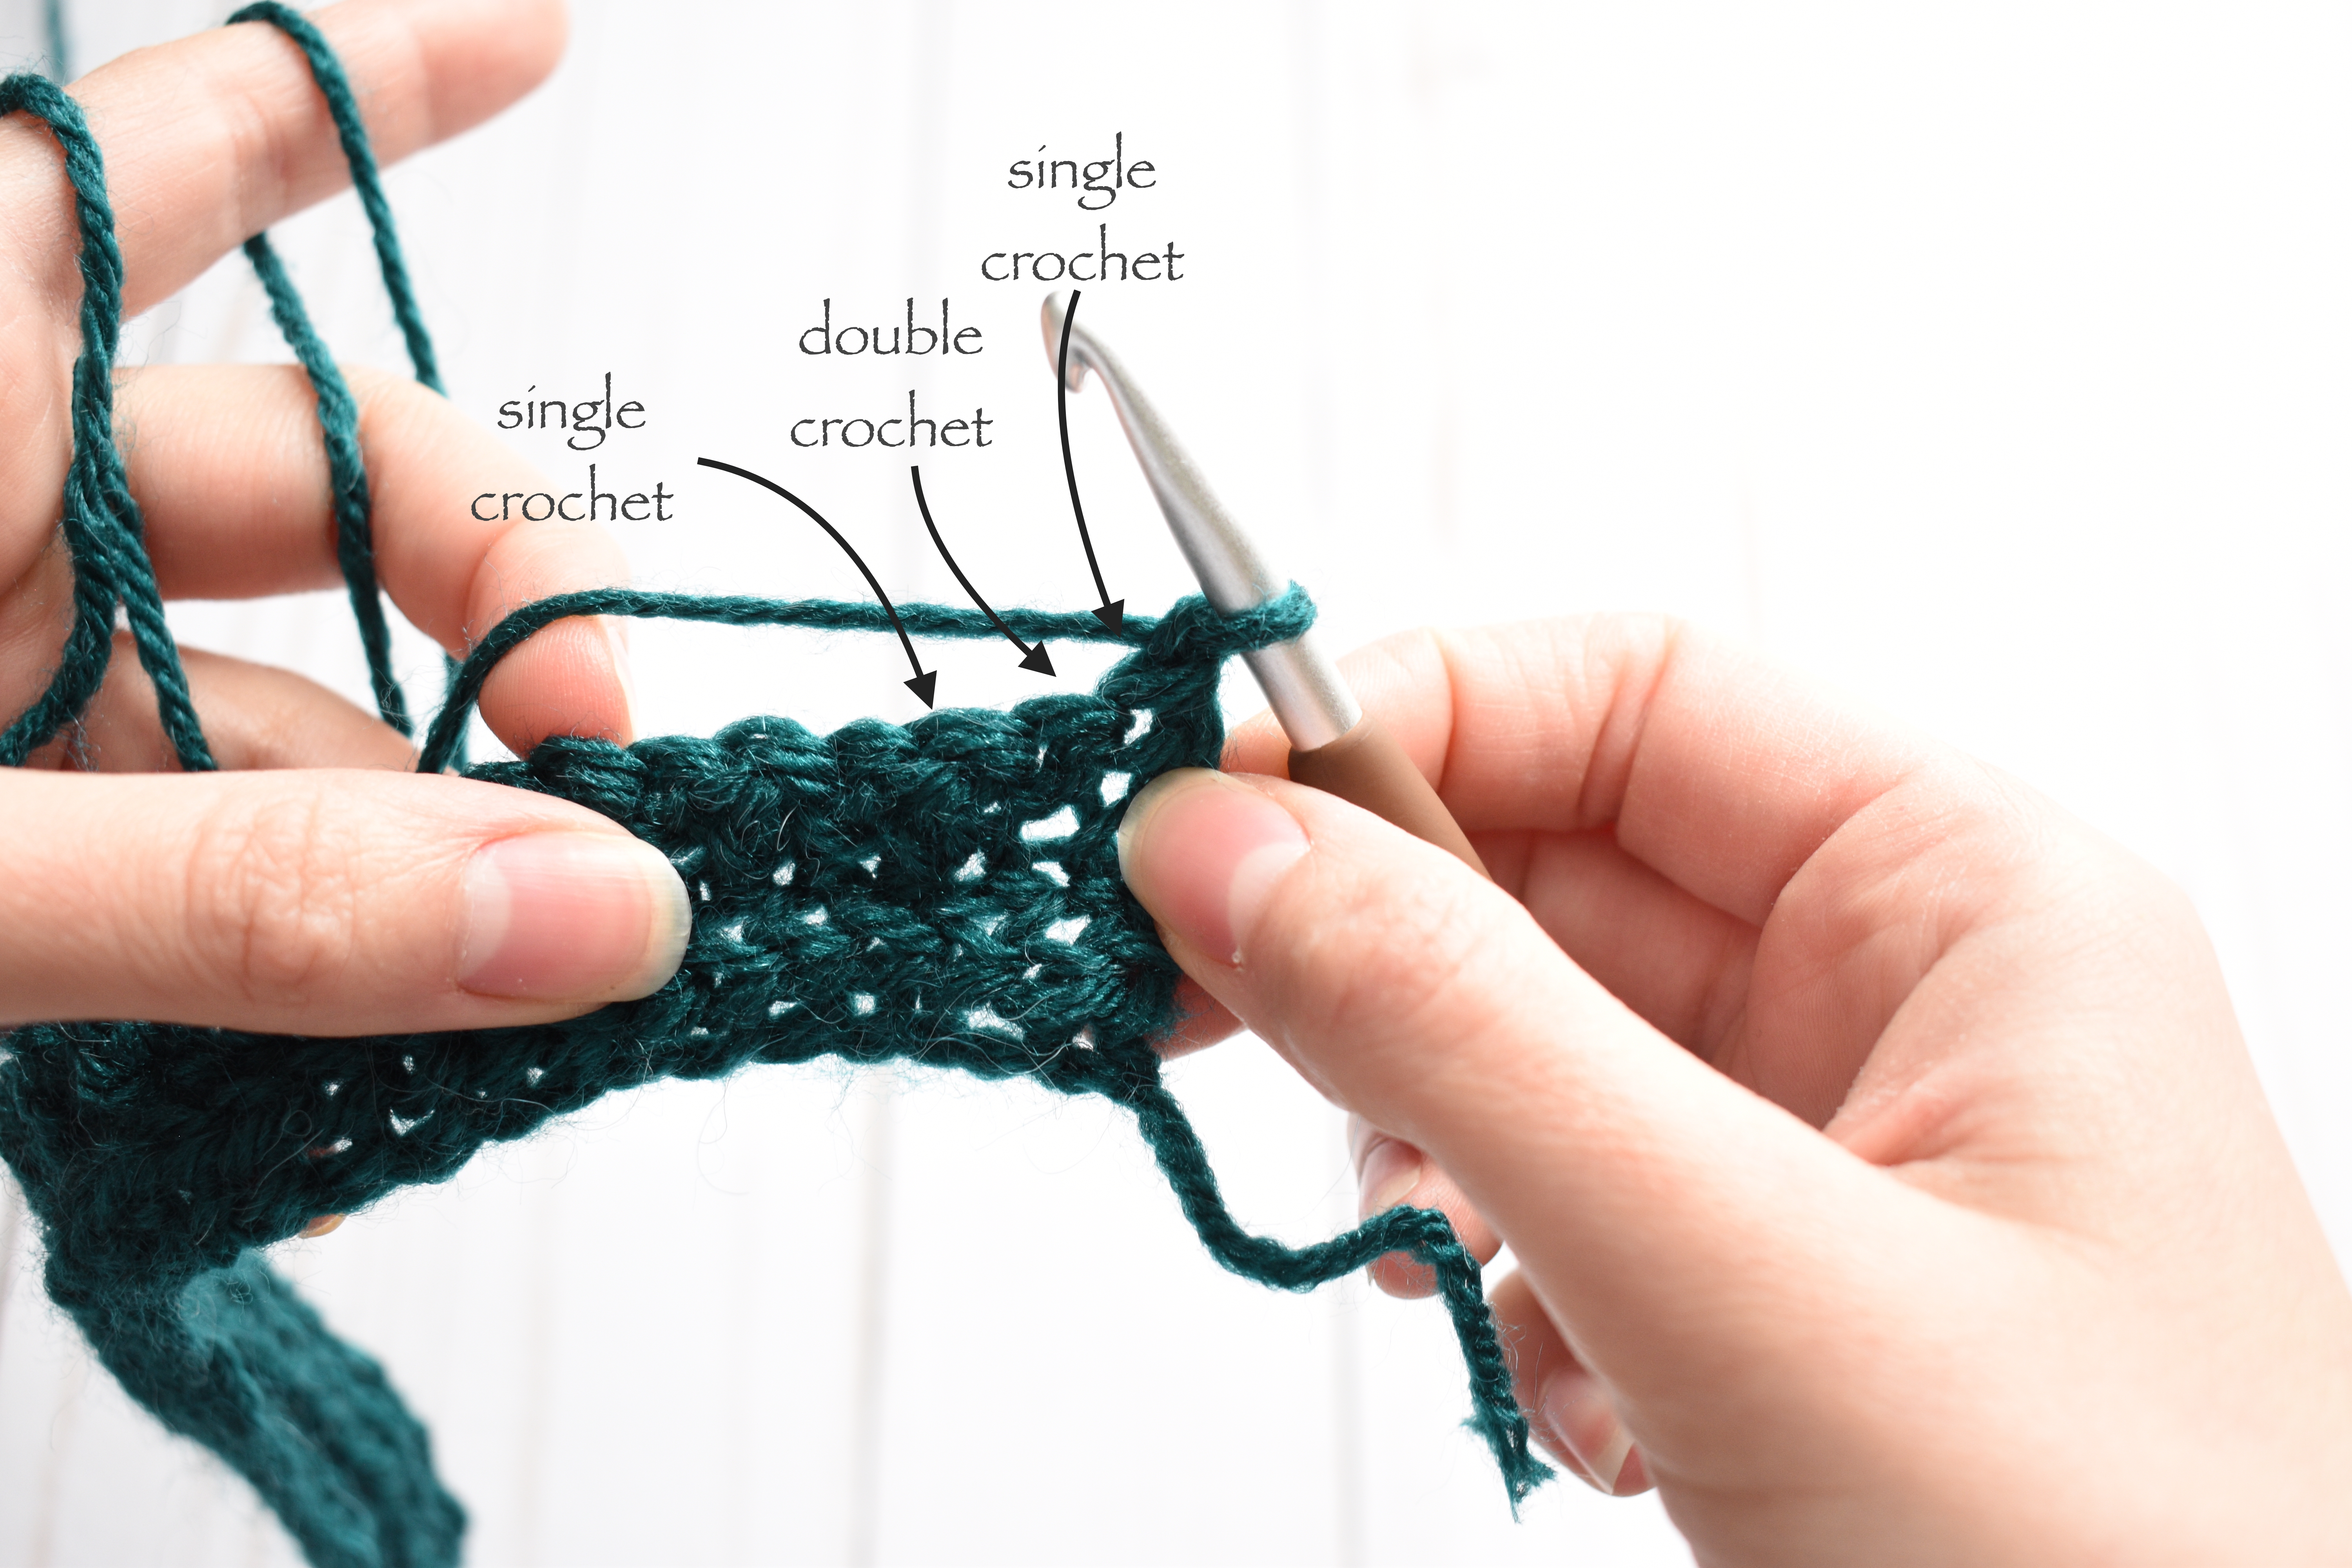
For the next row, you will work only 12 of the half double crochet slip stitches into the back loops only. After those 12 stitches are complete, you will start to work the seed stitch in back loops only.
You’ll start by working a single crochet in the back loop only


then a double crochet in the back loop only of the next stitch.
 You’ll finish the row by alternating between the single and double crochets worked in the back loops only across, ending in a double crochet (in the back loop only).
From here, you will turn and continue working the seed stitch, only this time the stitches will be worked under the “V” of each stitch rather than just into one loop.
You will switch back to the half double crochet slip stitch in back loops only for the last 12 stitches.

It should be noted, if you haven’t picked up on it yet, that those 12 stitches will ALWAYS be the half double crochet slip stitch in the back loop only. This will be the brim of your beanie, so take care to make sure you are working the correct stitches into that section for each row.

After working a few more rows of the seed stitch pattern, you will work 3 rows of half double crochet slip stitches in back loops only across the whole of each row.


From here it’s a simple matter of repeating the seed stitch rows and half double crochet slip stitch in back loop only rows until the rectangle is the right size to fit around your head.


I recommend working a rectangle that measures approximately 19″ across. The half double crochet slip stitches offer a lot of give, so this will make a beanie that will fit most adult female (21″-23″) heads without being too loose once worn.

If you want to make your beanie fit a smaller or larger head, then you would simply repeat the seed stitch/ hdc ss in blo row alternation fewer or more times depending on what your desired beanie size is. Each repetition will measure approximately 2″ unstretched if you use the same gauge I did.
At this point in the pattern you should be at the top of the rectangle (opposite end of the brim portion) having just worked a seed stitch row. You’ll work one last row of the half double crochet slip stitches to get back to the brim portion.
You’ll now fold the rectangle in half with the right side facing in and the wrong side facing you. You can tell it’s the wrong side because you’ll only see one clear hdc ss row for each section (as opposed to the two on the right side).

From here you will slip join the foundation row to the last row by working slip stitches into the foundation chain and the 3rd loop of the corresponding half double crochet.
It’s important to make sure you’re working into the 3rd loop (or the “hump”) of the half double crochet rather than into the back loop or both loops as previously. This will make sure that the “V” of the stitch is facing out when you turn the beanie right side out again.


Once you join the foundation to the last row in each stitch across, you should have a cylinder that you can now turn right side out again.
The last step is to close up the top of your beanie. I like to do this by using an embroidery needle to weave the tail in and out around the top most stitches.

After you’ve weaved the tail completely around the top of the beanie, you will pull it tight and tie it off.

I like to then weave the tail a few more times into opposite stitches, to make sure the hole is nice and secured shut, tying off one more time.
Weave in the end and attach a pom pom if so desired. It’s that simple!

I also, love that you can fold up the brim for a completely different look, and more form fitting beanie.

I don’t have a 6 mm hook or access to one. I’m using a 5 mm hook and yarn, are there any adjustments I need to make for this?
Hi Delilah,
Anytime you’re making a crocheted or knitted wearable, gauge is more important than hook size. If you can obtain the gauge of the pattern with the 5mm hook, then the pattern should work out fine! If not, you’ll have to do the adjusting on your end to compensate for the differences. I have included info on how to adjust the sizing on this beanie in the blog post associated with it. You can find that here: https://apurposeandastitch.com/the-jennie-beanie-blog-post/
Hope this helps and happy crocheting!
-Bernadette
This is a great beanie! I love the look and it’s easy to make with your clear instructions. Thank you for sharing!!
Awe, that means so much. Thanks for the kind words Rainey!