Honey Bee Amigurumi- 2 Different Ways Free Pattern

**Below you will find the written pattern for the Honey Bee Amigurumi pattern. For the step-by-step picture tutorial of how to create these cuties, visit our blog post here.**
A few months back my sister-in-law had suggested that I create a pattern for a honey bee that my in-laws would be able to sell at their farmers markets. I knew then that if I ever got around to creating one, I would want to use the dog slicker brush technique to agitate the fibers and make it a furry honey bee.
However, it wasn’t until I decided to put together a honey themed gift basket for my OBGYN, that I decided to make a “mommy and baby” set. After making the baby, my husband suggested I turn it into an ornament and give one to my in-laws for Christmas.
Thus, the Honey Bee Amigurumi- 2 Different Ways pattern was born.
I hope you all enjoy making these cuties as much as I did!
What you Need
Mustard yellow medium weight (4) acrylic yarn – approximately 15 yards for mommy and approximately 5 yards for baby/ornament
Brown medium weight (4) acrylic yarn- approximately 10 yards for mommy and approximately 3.5 yards for baby/ornament
3.5 mm crochet hook (for the mommy)
2.75 mm crochet hook (for baby/ornament)
Fiber Fill
10 mm safety eyes- for the mommy
6 mm safety eyes- for the baby/ ornament
embroidery needle
black embroidery floss
White felt
Black thread
Needle
Dog slicker brush
Completed Measurements
Mommy- 4 1/2″ long, 2 1/2″ tall
Baby/ Ornament- 3″ long, 1″ tall
Abbreviations Used
sc= single crochet
inc= increase (single crochet 2 into 1 stitch)
dec= decrease (I used the invisible decrease method)
yo= yarn over
pu= pull up
fo=fasten off
Pattern for Mommy
Using 3.5 mm crochet hook
Foundation: work 6 into a magic ring (6)
Round 1: inc in each around (12)
Round 2: *sc, inc, repeat from * around (18)
Round 3: *sc 2, inc, repeat from * around (24)
Round 4-7: sc around (24)
Round 8: *sc 2, dec, repeat from * around (18)
with your starting chain located at the bottom of your work, embroider on smile and add 10mm safety eyes between rounds 5&6 on either side of the head
Round 9: *sc, dec, repeat from * around (12)
*In the last stitch, pull up brown yarn and begin the next round in that color*
Round 10: (in brown) *sc, inc, repeat from * around (18)
Round 11: *sc 2, inc, repeat from * around (24)
Round 12: sc around (24)
*In the last stitch, switch back to yellow yarn*
Round 13: (in yellow) sc around (24)
Round 14: *sc 3, inc, repeat from * around (30)
Round 15: sc around (30)
*In the last stitch, switch back to brown yarn*
Round 16-20: (in brown) sc around (30)
*In the last stitch, switch back to yellow yarn*
Round 21-22: (in yellow) sc aruond (30)
Round 23: *sc 3, dec, repeat from * around (24)
Round 24: *sc 2, dec, repeat from * around (18)
*In the last stitch, switch back to brown yarn*
Round 25: (in brown) sc around (18)
Round 26: *sc, dec, repeat from * around (12)
Round 27: dec around (6)
Round 28: sc around (6)
Round 29: dec around, fo (3)
Pattern for Baby/ Christmas Tree Ornament
Using 2.75 mm crochet hook
Foundation: work 5 into the magic ring (5)
Round 1: inc in each around (10)
Round 2: *sc, inc, repeat from * around (15)
Round 3-6: sc around (15)
with your starting chain located at the bottom of your work, embroider on smile and add 6mm safety eyes between rounds 4&5 on either side of the head.
Round 7: *sc, dec, repeat from * around (10)
*In the last stitch, pull up brown yarn and begin the next round in that color*
Round 8: (in brown) *sc, inc, repeat from * around (15)
Round 9: *sc 2, inc, repeat from * around (20)
*In the last stitch, switch back to yellow yarn*
Round 10 -11: (in yellow) sc around (20)
*In the last stitch, switch back to brown yarn*
Round 12 -13: (in brown) sc around (20)
*In the last stitch, switch back to yellow yarn*
Round 14: (in yellow) *sc 2, dec, repeat from * around (15)
Round 15: sc around (15)
*In the last stitch, switch back to brown yarn*
Round 16: (in brown) *sc, dec, repeat from *around (10)
Round 17: dec around (5)
Round 18: dec, sc, dec, fo (3)
Assembly
To weave in the tail end, take your embroidery needle and feed the tail through the very center of the last round, pull through the center of the bee. This will give the stinger a bit more definition. 
Take the dog slicker brush and use it to agitate the fibers of the bee’s body until the bee begins to look furry.
Cut 2 wings from white felt in a tear drop shape, with a flat bottom. Using black thread and needle, embroider on the wing’s veins. Work a few stitches in a straight line up the center of the wing, and as you work back down add branches to the sides of the center vein. Keep in mind how the back of the wing looks as you embroider, as both sides of the wings will be visible.
Attach wings to either side of the bee by the first yellow stripe of the body, using needle and thread.
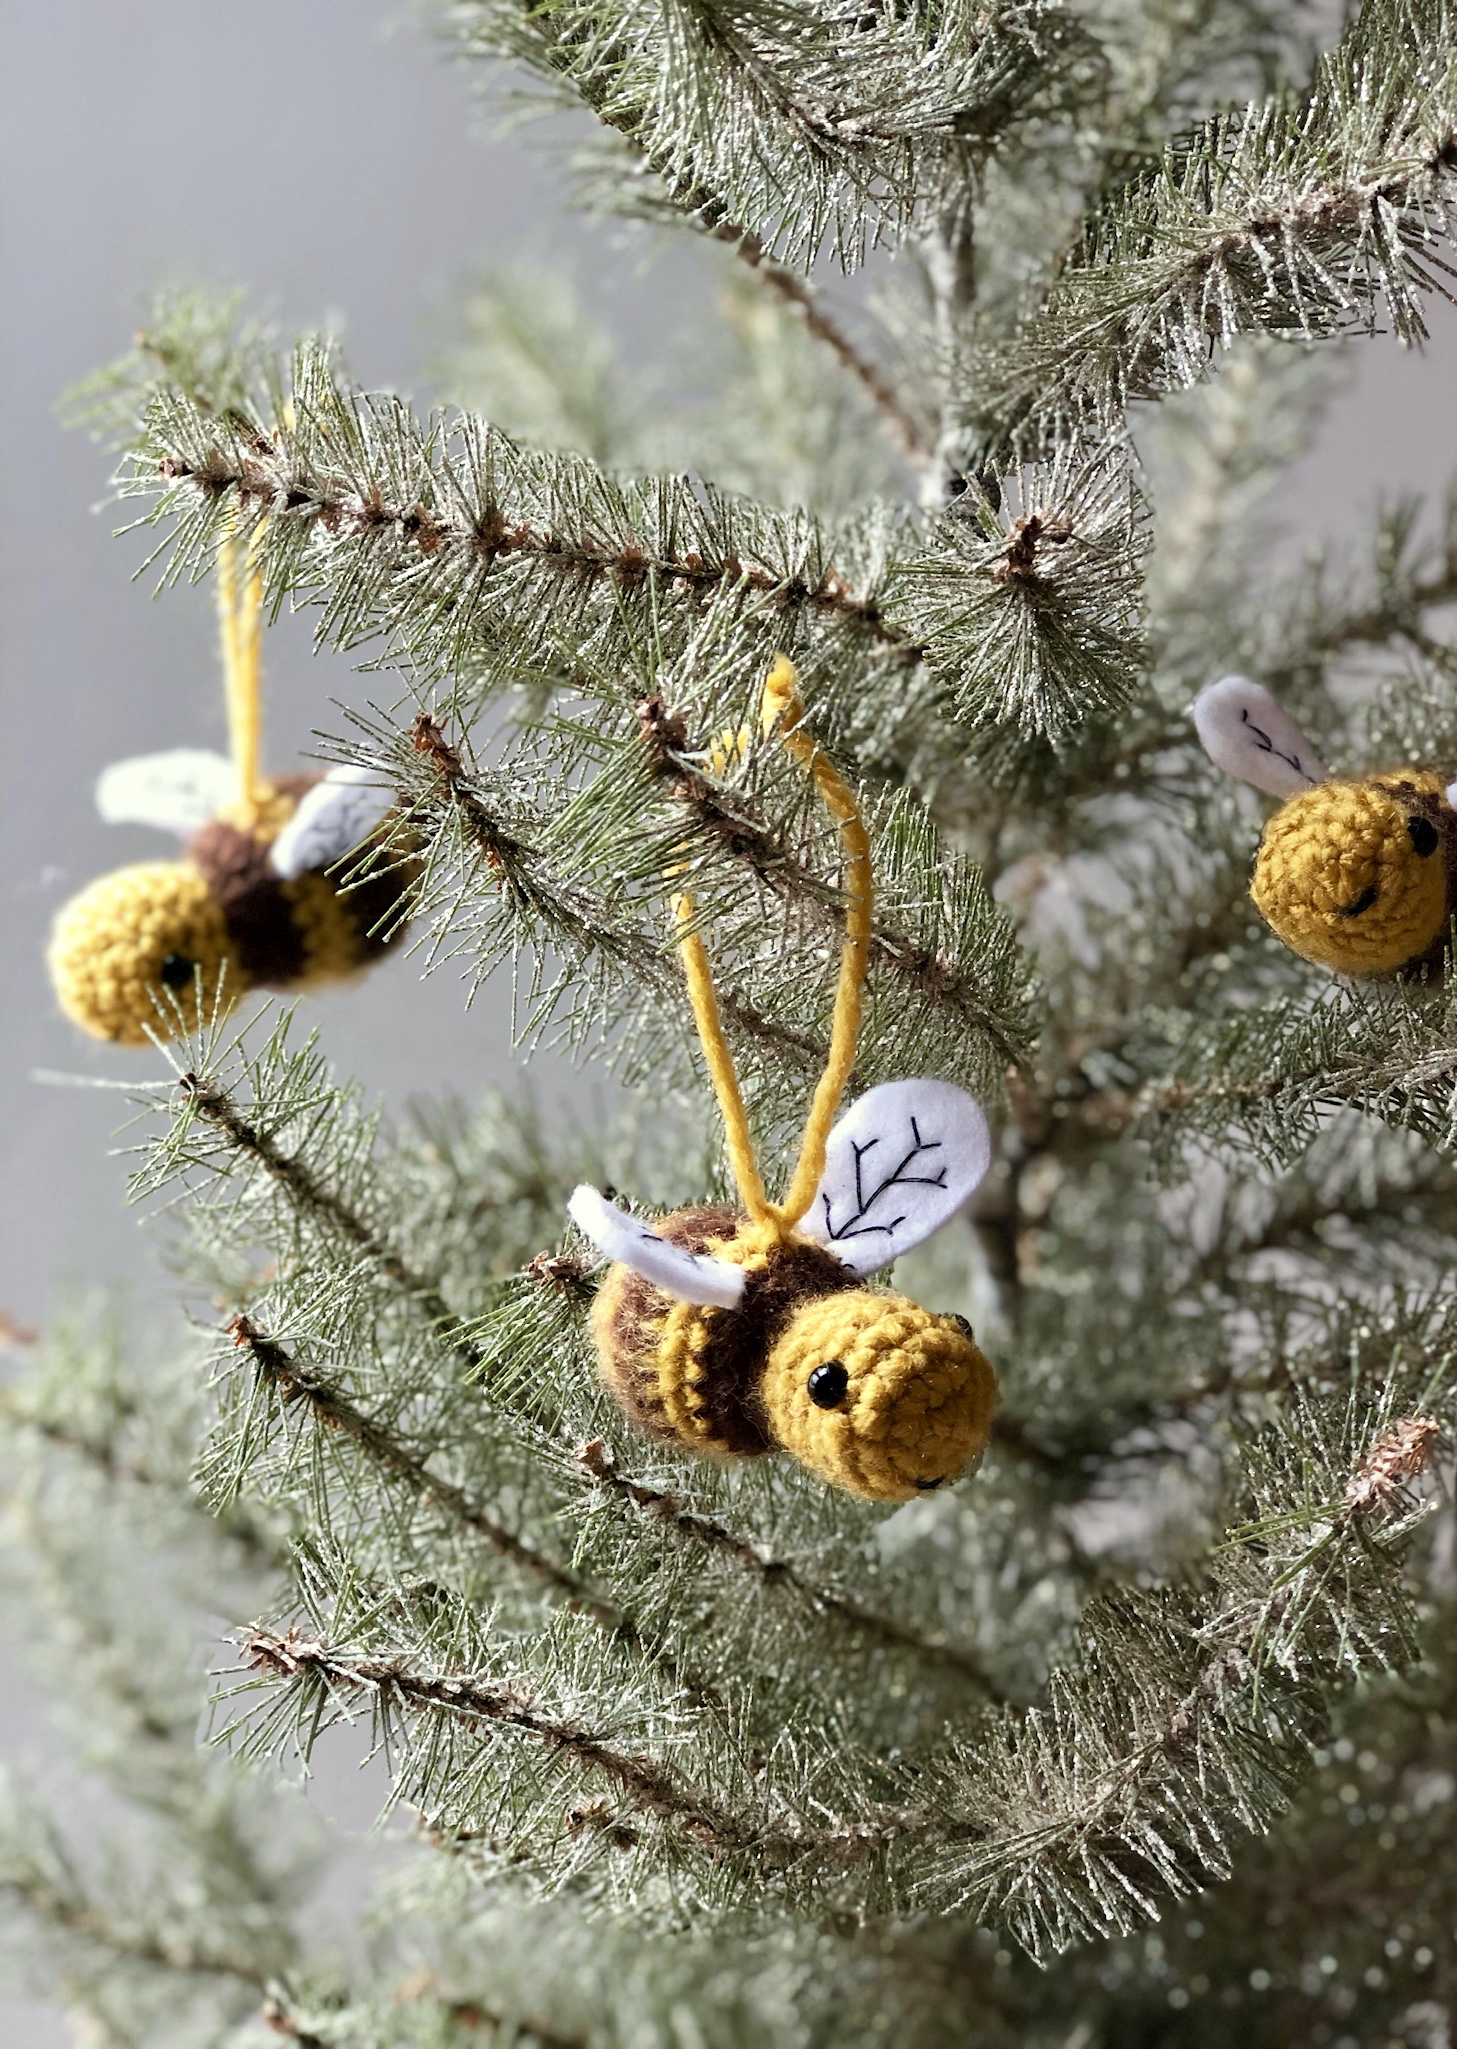
To turn the baby bee into an ornament, take a 6″ strand of yarn or jute and weave under a stitch between the wings. Tie a knot at the top.
Thats all there is to it! I hope you enjoyed this pattern and tutorial!


