Normal & Invisible Decreases: How to work & the difference between them

I’m mostly here to today to introduce you to the invisible decrease. I’ve been crocheting for a long while and working with Amigurumi for several years now, but had never heard of the invisible decrease until a few weeks ago.
 I’ll admit, at first I was a bit sceptic. Why would I change something that had been working just fine for me for so long? You may be thinking the same thing too, but let me tell you… this technique can be a life changer if you are working tight stitches with a regular smooth yarn.
Some yarns are more forgiving, so you can get by with a normal decrease. However, normal decreases can leave a little more gapping with some of the less forgiving yarn out there which can be problematic with amigurumi and stuffing.

Normal decreases are also a little more obvious to the trained eye, whereas the invisible decrease blends in much better with other stitches. So why not give it a go on your text amigurumi project?
The invisible decrease is surprisingly easy, it just takes a little brain adjustment to get used to the movement.
This tutorial will walk you through the differences between a single crochet decrease and an invisible decrease. This technique is intended to be used while working in the round, with single crochet stitches.
As you may already know, with a normal decrease you insert your hook into the first stitch, yarn over, and pull up a loop. 
Then, while leaving the first two loops on your hook, you’ll insert into the next, yarn over and pull up another loop.


Completing the decrease by yarning over and pulling through all 3 loops on your hook.

So now that we’ve covered what a normal decrease looks like, lets discuss the invisible decrease.
First thing you should be aware of is that with an invisible decrease, you will be working into the front loops only of the two stitches you are decreasing.
So to start out, you’ll insert your hook into the front loop of your first stitch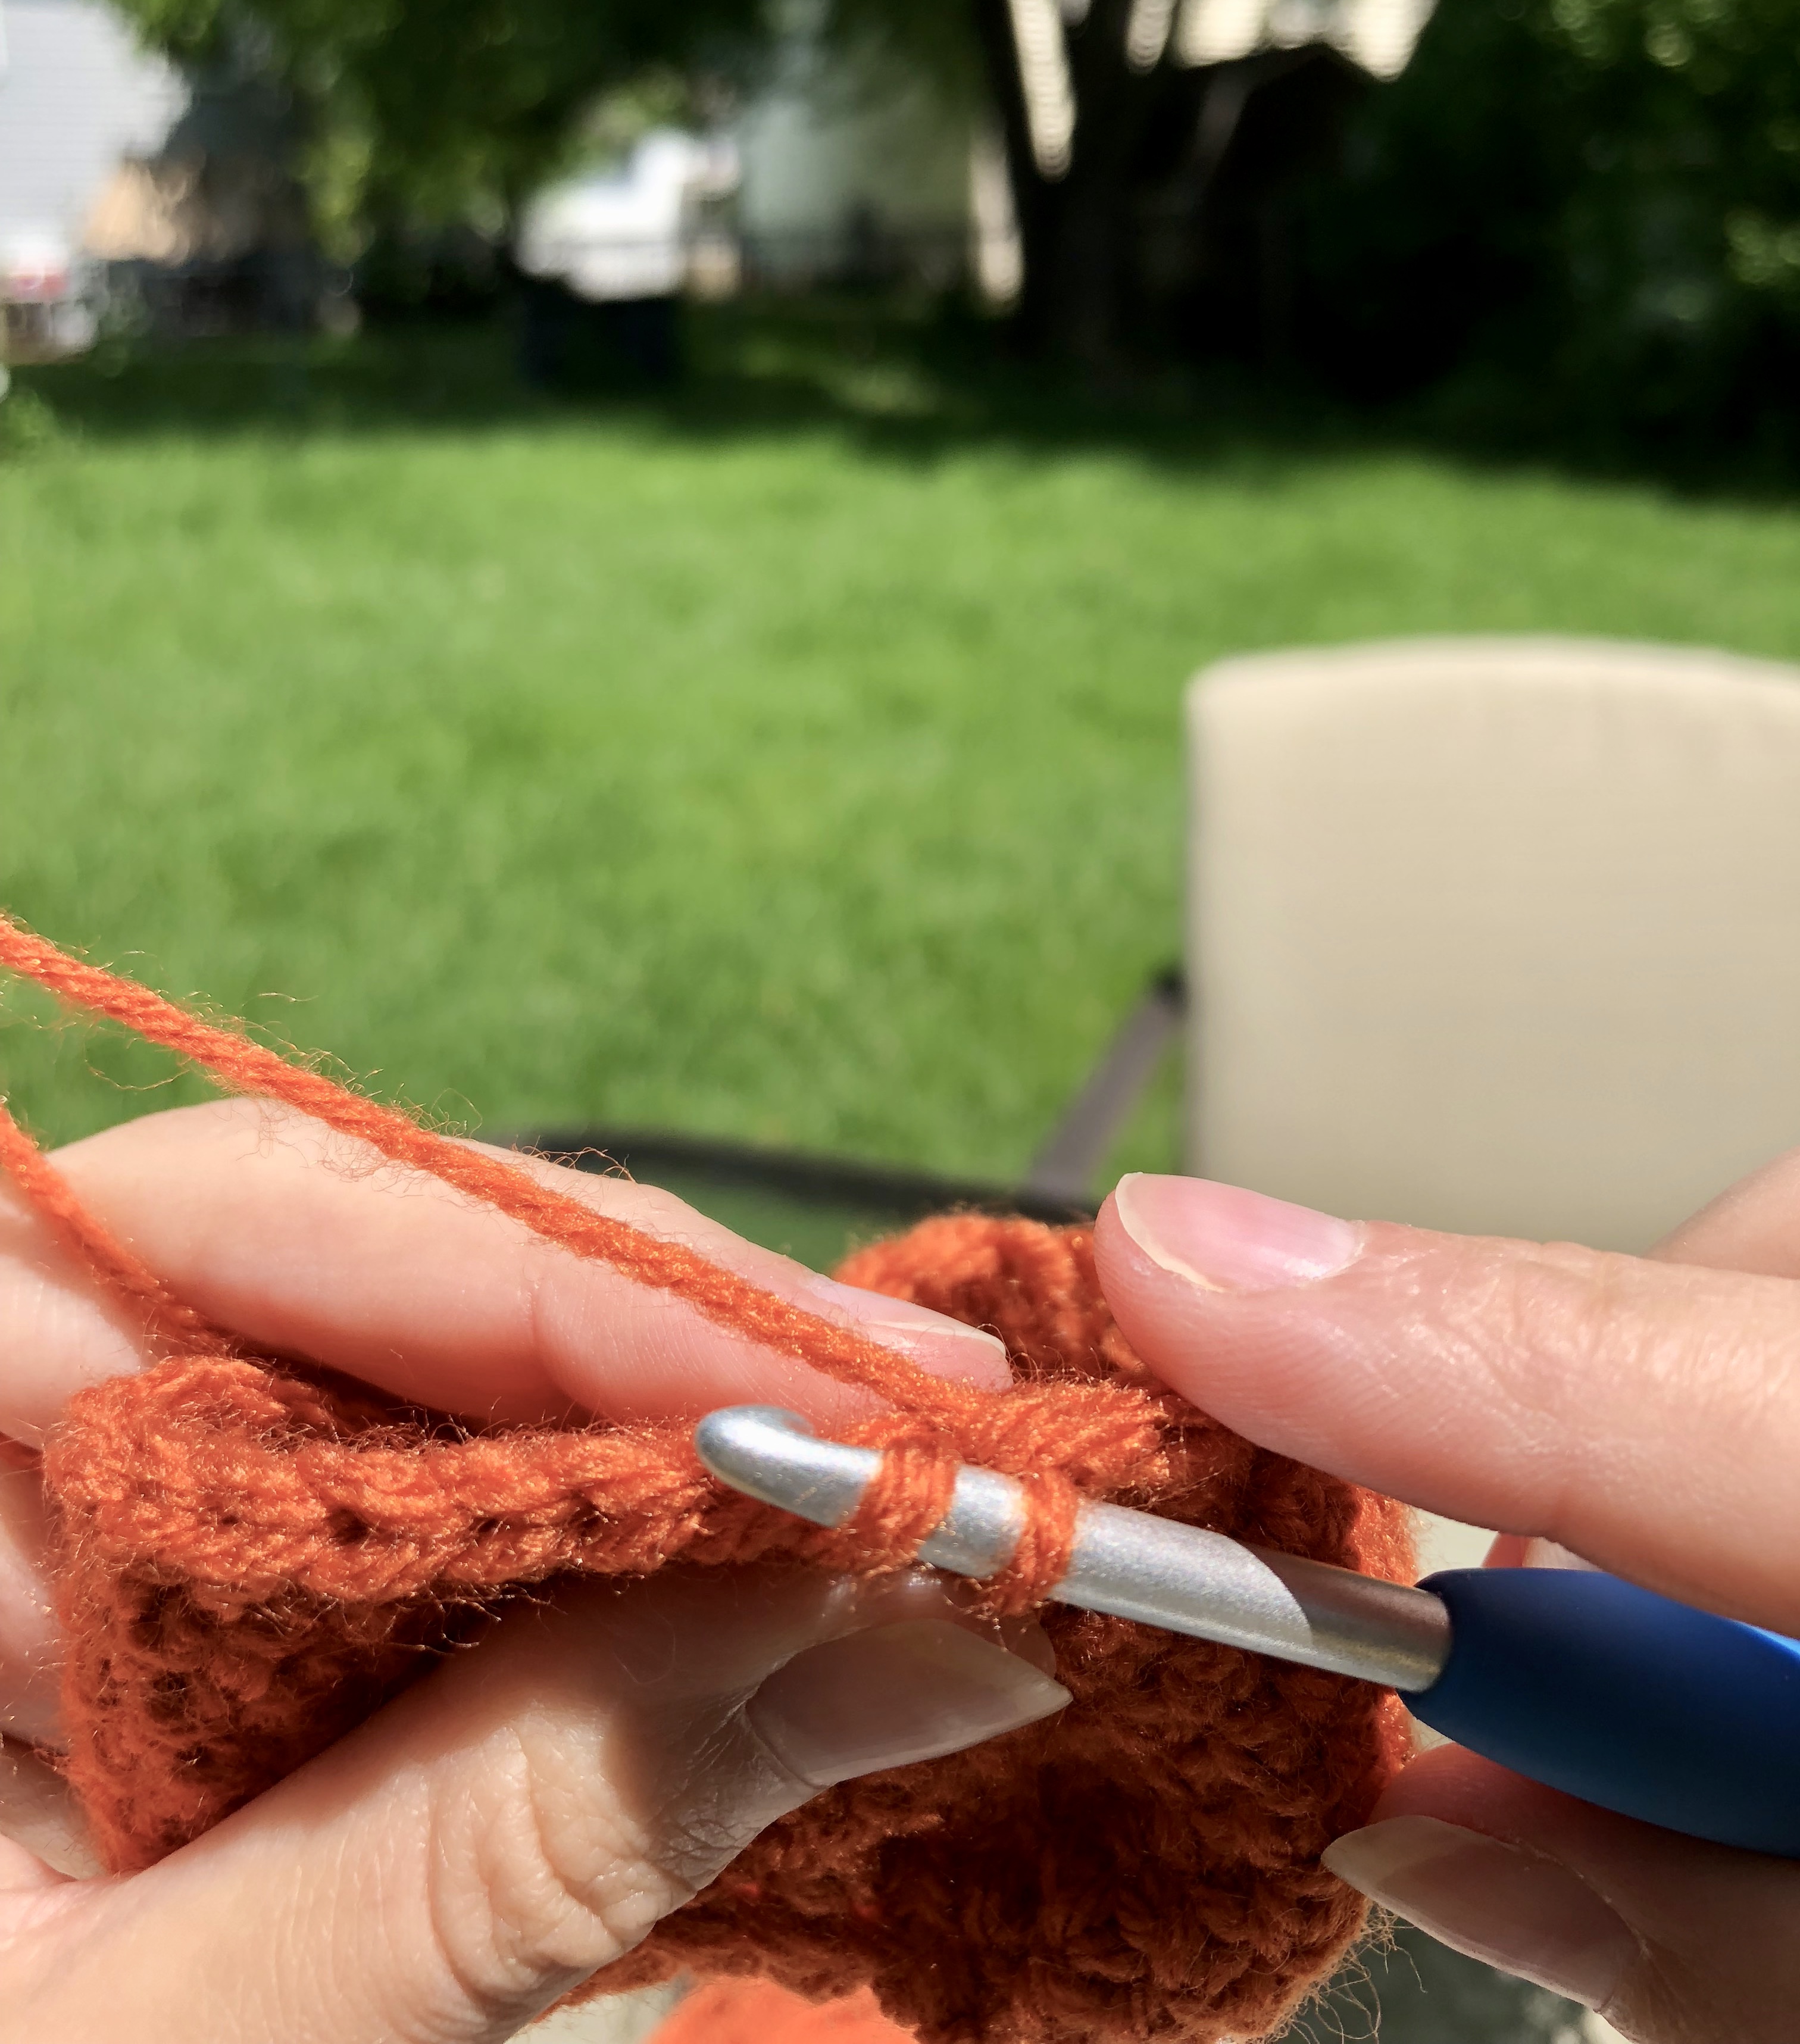
then, without yarning over, you will insert your hook into your second stitch.


From here, you will yarn over and pull through all 3 loops.


Invisible decrease completed!
Can you notice the difference here? The first shot is of 3 normal decreases in a row, and the second is of 3 invisible decreases in a row.


To show the difference in a bit more exaggerated form, here is a side-by-side of the two stitches after this piece was stuffed withs some fiber fill.


I hope you found this tutorial both informative and helpful! Why not test out this method on your next project, so you can experience the difference for yourself!
Happy Crocheting!
