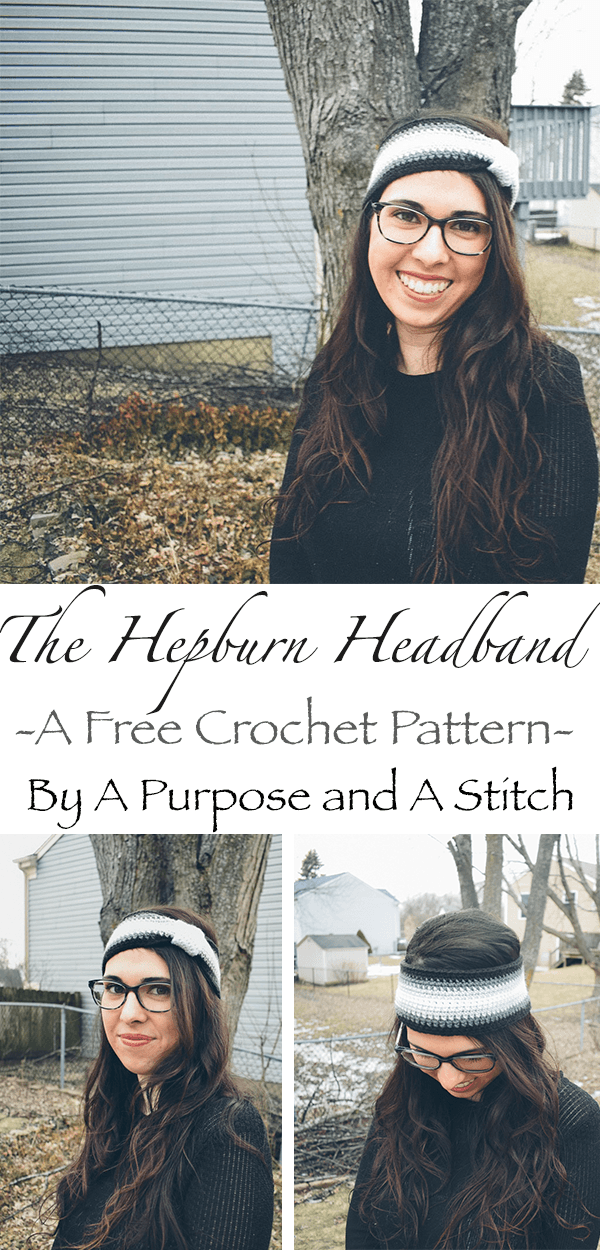
The Hepburn Headband- Free Pattern

**Below is the step-by-step picture tutorial to making the Hepburn Headband. If you’re here for the free pattern, you can locate it at the bottom of this post.**
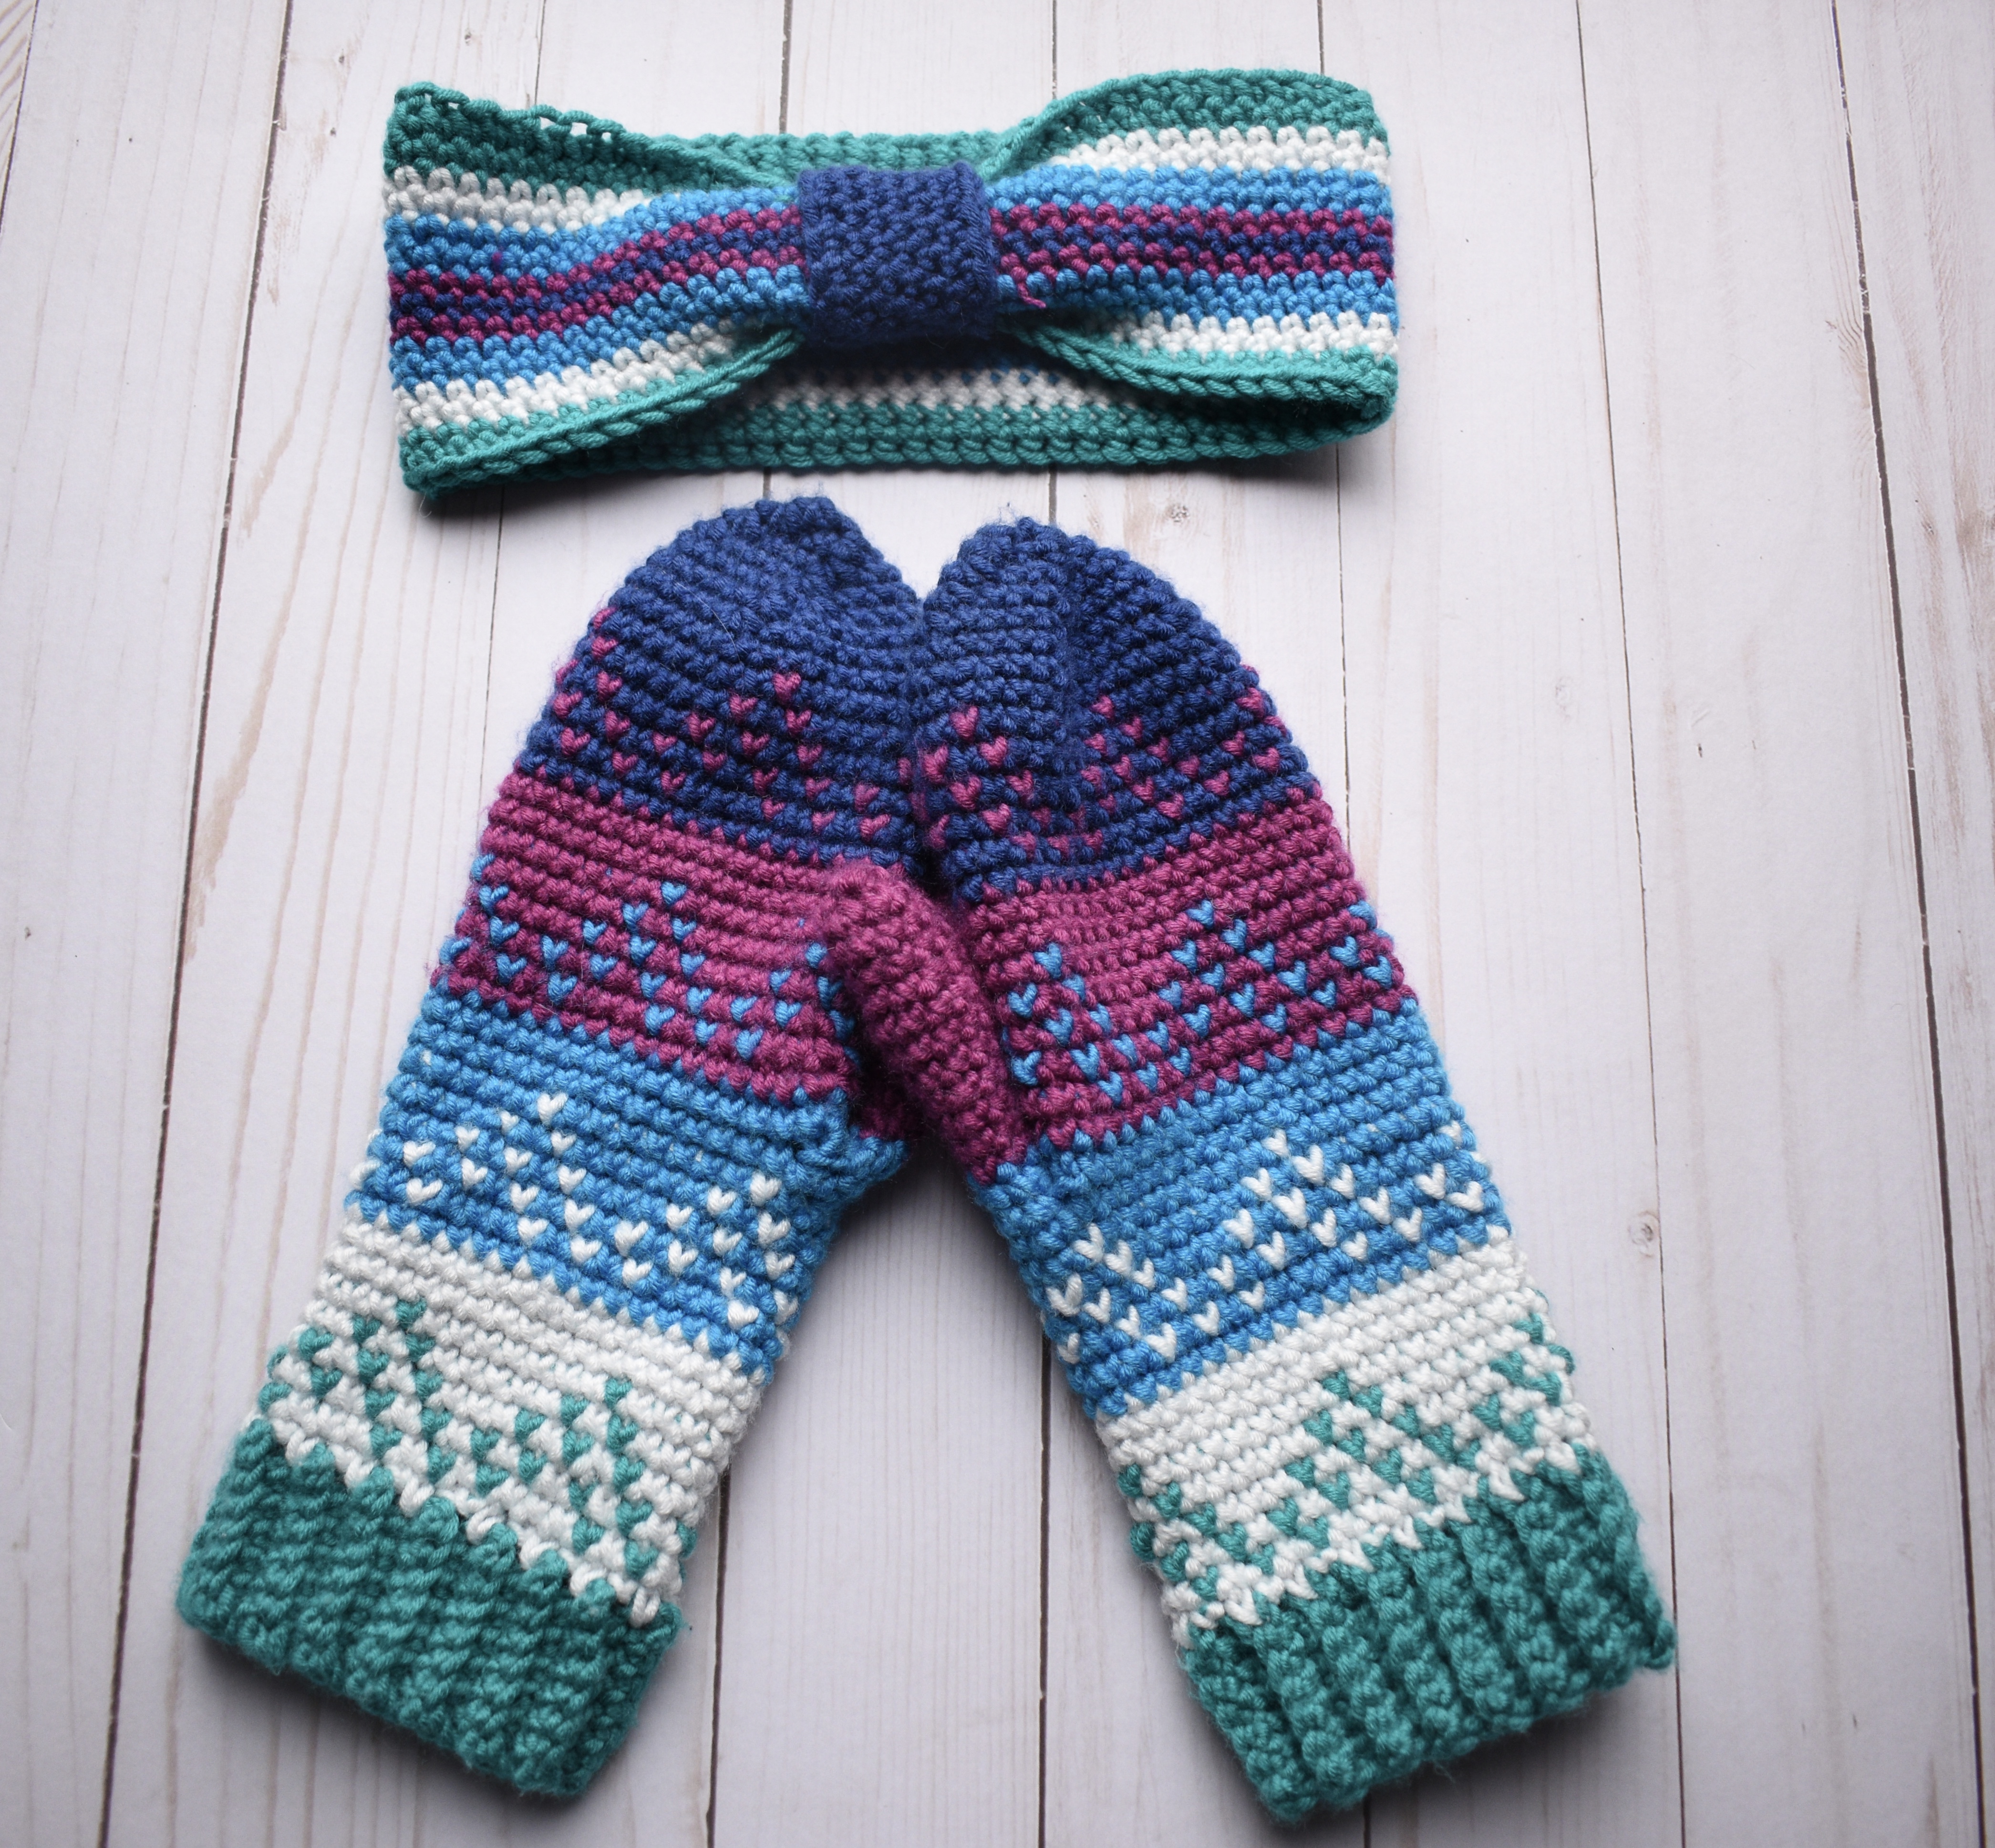
A few weeks back, I released the Andes Fair Isle Mitten pattern and promised that I’d release another pattern that uses the remainder of the second braid of yarn from those mittens.
Took a bit of finagling, but I think I got it! This headband is a simple stripped single crochet project that works up quickly and will compliment your Andes Fair Isle Mittens well.
Since my son’s name (Andy) was the inspiration for the name of the mittens, I figured I’d use my daughter’s name (Audrey) for the inspiration of this headband. I just love how this one turned out, and hope you do to!
This headband is worked in joined rounds, with the various colors being carried up in the first stitch of each round so there is no weaving in of ends once complete.
To start the first round you will chain 72 (or more or less if you are adjusting this to fit a different head size). Join the first chain to the last and work the next 2 rounds in the same color.


After the completing the 2nd round of the first color, you will pick up the second color (do not cut off the first color).


Work 2 rounds in the second color, carrying the first color into the join and first stitch of each round.


Next, you will pick up the 3rd color and work 2 rounds in this color- again not fastening off either of the 2 prior colors, but carrying up into the joining stitch of each round.
Repeat with the 4th color, but only work 1 round in this color.


Last, you’ll pick up will be the 5th color, and you will work only 1 round in this color.
After this round is complete, you can cut this color off leaving a small tail to be worked into the first few stitches of the next round (securing it in place).


You’ll now begin to work the color changes in the opposite order, working another round of the 4th color and then two rounds of the 3rd, 2nd and then first color, continuing to carry up the uncut and unused colors into the joining stitch of each round. You will cut off each color at the end of its use and carry the tail into the first few stitches of the next round.


Once the last round in the first color is complete, you can fasten off and leaving a 6-7″ tail.
You will now use that tail to secure the shape of the headband. If you’d rather have a headband without the tie in the center, then you can skip this next portion and just weave in the tail.

To secure the shape, you will crease the headband so that the 2nd color on the top and bottom touch in the center (located in toward the inner part of the headband). I recommend doing this at the join stitch area of the headband. This way the join will be hidden beneath the tie.

Use the aforementioned tail to tack down the creases made, so that the first and 3rd color on both the top and bottom are touching.


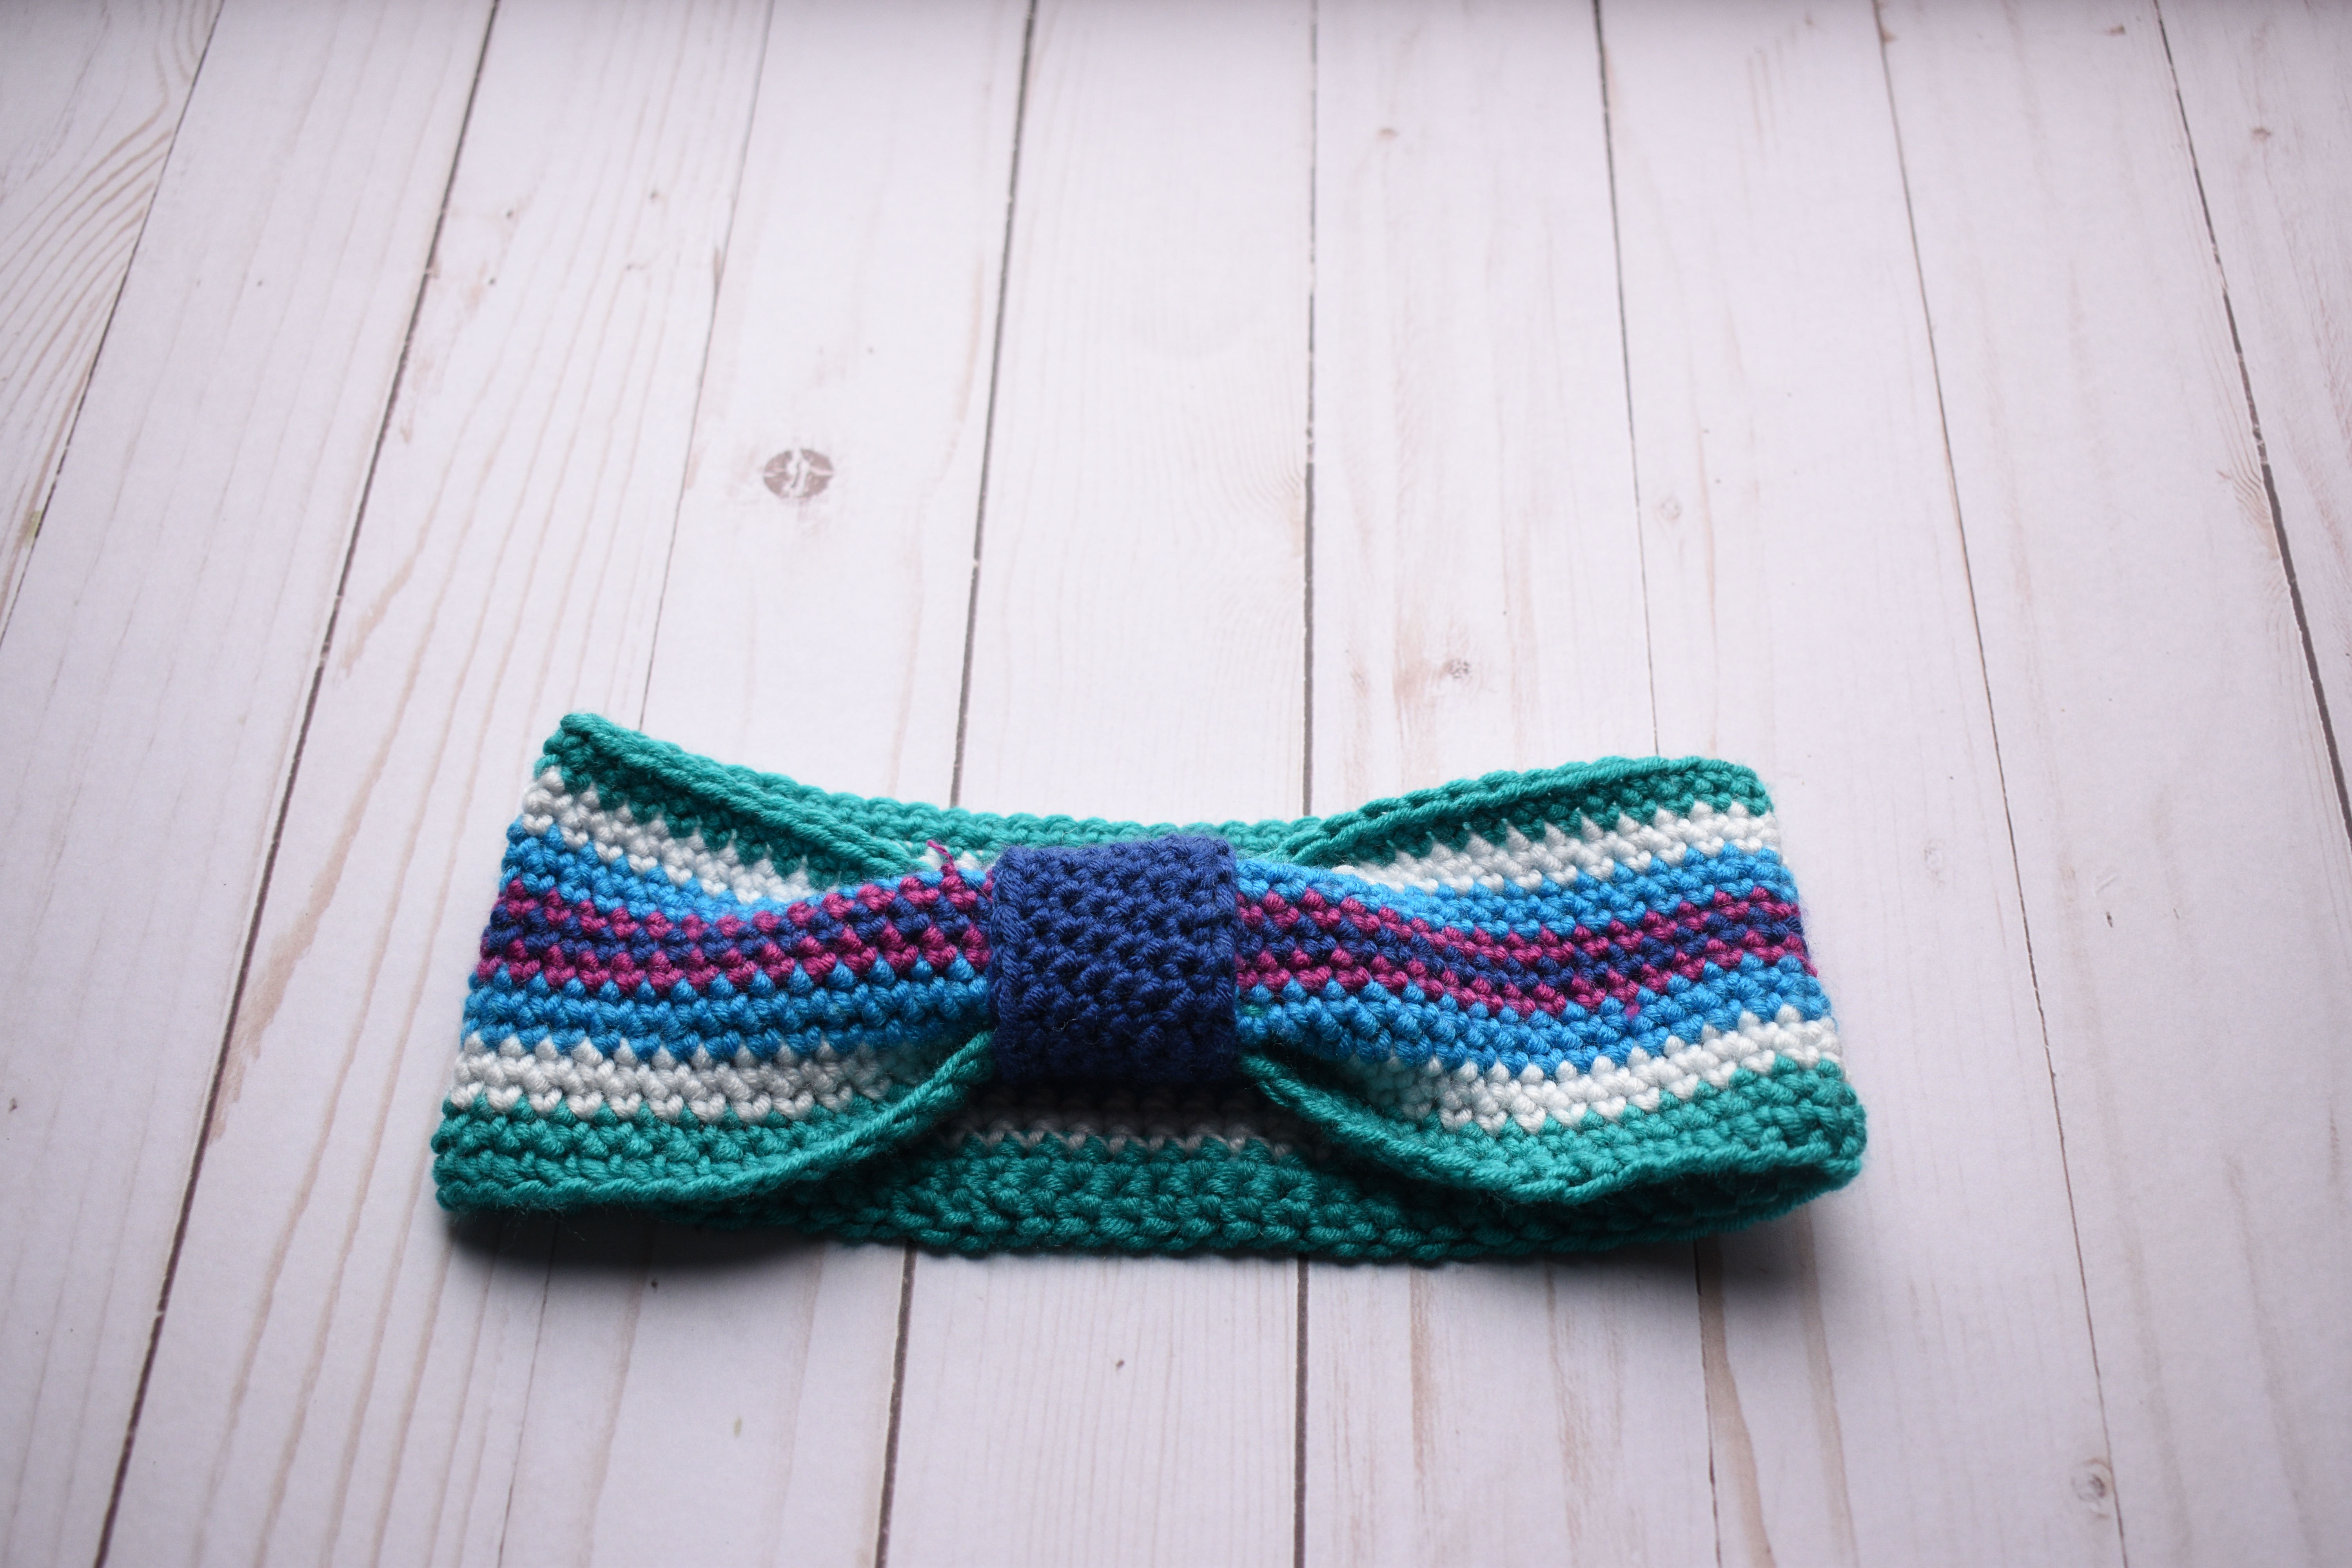
You’ll now add the center tie, which is worked directly around the pinched area (as opposed to a square or rectangle joined later).
To start the tie, you will chain 12. You’ll then feed it through the center of the headband and join the last chain to the first.


From here you will work 7 total joined rounds, all worked around the pinched area of the headband. You will need to rotate the tie as you work, but trust me, it’s actually much easier to do than you might think.


After working the last round of the tie, you will fasten off and weave in the end. Twist the tie so that the joins are underneath the headband, and you’re all done!
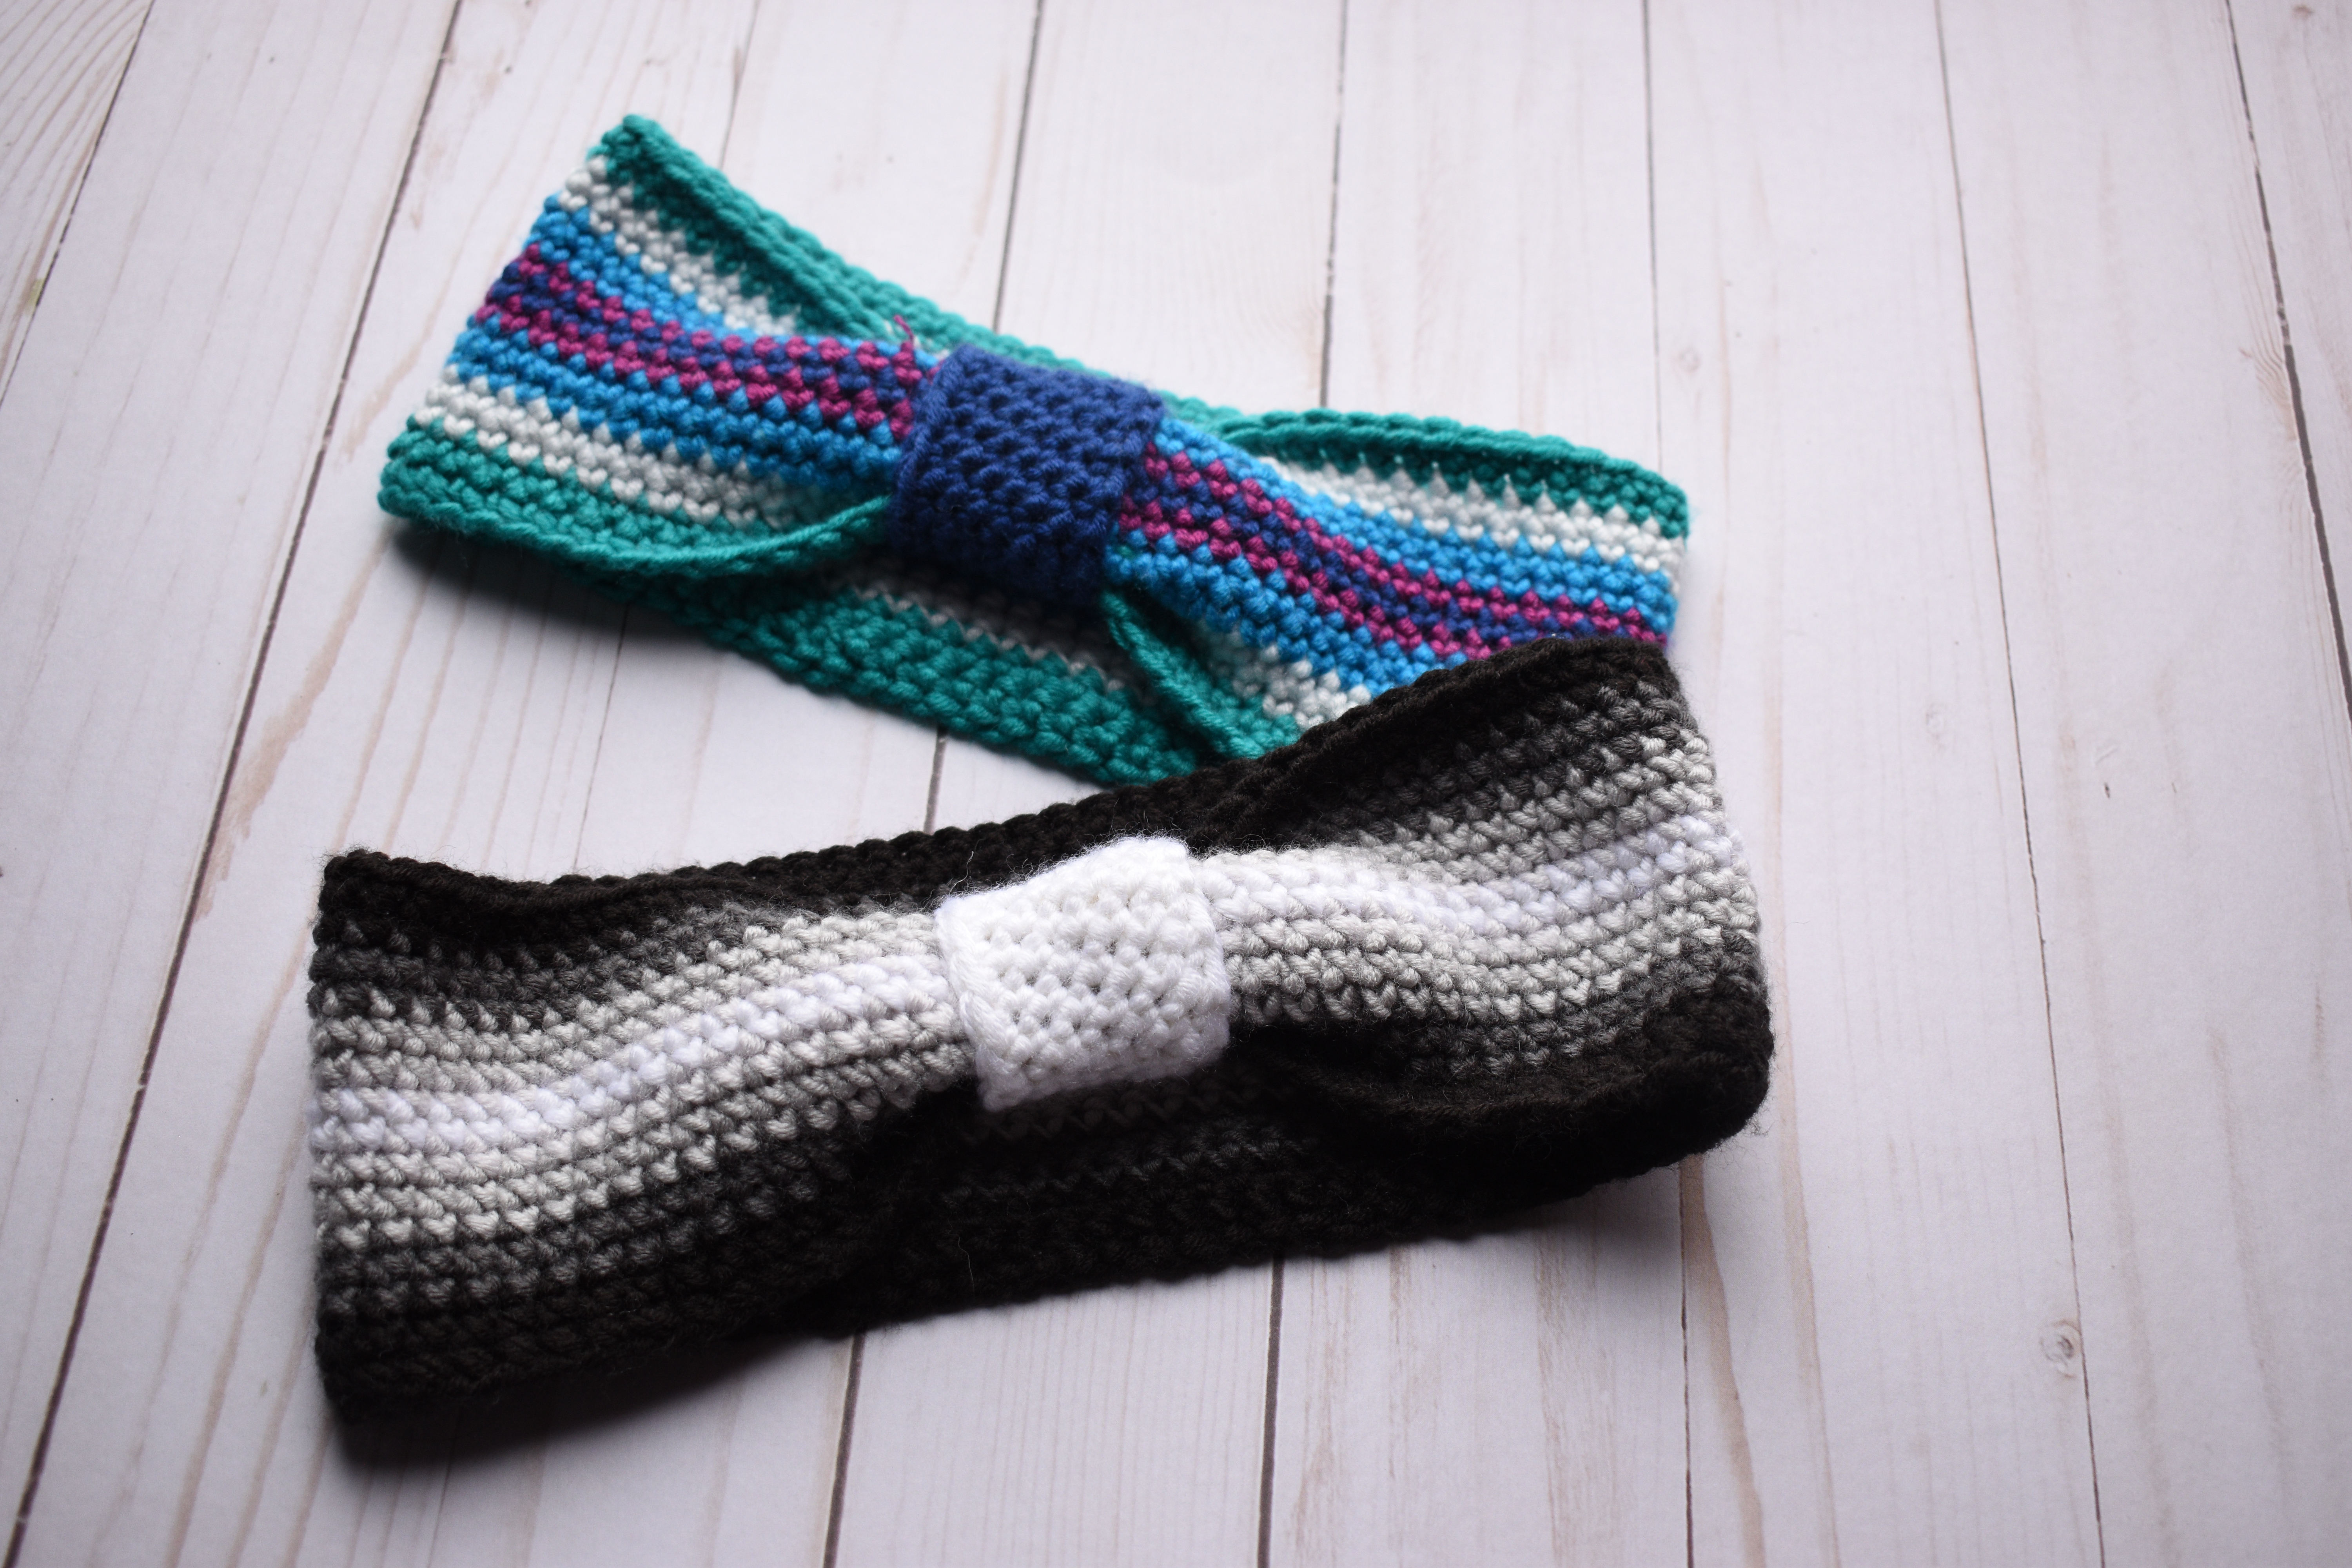
I hope you enjoy making the Hepburn Headband and cant wait to see what colors you choose to make yours!
What You’ll Need
6.0mm (US J) Crochet Hook
1 Caron X Pantone Braid (approximately- 16 yards in the 1st, 2nd and 3rd color, 14 yards in the 4th color and 11 yards in the 5th color)
scissors
embroidery/ darning needle
Completed Measurements
19″ around
3 1/4″ wide
Gauge Used
15 sc sts= 4″
9 rows = 4″
Abbreviations Used
ch=chain
sc= single crochet
st= stitch
Pattern Notes
- This pattern uses US Standards
- If you are making this headband in tandem with the Andes Fair Isle Mittens, then there is a bit of “yarn chicken” with the 4th color. If you’re not a fan of playing yarn chicken, then I recommend not making the tie portion and flip flopping the 4th and 5th colors.
- Because this pattern was created to use up left over yarn, I made it on the smaller side of the average adult female head (measuring in at about 21″ once stretched). If you have a larger head, or want a looser fitting headband, then you can increase the stitches for each round by however much you need (about 4 stitches per inch increase).
- As mentioned in the picture tutorial above, you will not cut off the unused colors until mentioned in the pattern. Instead, you will carry the unused color strands up into the joining stitch of each round.
Headband Pattern
Foundation: In the 1st color, Ch 72, join last ch to the first, creating a cylinder (72)
Round 1-2: [continuing in the 1st color] ch 1, sc around, join to the 1st st of previous round (72)
Round 3-4: pick up 2nd color, ch 1, sc around, join to the 1st st of previous round (72)
Round 5-6: pick up 3rd color, ch 1, sc around, join to the 1st st of previous round (72)
Round 7: pick up 4th color, ch 1, sc around, join to the 1st st of previous round (72)
Round 8: pick up 5th color, ch 1, sc around, join to the 1st st of previous round (72)
Round 9: Cut off 5th color leaving 1″ tail, pick up 4th color, ch 1, sc around (carrying 5th color tail into first few sts), join to the 1st st of previous round (72)
Round 10: Cut off 4th color leaving 1″ tail, pick up 3rd color, ch 1, sc around (carrying 4th color tail into first few sts), join to the 1st st of previous round (72)
Round 11: [continuing in 3rd] ch 1, sc around, join to the 1st st of previous round (72)
Round 12: Cut off 3rd color leaving 1″ tail, pick up 2nd color, ch 1, sc around (carrying 3rd color tail into first few sts), join to the 1st st of previous round (72)
Round 13: [continuing in 2nd] ch 1, sc around, join to the 1st st of previous round (72)
Round 14: Cut off 2nd color leaving 1″ tail, pick up 1st color, ch 1, sc around (carrying 2nd color tail into first few sts), join to the 1st st of previous round (72)
Round 15: [continuing in 1st] ch 1, sc around, fasten off leaving tail (72)
Assembly (optional for tie-look)
Crease the top and bottom of the headband at the 2nd color, so that they are touching in the center (located in toward the inner part of the headband- see pictures above). I recommend doing this at the join stitch area of the headband, so that the join will be hidden beneath the tie.
Tie Pattern
Foundation: ch 12, feed ch row through the center of the headband and join last ch to 1st by the creased area. (12)
Round 1-6: ch 1, sc around, join to first st of previous round (12)
Round 7: ch 1, sc around, fasten off and weave in tail (12)