Glitten Picture Tutorial- Blog Post
**Please note that this is the free picture tutorial blog post on how to make the Arroway Glittens. For the written pattern, please visit the pattern page here.
I have had a slight obsession with glittens (aka- fingerless mittens, smittens, fingerless gloves) since high school. They’re the best of both worlds, part mitten, part glove and access to all fingers so you can use that smart phone of yours.
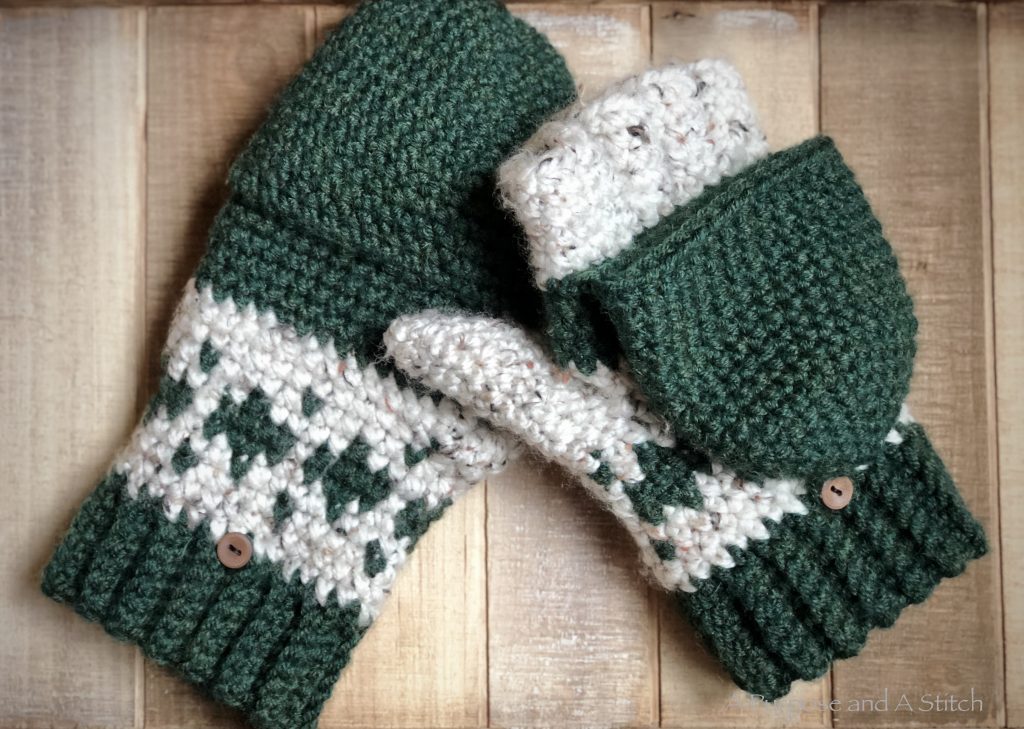
Since dreaming up the original Galway Girl Glitten pattern, I’ve come up with about half a dozen variations (including making them into hand warmers and mittens), and I keep thinking of more!
Rather than making a separate tutorial for each, I figured why not just make a universal tutorial that can be adapted into each pattern. To make the wrist and palm section of the glittens, you will first want to check out my Crozy Hand Warmer tutorial.

Once you have the hand warmers complete, you can transform them into glittens by following along with the tutorial below.
You will begin by adding the fingers. The first finger on each hand will start out the same; you will pick up a strand of the secondary color, and pick up stitches around the palm portion. When you get to the area where the space between fingers will be, you will work a few chain stitches and connect back to the first stitch you picked up.


In the next round, you will work single crochets around until you get to the chain stitches, where you will crochet into the back loops only.

From here, you will build up the finger by working 2 rows of single crochets around.

For the next finger, the concept will be the same, but you will work into the front loops of the chain stitches created for the first finger on the first space between fingers.

For the second space between fingers, you will chain 3 more stitches and then work into the back loops only in the next round.

This will repeat until you get to the index finger for the right glitten, and pinky for the left. Once here, you will flip the glitten over and begin to work on the other (front) side of the glitten, picking up stitches and then working into the front loops between the fingers.

Once all the tubes for your fingers are complete, you will work the thumb. Worked in a similar fashion to the fingers, you will pick up single crochet stitches around the hole created in the palm.


After each few rounds, you will slightly decrease until the thumb is completely enclosed.

All thats left from here is to make the finger cap. You will start out by making a magic ring. If you are unfamiliar with this technique, I recommend this video tutorial here.


Each of the next few rounds will result in a gradual increase by working single crochet increases throughout. Once the width needed is achieved, there are several rounds worked straight down (no increases or decreases needed).


The very last round is actually more of a row. You will start by chaining 1 and turning your work. Then work single crochets half way across and fasten off.


From here you will use the tail to attach the finger cap to the glitten right below the last round of the primary color above the tapestry design, right below the fingers.

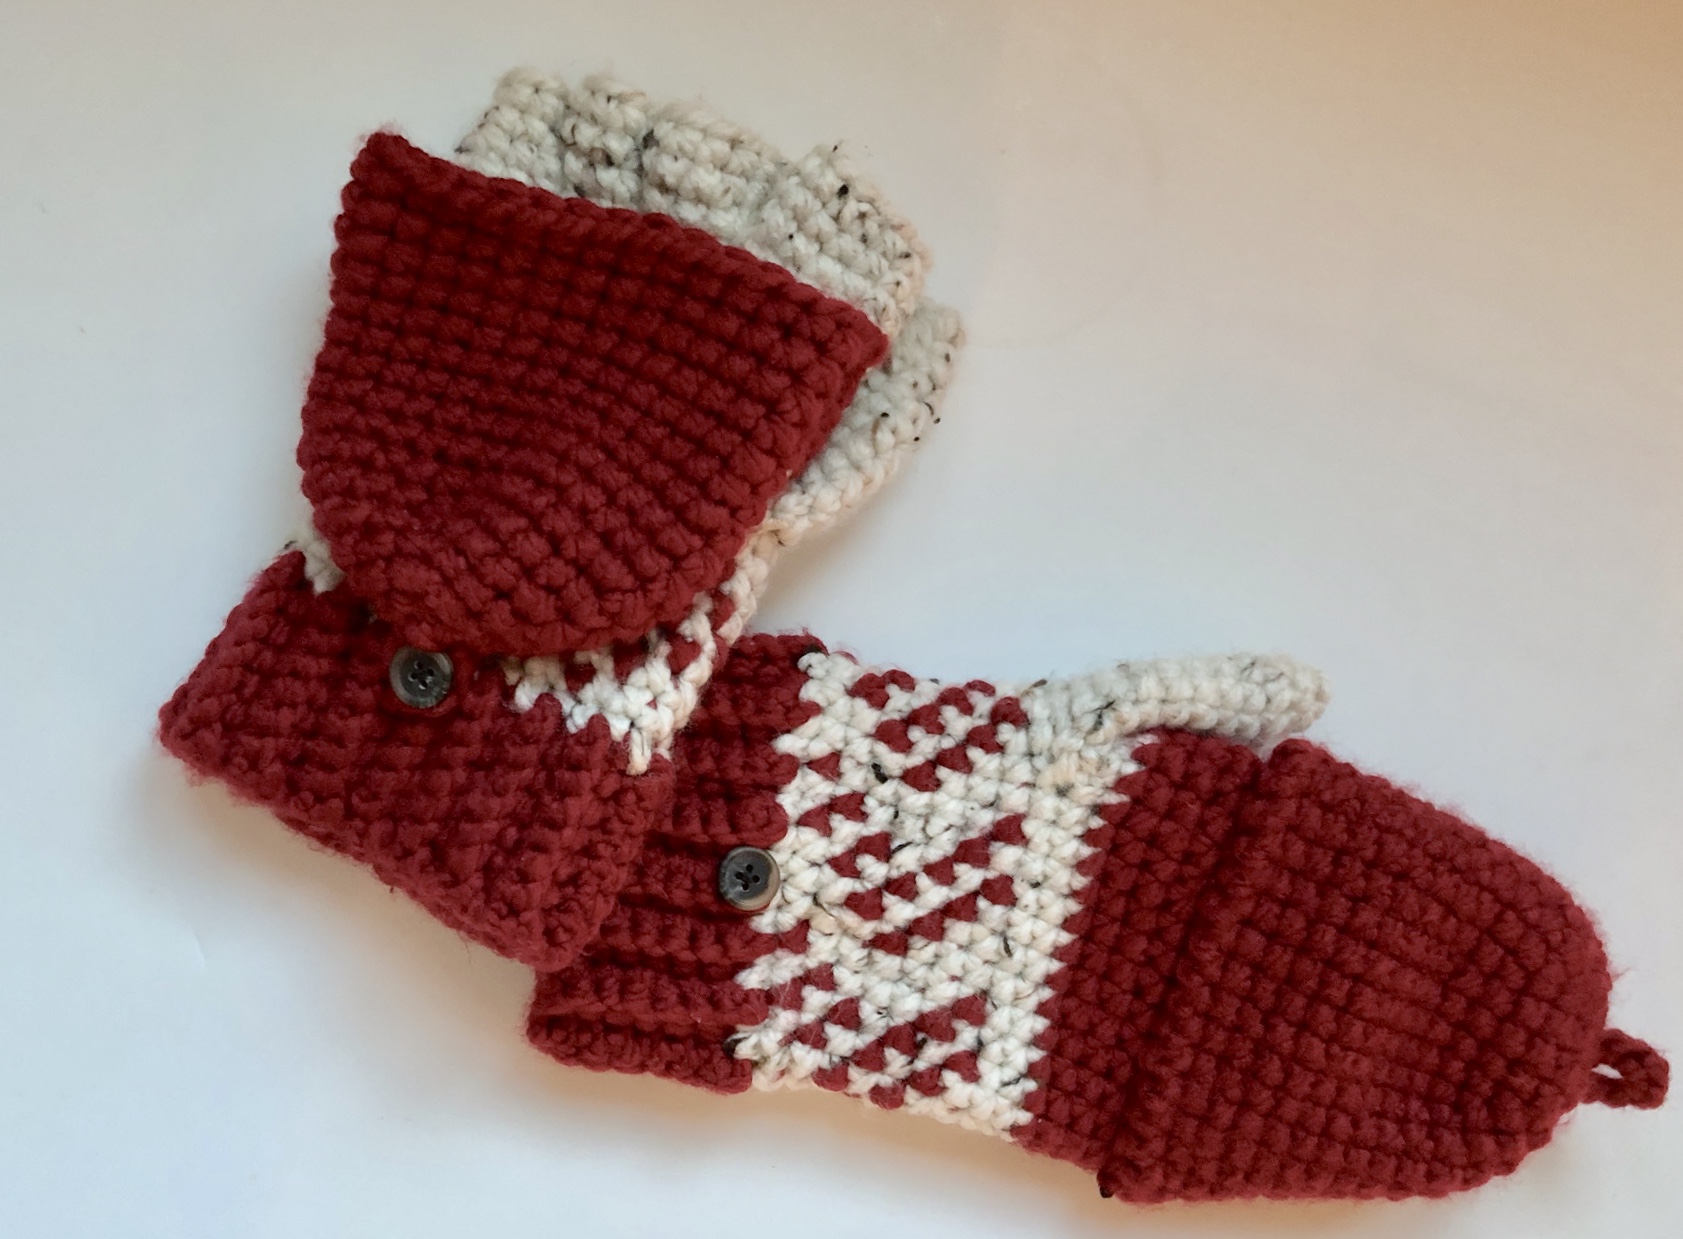
Your glittens are almost complete! All that remains is to add the button hole (a simple chain row connected to the top of the finger cap) and a button. The button and button hole will allow you to fasten the finger cap in place behind the hand, while it’s not needed.


Thats all there is to it! I hope you enjoyed making these wonderful fingerless mittens and enjoy wearing them even more!
