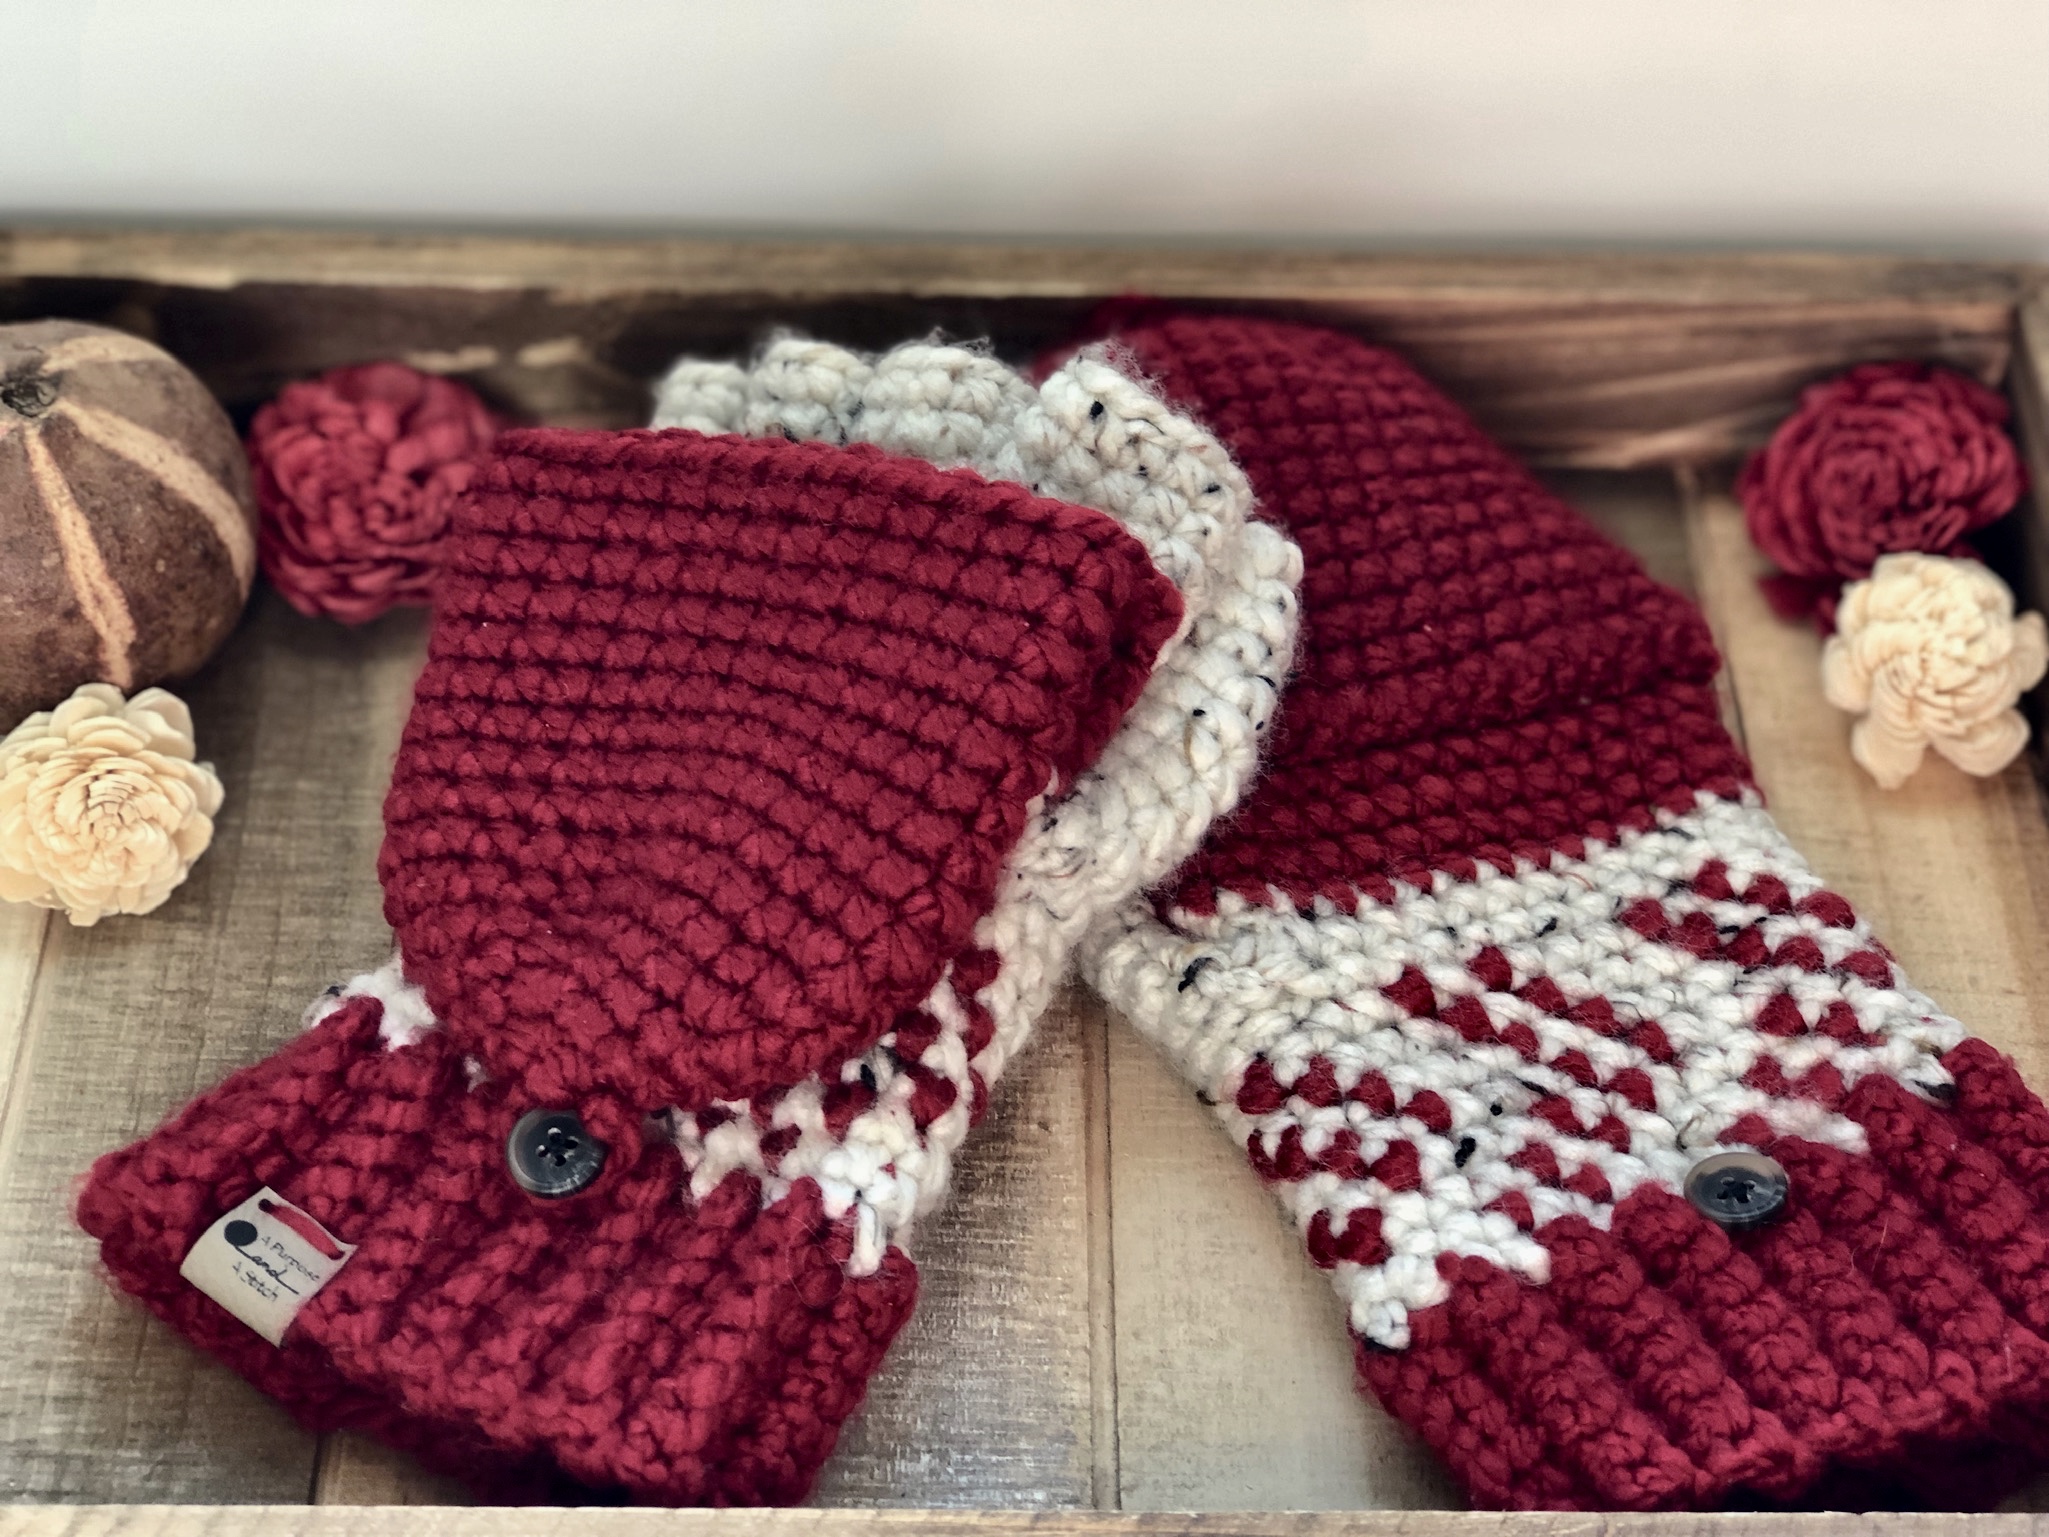
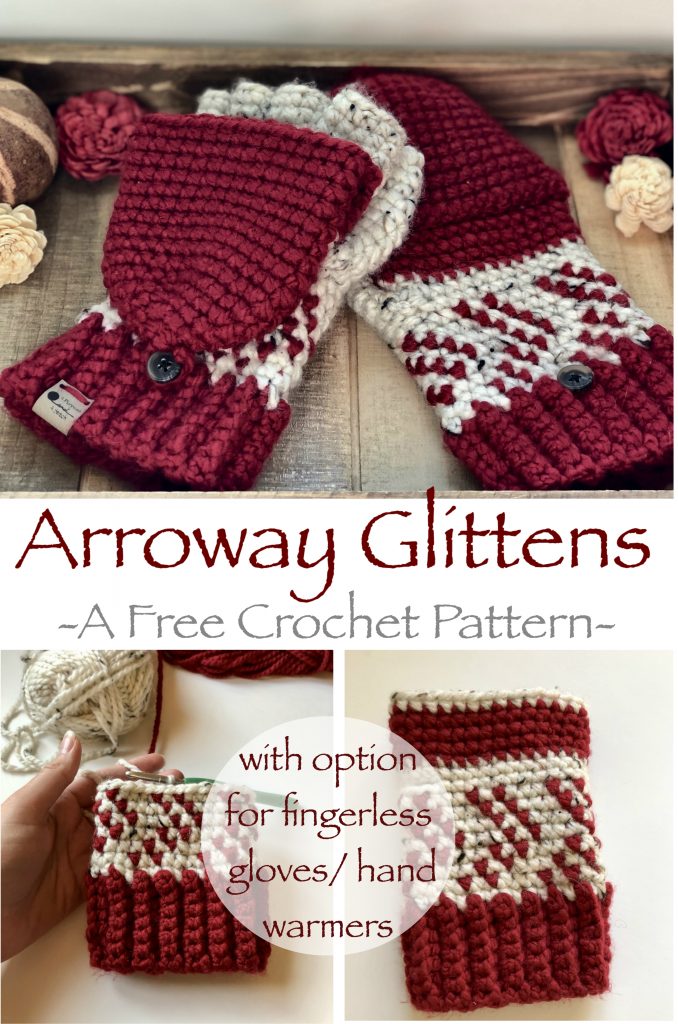
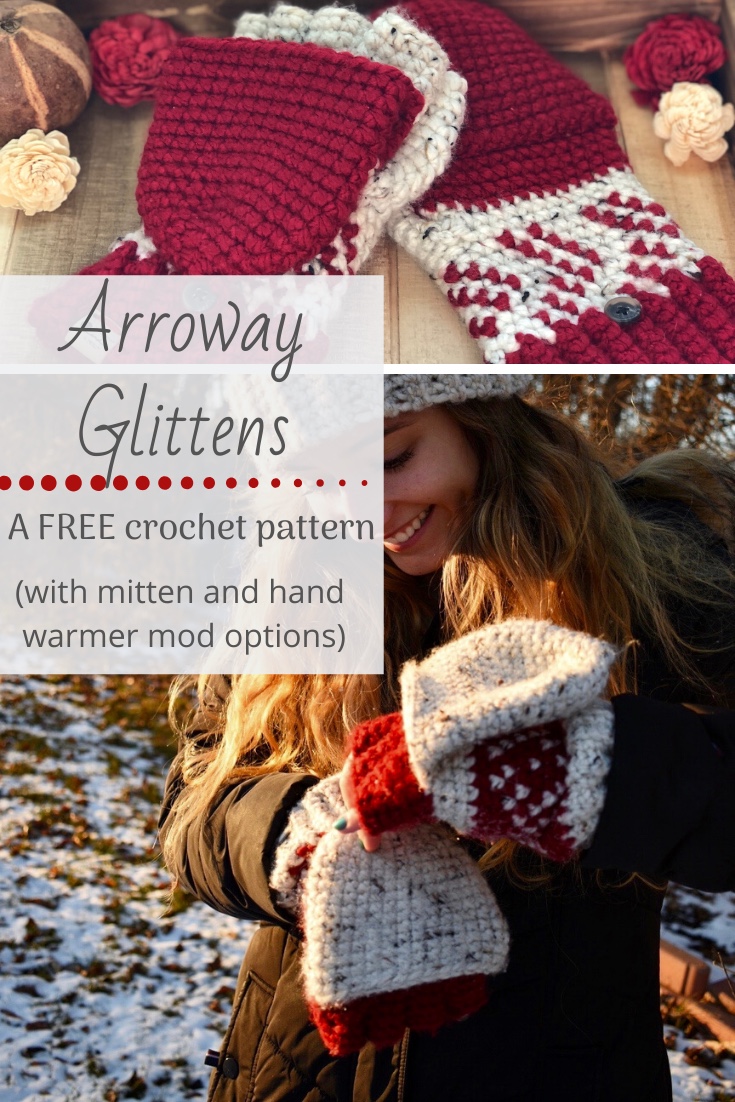
Arroway Glittens- Free Crochet Pattern
**Below you will find the free pattern to the Arroway glittens. You can purchase the inexpensive, large font, ad free colored PDF of this pattern from our Etsy shop here.
If you made the Galway Girl glittens then this pattern will look familiar to you.
However, I’ve made a few changes to accommodate for a slightly bulkier yarn and an easier color change for the tapestry portion.
I’ve also designed this pattern to be very versatile. I’ve included instructions to make them into simple hand warmers or glittens and will be releasing instructions to make them into standard mittens as well in a few weeks.
To see the step by step tutorials for making the palm section, visit our Cozy Hand Warmer Blog Post here, and for the tutorial of adding the fingers, thumb and finger cap, visit the Glitten Tutorial Blog Post here.
What you need
2 skeins bulky (size 5) primary color skein of yarn (I used Loop and Threads Charisma in Red)- approximately 133 yards or 113 grams
1 skein bulky (size 5) secondary color skein of yarn (I used Loop and Threads Charisma Tweed in Cream)- approximately 106 yards or 83 grams
1 5.50MM crochet hook
2 buttons
stitch marker
embroidery needle
scissors
My Amazon Picks
Completed Measurements
Height to the Top of Cap: 10″
Height to Fingers: 7.5″
Width: 4″ across
Gauge
15 sc= 4″
15 rows= 4″
Abbreviations Used
ch= Chain
sc= Single Crochet
blo= Back loop only
flo= Front loop only
sl st= Slip Stitch
st(s)= Stitches(s)
sk st(s)= Skip Stitch(s)
pu= Pick Up
inc= increase
dec= decrease
Special Stitches
Increase: single crochet 2 into 1 stitch
Decrease: single crochet 2 stitches together
Pattern notes
- Pattern is written in US standards
- ** You can also join the cuff by slip stitching in the back loops of row 30 to the foundation chain. This makes for a little wider of a cuff, but prevents you needing to fasten off and rejoining the primary color in round 2 of the tapestry grid.**
- The palm section is worked in joined rounds, whereas the fingers, thumb and finger cap are all worked in continuous rounds
- For the palm section rounds 2-8, you will follow the tapestry grid provided. Dark squares represent the primary color and the white squares represent the secondary color.
- The color changes will be worked as such: insert hook, pull up a loop in secondary color, yarn over in primary color, and pull through both loops on your hook.
- Rather than fastening off after the color change of rows 1 and 9-15, I like to carry the unused strand and work into the join stitches then drop for remainder of the round. This prevents a lot of weaving in ends.
- After detaching primary yarn in round 15, I like to carry the tail behind the first few stitches, so you don’t have to weave it in later.
- ***To make these glittens into hand warmers, you will simply fasten off and weave in all ends at the end of round 15 for the palm pattern. Ignoring the instructions for the fingers, thumb and finger cap.
Ribbing Pattern
Foundation: Ch 8, turn
Row 1: Starting in the 1st ch from your hook , sc 7 in blo, turn
Row 2-30: Ch 1, sc 7 in blo, **fasten off at the end of row 30 leaving tail. Use the tail to join the foundation to row 30 to create a cylinder. I prefer the mattress stitch for this, but a whip stitch will work too.**
Palm Pattern
Round 1: attach 2nd color, ch 1 and pick up 30 stitches around the top (30)
Round 2-8: sl st, ch 1, sc into same st, follow tapestry design. (30)

Round 9 (left hand): in secondary color: sl st, ch 1, sc 3, skip 7, ch 7, sc 20 (30)
Round 9 (right hand): in secondary color: sl st, ch 1, sc 20, sk 7, ch 7, sc 3 (30)
Round 10: in secondary color: sl st, ch 1, sc around, sl st (30)
Round 11-14: sl st, p/u primary color yarn and drop secondary. ch 1, sc around (30)
Round 15: p/u secondary yarn and detach primary. sl st, ch 1, sc around, fasten off (30)
***Weave in ends if you would like to keep these as hand warmers***

Pattern for Fingers and Thumb- Right Hand
*Please note: each finger is worked in continuous rounds (vs. the joined rounds used in the pattern for the palm)
Pinky Finger
Foundation: sk 4 sts from first sc of palm, pu secondary yarn and sc 8 working around, ch 3 and connect back to first sc created of this finger. (11)
Round 1: sc 2, decrease, sc 2, decrease, sc 3 in blo of the ch 3 from foundation (9)
Round 2-3: sc around, fasten off and weave in ends. (9)
Ring Finger
Foundation: sk 1 st from first sc of palm, pu secondary yarn and sc 3, work 3 in flo of ch sts from pinky finger, sc 3 (working along backside of palm section), ch 3 and connect to first sc created for this finger (12)
Round 1: sc 9, sc 3 in blo of ch sts (12)
Round 2-3: sc around, fasten off and weave in ends. (12)
Middle Finger
Foundation: pu secondary yarn in 2nd sc to the right of the starting st of the palm sc 3, sc 3 in flo of ch sts from ring finger, sc 3 (working along backside of palm section), ch 3 and connect to first sc created for this finger (12)
Round 1: sc 9, sc 3 in blo of ch sts (12)
Round 2-3: sc around, fasten off and weave in ends (12)
Index Finger
Foundation: flip glitten over and begin working along back side of the palm section into the 1st st to the left of where the middle finger ends. Sc 10, sc 3 in flo of ch sts from middle finger. (13)
 Round 1-3: sc around, fasten off and weave in ends (13)
Thumb
Foundation: pu secondary yarn towards middle most st of thumb hole. Work 15 sc around.
Round 1: sc around (15)
Round 2: *sc 3, decrease*, repeat from * around (12)
Round 3-6: sc around (12)
Round 7: *sc 2, decrease*, repeat from * around (9)
Round 8-9: sc around (9)
Round 10: *sc 1, decrease*, repeat from * around (6)
Round 11: decrease 3 times, fasten off and weave in ends (3)
Pattern for Fingers and Thumb- Left Hand
*Please note: each finger is worked in continuous rounds (vs. the joined rounds used in the pattern for the palm)
Index Finger
Foundation: sk 1 st, pu secondary yarn and sc 10 around, ch 3 and connect to first sc of this finger (13)
Round 1: sc 10, sc 3 in blo of ch sts (13)
Round 2-3: sc around, fasten off and weave in ends (13)
Middle Finger
Foundation: pu secondary yarn in 2nd sc to the right of starting st of palm, sc 3, sc 3 in flo of ch from index finger, sc 3 (working along back side of palm), ch 3 and connect to starting sc of this finger. (12)
Round 1: sc 9, sc 3 in blo of ch sts (12)
Round 2-3: sc around, fasten off and weave in ends (12)
Ring Finger
Foundation: pu secondary yarn in 5th sc to the right of starting st of palm (or 3 sc to the right of where your middle finger ended), sc 3, sc 3 in flo of ch from middle finger, sc (working along back side of palm), ch 3 and connect to starting sc of this finger (12).
Round 1: sc 9, sc 3 in blo of ch sts (12)
Round 2-3: sc around, fasten off and weave in ends. (12)
Pinky Finger
Foundation: flip glitten over and begin working on back side of glitten by pulling up secondary yarn in first sc to the left of where your ring finger ended (worked similar to index finger of right hand), sc 8 around, sc 3 into flo of ch from ring finger. (12)
Round 1: sc 2, decrease, sc 2, decrease, sc 3 (9)
Round 2-3: sc around, fasten off and weave in ends. (9)
Thumb
Foundation: pu secondary yarn towards middle most st of thumb hole. Work 15 sc around.
Round 1: sc around (15)
Round 2: *sc 3, decrease*, repeat from * around (12)
Round 3-6: sc around (12)
Round 7: *sc 2, decrease*, repeat from * around (9)
Round 8-9: sc around (9)
Round 10: *sc 1, decrease*, repeat from * around (6)
Round 11: decrease 3 times, fasten off and weave in ends (3)
Pattern for the Finger Cap (make 2)
In primary color yarn
Foundation: work 5 in magic ring (5)
Round 1: increase around (10)
Round 2: *sc, increase*, repeat from * around (15)
Round 3: *sc 2, increase*, repeat from * around (20)
Round 4: *sc 3, increase*, repeat from * around (25)
Round 5: *sc 4, increase*, repeat from * around (30)
Round 6-15: sc around (30)
Once you reach the end of round 15, ch 1 and turn your work, sc 15 and fasten off leaving long tail (1 row created)
For the Buttonhole
Chain 7 and fasten off. Insert ends of chain to either side of the very top of your finger cap and tie together on the inside (button hole created)
Assembly
Using the long tail, whip stitch the row of the finger cap right above round 15 of the palm section of the glitten (directly below the start of the fingers).
Sew button right above wrist ribbing towards the center of the glitten on the back side of the glitten (where the top of your hands will be when wearing them).
And there you have it! Your Arroway Glittens are complete!
Hi Bernadette, have you thought about starting a youtube channel? Because I am having trouble following your directions and I don’t know how to read the diagrams. A video would’ve helped a lot since I like your patterns so much. Video tutorials would attract a broader range of audience than picture tutorials.
Hi Esther,
You can find our Youtube Channel here: https://www.youtube.com/channel/UCo7RW88JT5Nh3uBJsiEAtlg, although we currently do not have any videos on the Glittens, there are a few that include color work and may help you out with reading the color work graphs. Videos take a lot of time and don’t always fit in with my busy schedule of also raising 3 young children 😊. Rest assured though- as soon as time allows, they are on my list of “must make tutorials”. Hope this helps and happy crocheting!
-Bernadette
UPDATE: Thanks for email response, Bernadette … I have re-swatched and now, with a tighter stitch and row height, my gauge matches yours (15 st and 15 rows = 4″ in Lion brand Woolspun. Looking forward to my first glittens, will come in handy here in the mountains of Western Canada!
Hi Bernadette … love your glitten patterns. I’m having trouble with the gauge swatch, using Lion brand Woolspun (#5) … could only achieve 14 stitches and 14 rows = 4 inches when using a 4mm hook (!) and I am usually a pretty tight crocheter. Just wondering how important is it to match gauge … or is Woolspun too bulky, or do I really need to tighten up using a 5.5mm hook? Would love to make one of these patterns!