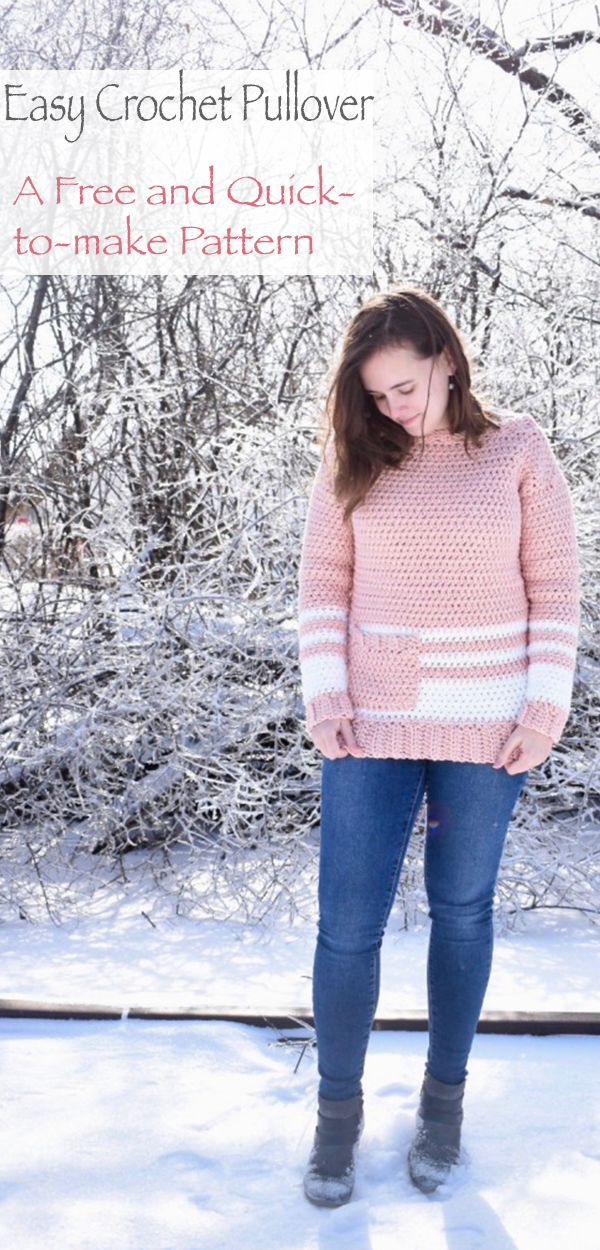
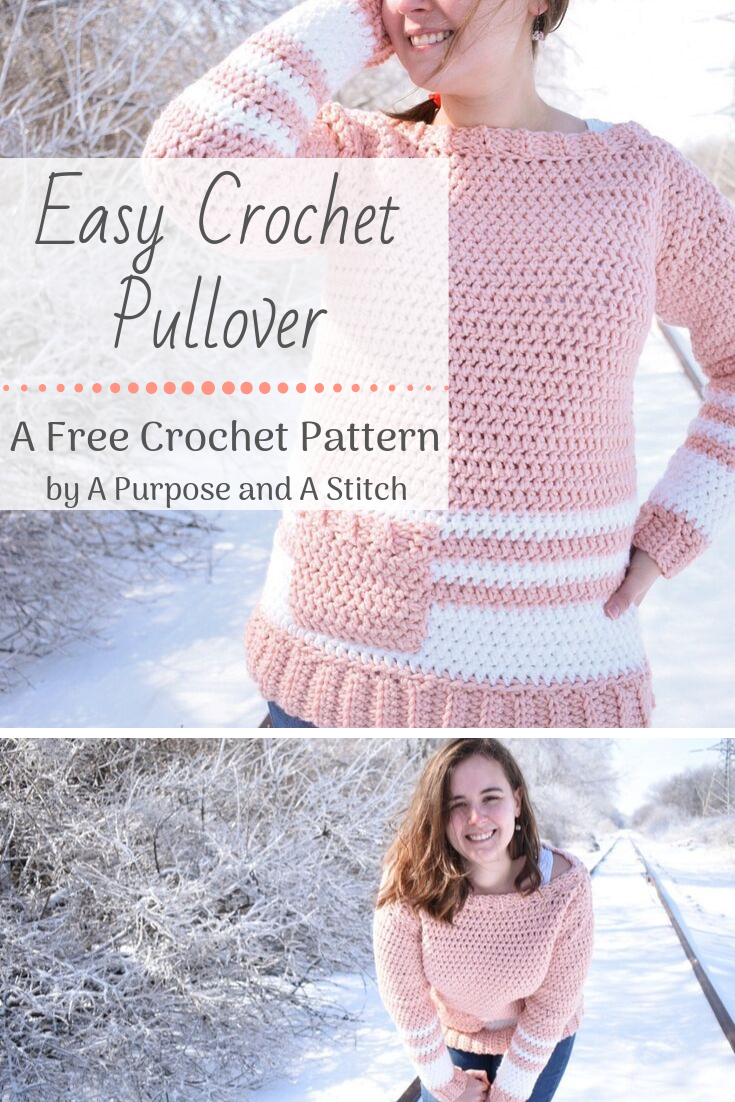
Easy Crochet Pullover- Free Crochet Pattern

Below you will find the free crochet pattern for the Easy Crochet Pullover. Please read through all pattern notes before starting, I also highly recommend checking out the step-by-step picture tutorial found here as well.
This sweater is a great project for anyone just starting out with crocheted garments, and works up very quickly for an experienced crocheter!
Using a simple half double crochet modification, this sweater has a different look than you may get with the typical half double crochet, but is still very easy to make!
Intended to be loose fitting, this sweater will compliment any body type and is the perfect pullover for staying inside on a chilly winter day. With long sleeves, and a longer body, you will have no trouble cuddling up in this sweater!
Bonus: you can add a front pocket for holding your cell phone, or other items, making this ideal for wearing with leggings (HELLO ultimate comfort!). You can also use this pocket to check your gauge against, which is perfect for those of you who, like me, hate to frog!
I hope you all enjoy!

Completed Measurements
X-Small: 33″ around, 20″ long
Small: 35″ around, 20.75″ long
Medium: 38″ around, 21″ long
Large: 42″ around, 21.25″ long
X-Large: 46″ around, 21.5″ long
XX-Large: 52″ around, 21.75″ long
XXX- Large: 54″ around, 21.75″ long
What You’ll Need
3 (3,4,4,5,5,5) skeins of Lion Brand Color Made Easy yarn for primary color (or another category 5 weight acrylic yarn- approximately 695, 737, 820, 912, 1005, 1147, 1216 yards)
1 (1,1,1,2,2,2) skeins of Lion Brand Color Made Easy yarn for 2nd color (or another category 5 weight acrylic yarn- approximately 178, 189, 210, 234, 258, 294, 312 yards)
8.0mm (US L) crochet hook *See pattern notes for a more form fitting sweater*
embroidery needle
scissors
stitch marker
measuring tape
My Amazon Picks
Gauge Used
8 hdc b/w posts= 4″
8 rows= 4″
Abbreviations Used
ch= chain
hdc= half double crochet
blo=back loops only
st= stitch
b/w= between
dec= decrease (half double crochet 2 together)
fo= fasten off
Hdc inc= hdc 2 into one hdc
Special Stitches
Hdc B/w posts= work a normal half double crochet between the posts (under all 3 strands of the hdc stitch) instead of under just the “v” of the stitch.
Hdc decrease= yarn over, insert into your first stitch, and pull up a loop, insert your hook into the second stitch, yarn over and pull up a loop (4 loops on your hook). Pull last loop through all loops on your hook (as you would a slip stitch).
Pattern Notes
- Pattern is written in US standards
- I recommend going through and highlighting the numbers associated with the size sweater you are making before you start.
- This pattern is written to be slightly oversized, but you can make it more form fitting by using a US J/ 6mm crochet hook with a 10 sts X 10 rows= 4″ square gauge
- This pullover is also meant to have slightly longer arms for extra comfort, or rolling the brim up. If you have shorter arms, I would recommend working 1-2 less rows for each arm.
- The pattern is written in x-small with (small, medium, large, x-large, xx-large and xxx-large) numbers following.
- This sweater is made up of 2 rectangles, 2 arms, a collar and an optional pocket.
- When changing the colors, I like to join in the new color before tightening the fasten off stitch and then work the tails of both strands into the next few stitches. This will save time weaving in ends later.
Front/Back Panel (make 2)
Brim
Foundation: ch 9, in 3rd loop from hook, hdc across, turn (7)
Row 1- 28 (29, 32, 35, 38, 43, 46): ch 2, hdc in blo only, turn (7)
Body
Foundation: Turn brim, ch 2 and begin working across the top of the brim. Pick up 35 (37, 40, 44, 48, 54, 65) hdc across, turn (35, 37, 40, 44, 48, 54, 56)
Row 1: switch to secondary color and ch 2, hdc across, turn (35, 37, 40, 44, 48, 54, 56)
Row 2-8: ch 2, hdc between posts across, turn (35, 37, 40, 44, 48, 54, 56)
Row 9: switch to primary color, ch 2, hdc across, turn (35, 37, 40, 44, 48, 54, 56)
Row 10: ch 2, hdc between posts across, turn (35, 37, 40, 44, 48, 54, 56)
Row 11: switch to secondary yarn, ch 2, hdc across , turn (35, 37, 40, 44, 48, 54, 56)
Row 12: ch 2, hdc b/w posts across, turn (35, 37, 40, 44, 48, 54, 56)
Row 13: switch to primary yarn, ch 2, hdc across, turn (35, 37, 40, 44, 48, 54, 56)
Row 14: ch 2, hdc b/w posts across, turn (35, 37, 40, 44, 48, 54, 56)
Row 15: switch to secondary yarn, ch 2, hdc across, turn (35, 37, 40, 44, 48, 54, 56)
Row 16: ch 2, hdc b/w posts across, turn (35, 37, 40, 44, 48, 54, 56)
Row 17: switch to primary yarn, ch 2, hdc across, turn (35, 37, 40, 44, 48, 54, 56)
Row 18-42 (43, 44, 45, 45, 46, 46): ch 2, hdc between posts across, turn (35, 37, 40, 44, 48, 54, 56)
Pattern for Right Shoulder
Row 1: ch 2, hdc b/w posts 7 (8, 9, 11, 13, 16, 17) hdc2tog b/w posts, turn (8, 9, 10, 12, 14, 17, 18)
Row 2: ch2, hdc2tog b/w posts, hdc b/w posts 6 (7, 8, 10, 12, 15, 16) turn (7, 8, 9, 12, 13, 16, 17)
Row 3: ch 2, hdc b/w posts 5 (6, 7, 9, 11, 14, 15) hdc2tog b/w posts, turn (6, 7, 8, 10, 12, 15, 16)
Row 4: ch 2, hdc2tog b/w posts, hdc b/w posts 4 (5, 6, 8, 10, 13, 14) fo leaving long tail (5, 6, 7, 9, 11, 14, 15)
Pattern for Left Shoulder
Row 1: p/u on other side of rectangle, ch 2, hdc b/w posts 7 (8, 9, 11, 13, 16, 17) hdc2tog b/w posts, turn (8, 9, 10, 12, 14, 17, 18)
Row 2: ch2, hdc2tog b/w posts, hdc b/w posts 6 (7, 8, 10, 12, 15, 16), turn (7, 8, 9, 12, 13, 16, 17)
Row 3: ch 2, hdc b/w posts 5 (6, 7, 9, 11, 14, 15), hdc2tog b/w posts, turn (6, 7, 8, 10, 12, 15, 16)
Row 4: ch 2, hdc2tog b/w posts, hdc b/w posts 4 (5, 6, 8, 10, 13, 14), fo leaving tail. (5, 6, 7, 9, 11, 14, 15)
Pattern for Collar
Foundation: ch 4, starting in 2nd ch from hook, sc across, turn (3)
Row 1- 31 (32, 33, 34, 34, 35, 35): ch 1, sc in blo across, turn (3)
Row 32 (33, 34, 35, 35, 36, 36): ch 1, sc in blo across, fo leaving long tail for attaching to sweater
Pattern for Arms (make 2)
Brim
Foundation: (in primary color) ch 9, starting in 3rd ch from hook, hdc across, turn(7)
Row 1- 11 (11, 12, 12, 13, 13, 14): ch 2, hdc in blo across, turn (7)
Sleeve
Foundation: (in primary color) ch 2, pick up 15 (17, 19, 21, 25, 30, 34) hdc across the top of the brim (15, 17, 19, 21, 25, 30, 34)
Row 1-4: switch to 2nd color, ch 2, hdc b/w posts across, turn (15, 17, 19, 21, 25, 30, 34)
Row 5: ch 2, hdc inc b/w posts, hdc 13 (15, 17, 19, 23, 28, 32) b/w posts, hdc inc b/w posts, turn (17, 19, 21, 23, 27, 32, 36)
Row 6-7: ch 2, hdc b/w posts across, turn (17, 19, 21, 23, 27, 32, 36)
Row 8-9: switch to primary color, ch 2, hdc b/w posts across, turn (17, 19, 21, 23, 27, 32, 36)
Row 10: switch to 2nd color, ch 2, hdc inc b/w posts, hdc 15 (17, 19, 21, 25, 30, 34) b/w posts, hdc inc b/w posts, turn (19, 21, 23, 25, 29, 34, 38)
Row 11: ch 2, hdc b/w posts across, turn (19, 21, 23, 25, 29, 34, 38)
Row 12-13: switch to primary color, ch 2, hdc b/w posts across, turn (19, 21, 23, 25, 29, 34, 38)
Row 14: switch to 2nd color, ch 2, hdc b/w posts across, turn (19, 21, 23, 25, 29, 34, 38)
Row 15: ch 2, hdc inc b/w posts, hdc 17 (19, 21, 23, 27, 32, 36) b/w posts, hdc inc b/w posts, turn (21, 23, 25, 27, 31, 36, 40)
Row 16-19: switch to primary yarn, ch 2, hdc b/w posts across, turn (21, 23, 25, 27, 31, 36, 40)
Row 20: ch 2, hdc inc b/w posts, hdc 19 (21, 23, 25, 29, 34, 38) b/w posts, hdc inc b/w posts, turn (23, 25, 27, 29, 33, 38, 42)
Row 21-24: ch 2, hdc b/w posts across, turn (23, 25, 27, 29, 33, 38, 42)
Row 25: ch 2, hdc inc b/w posts, hdc 21 (23, 25, 27, 31, 36, 40) b/w posts, hdc inc b/w posts, turn (25, 27, 29, 31, 35, 40, 44)
Row 26-29: ch 2, hdc b/w posts across, turn (25, 27, 29, 31, 35, 40, 44)
Row 30: ch 2, hdc inc b/w posts, hdc 23 (25, 27, 29, 33, 38, 42) b/w posts, hdc inc b/w posts, turn (27, 29, 31, 33, 37, 42, 46)
Row 31-34: ch 2, hdc b/w posts across, turn (27, 29, 31, 33, 37, 42, 46)
Row 35: ch 2, hdc inc b/w posts, hdc 25 (27, 29, 31, 35, 40, 44) b/w posts, hdc inc b/w posts, turn (29, 31, 33, 35, 39, 44, 48)
Row 36-37 (37, 38, 38, 39, 39, 40): hdc b/w posts across, fo, leaving long tail for seaming. (29, 31, 33, 35, 39, 44, 48)
Pattern for the Pocket (optional)
Brim
Foundation: ch 5, starting in 3rd ch from hook, hdc across (3)
Row 1-7: hdc in blo across (3)
Body
Foundation: ch 2, and pick up 12 hdc across brim, turn (12)
Row 1- 9: ch 2, hdc b/w posts across, turn (12)
Assembly
Line up the front and back body panels so that the lines match up, then join the top stitches of the shoulders together using the mattress stitch and tie off.
Using the mattress, stitch around the edge of the collar rows to join to the neck opening, Tie off and weave in ends.
Use a tape measurer starting at the shoulders and working down towards the brim of the body panels to find 7″ (8″, 8.5″, 9″, 10″, 11″, 12.5″) and mark with a stitch marker. Using a long strand of yarn seam up the sides of the front and back body panels towards the stitch marker, and fasten off just below the stitch marker. Repeat on the other side of the body panels.
Using the tail of the arm panel or a long strand of yarn, join the long ends of the arm panel together, making sure the cuff and lines match up as you go. Repeat on the second arm panel. With the acute angle of the arm triangle pointing down and the 90º angle of arm triangle lined up with the shoulder of the body, attach the arms to either side of the sweater using the mattress stitch. Tie off and weave in the ends.
To add the optional pocket, you will attach it to the lower left corner of the body of the sweater (the pocket will be on your right side when wearing it). Use the top most secondary color line as a gauge of where the top of the pocket should be. The pocket will actually be upside down with the brim located at the opening. Stitch in place making a “U” shape around the left, bottom and right sides of the square, and leaving the top open. Fasten off and weave in all remaining ends.


The pattern itself is easy enough to follow, with the exception of the shoulders. The left side of the shoulder is especially confusing for a beginner. I am picking up a stitch on the other side of the triangle, but do I pick up the stitch at the beginning of the row, or in the middle and crochet my way out? Photos would also help greatly as well.
Hi there,
Glad you’ve enjoyed making this pattern to this point! Sorry you’ve become a little stumped with the shoulders. Since this stitch is reversible, you are making the left shoulder the same exact way as you made the right shoulder, by flipping your work and picking up in the stitch in the stitch on the outer most edge. We do also have a step-by-step picture tutorial linked at the start of this post, but you may have missed it. You can find that here: https://apurposeandastitch.com/easy-crochet-pullover-blog-post/
Hope this helps and happy crocheting!
-Bernadette
Can i use DK yarn with 5mm hook to make this pullover? Does it have same measure about size if i can make it?
Hi there,
using DK yarn and a 5mm hook would most likely result in a smaller sweater unless you’re able to reach gauge with that combo, but even so it would result in a more breezy sweater.
If you have your heart set on that combo, I would recommend just following the pattern as a guide, ignoring my stitch counts and using the stitch count needed for you to meet the measurements you want.
Hope this helps and best of luck!