Baby/Toddler Star Mittens- Free Pattern

After making Audrey the Toddler Star Stitch Slouchy, I knew I needed to make her some mittens to go with it, so here we are.
**Below you will find the step-by-step picture tutorial and written pattern for these mittens. You can also purchase the inexpensive, concise, large font, ad-free PDF from my Etsy shop here. **
This is her first Winter that she is old enough to experience snow in all of its cold, wet goodness and I just couldn’t wait for her to be able to play in it. The only things holding her back were the subzero temps and not having mittens to protect her little hands. So I set to work.
 The pattern is fairly simple and can be completed in a single night for an experienced crocheter. I started out with the cuff of the mitten and worked my way up to the top.
The cuff is worked in back-loop only rows and then whip stitched together (as opposed to worked in the round), this creates a ribbing.

Once the cuff is whip stitched together, I worked stitches around the top to start the palm and finger portion of the mitten. Since there are no stitches to work into yet, I just evenly spaced 30 stitches around the top as best as I could.
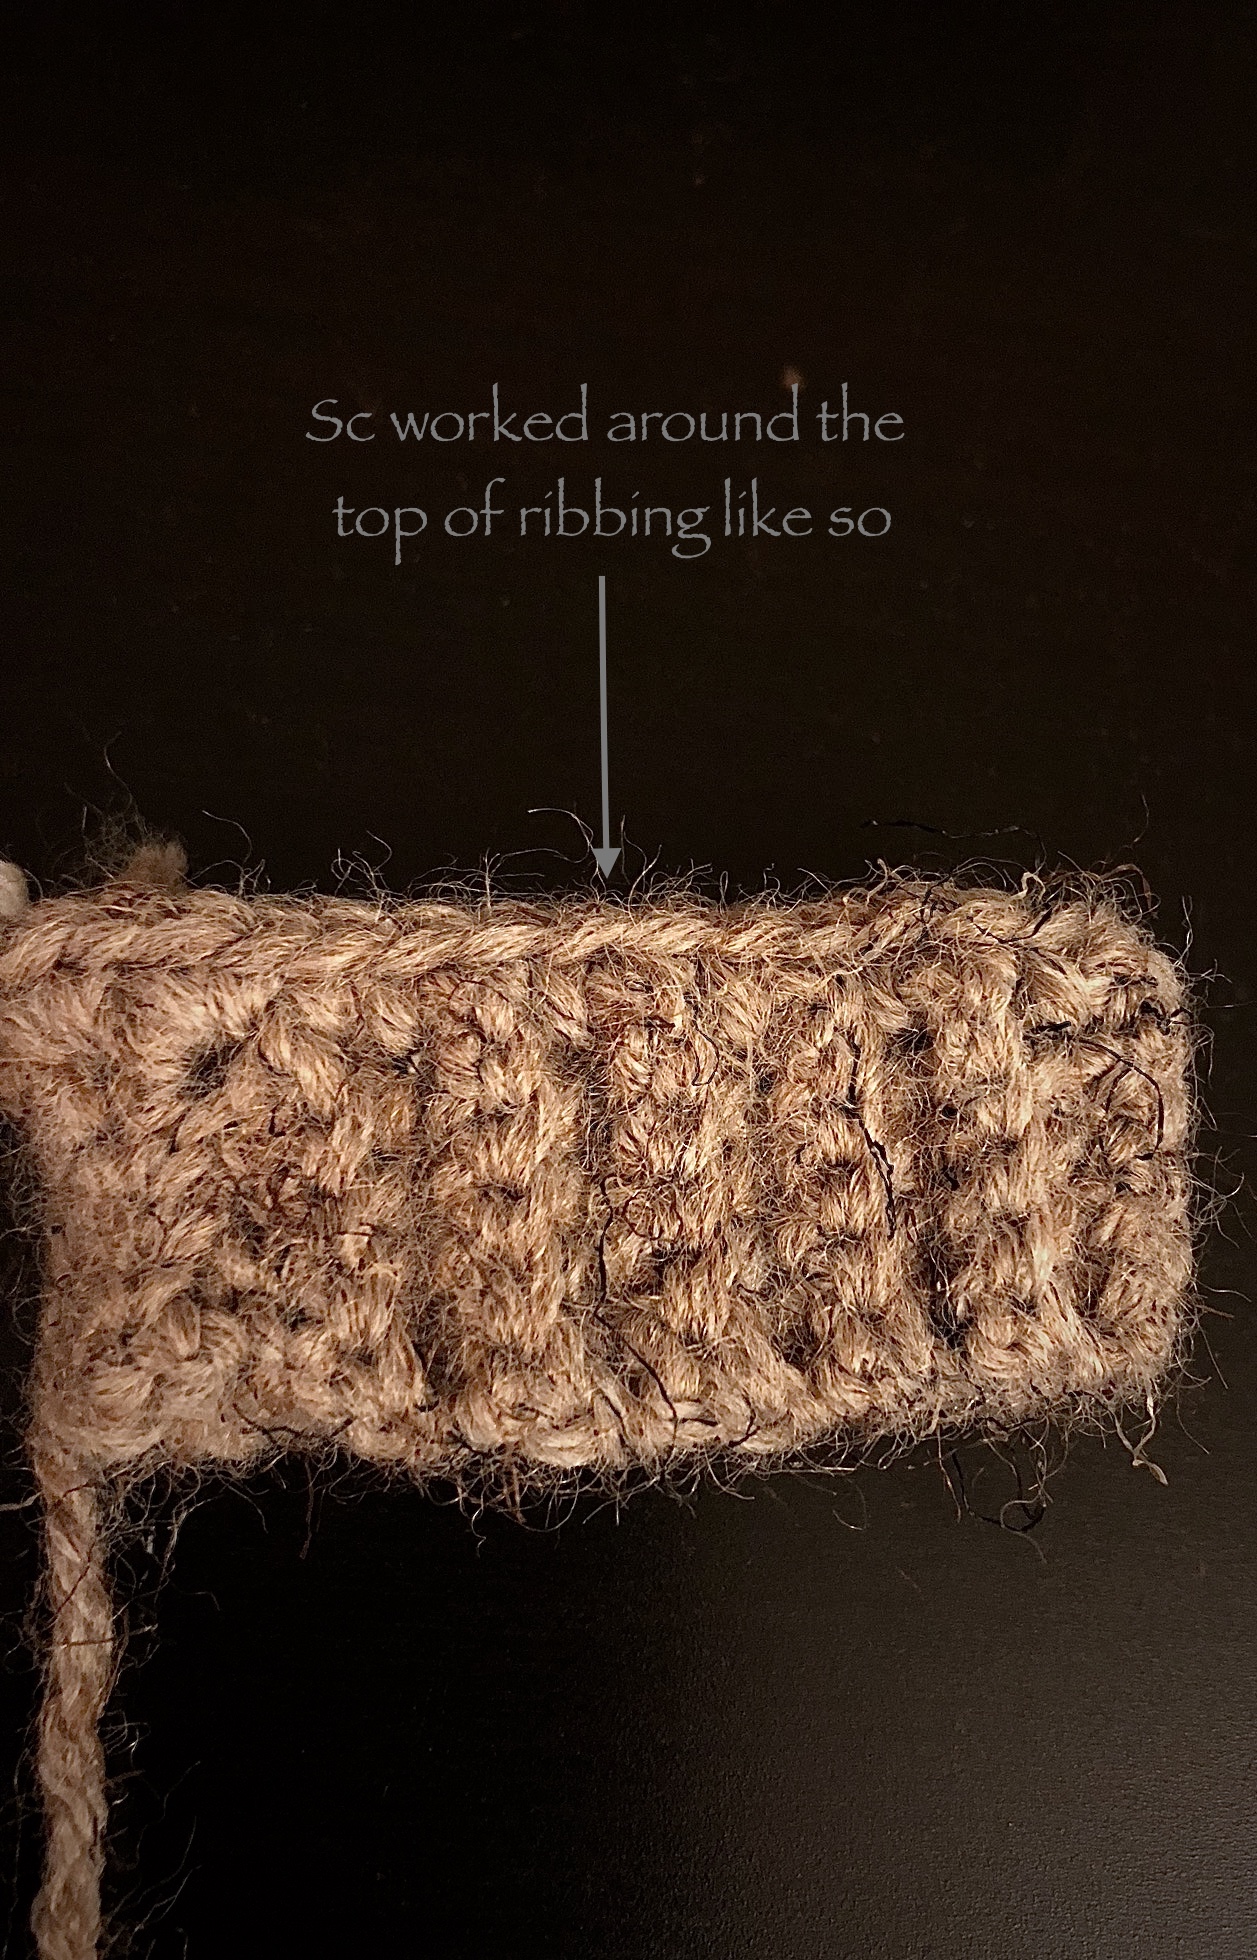
I then added another row of single crochets into that first. From here I started working a row of Star Stitches around. To see step-by-step pictures on how to complete the Star Stitch, visit my blog post about the Toddler Star Stitch Slouchy here.
After completing that row, I switched to a single crochet again in preparation for adding the thumb hole. To make the thumb hole, I simply chained 5 stitches (rather then working into the sc) and skipped over 5 sc. Then I continued working the row as you normally would.
From this point on the mitten alternates once more between a few single crochet rows and 4 more star stitch rows and then back to single crochets with single crochet decreases to close it up at the top.
Once the hand and finger portion is complete, I went back and worked 12 sc stitches around the thumb opening.


The thumb is relatively easy to complete, you just work upwards slowly decreasing as you go.
Once both mittens were complete, all that was left to do was add a connecting chain. You know, those awesome pieces of string that connects your mittens or gloves inside the coat so you cant loose them? The ones we all hated as kids, but now that we’re adults realize the value in? Yeah, that’s what I’m talking about here. To complete this, I just chained 170 and fastened off. The last step was to connect said chain to the medial part of both mittens, as this picture shows: 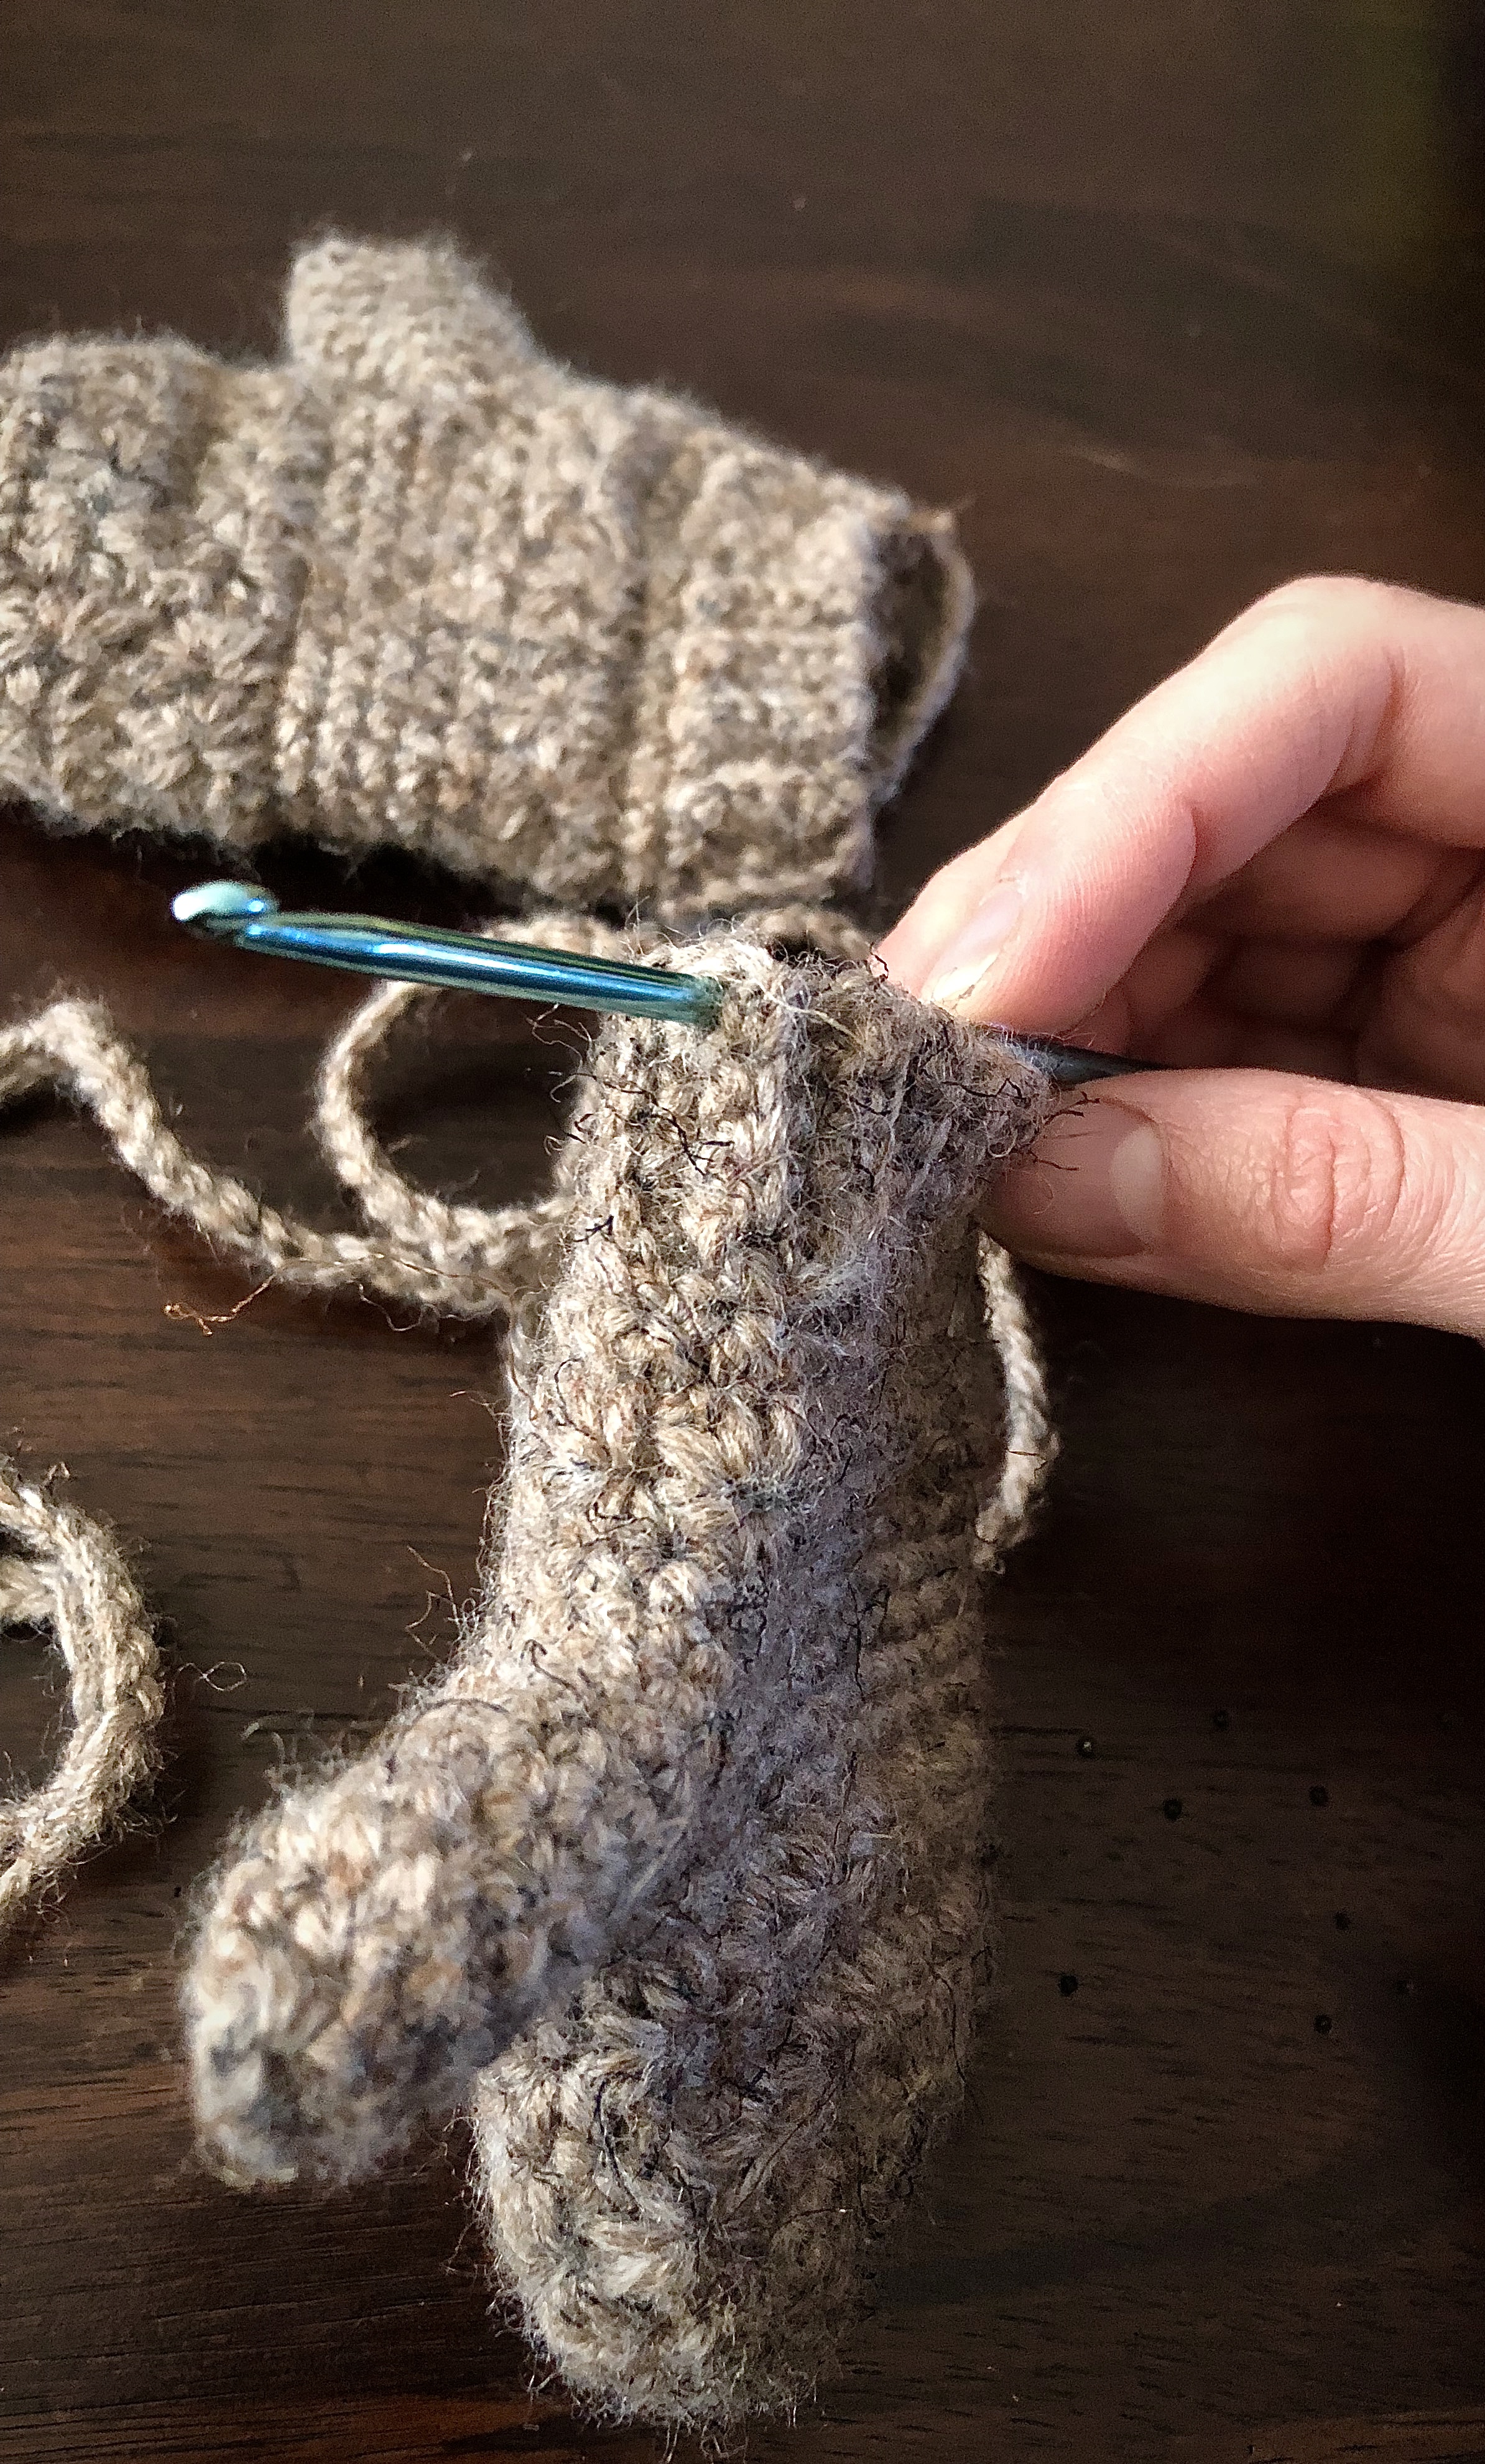
And there you have it! So easy, so simple, and so cute, you’ve just got to make them! 🙂


What you’ll need:
Medium worsted weight (4) yarn- approximately 85 yards, I used this:
1 3.50mm crochet hook, like this one:
Abbreviations used:
ch: Chain
sc: Single Crochet
sl st: Slip Stitch
yo: Yarn Over
sc2tog: Single crochet 2 together
fo: fasten off
Completed measurement for each mitten
Around the cuff = 5.5″
Height = 4.25″
Width of Thumb = 2.5″
Around the Fingers= 5.75″
Pattern for the Cuff
Foundation: chain 6, turn.
Row 1: starting in 2nd ch from hook, sc 5, turn
Row 2- 26: ch 1, sc 5 in blo, turn
Row 27: ch 1, sc 5 in blo, fasten off leaving about a 4 inch tail.
Join the ends together using the 4 inch tail.
Pattern for the Right Hand/Fingers
Please note: This portion is worked in joined rounds (vs continuous rounds)
Round 1: sc 30 around the top of the cuff, sl st to join (30)
Round 2: ch 1, sc 30 around, sl st (30)
Round 3: ch 3, insert hook in 2nd ch from hook, yo, pull up (2 loops on hook), insert into 3rd ch from hook, yo, pu (3 loops on hook), insert into 1st st, yo and pu (4 loops on hook), insert into next st, yo and pu (5 loops on hook), insert into next st, yo and pu (6 loops on hook), yo pull through all 6 loops, yo and pu creating the “eye” of the star (1 loop on hook: first star created). *insert hook into “eye” of star yo, pu (2 loops on hook), insert into last spike of the star, yo, pu (3 loops on hook), insert hook into same st as last spike, yo, pu (4 loops on hook), insert into next st, yo and pu (5 loops on hook), insert into next st, yo and pu (6 loops on your hook), yo and pull through all 6 loops, yo and pu* (1 loop on hook: second star created). Repeat from * around,(15 stars or “eyes” total), sl st
Round 4: chain 2, 2hdc in each “eye” around, sl st (30)
Round 5: ch 1, sc around, sl st (30)
Round 6: ch 1, sc 20, ch 5, skip 5, sc 5, sl st (30)
Rounds 7-9: ch 1, sc around, sl st (30)
Rounds 10-14: repeat rounds 3-4 twice
Round: 15: ch 1, sc around, sl st (30)
Round 16: ch 1, *sc 3, sc2tog* repeat * around, sl st (24)
Round 17: ch 1, *sc 2, sc2tog*, repeat * around, sl st (18)
Round 18: ch 1, *sc, sc2tog* , repeat *around, sl st (12)
Round 19: ch 1, sc2tog 6 times, sl st and fo. Weave in ends and make sure hole is closed tight(6)
Pattern for the Left Hand/Fingers
Please note: This portion is worked in joined rounds (vs continuous rounds)
Round 1: sc around the top of the cuff, sl st to join (30)
Round 2: ch 1, sc 30 around, sl st (30)
Round 3: ch 3, insert hook in 2nd ch from hook, yo, pull up (2 loops on hook), insert into 3rd ch from hook, yo, pu (3 loops on hook), insert into 1st st, yo and pu (4 loops on hook), insert into next st, yo and pu (5 loops on hook), insert into next st, yo and pu (6 loops on hook), yo pull through all 6 loops, yo and pu creating the “eye” of the star (1 loop on hook: first star created). *insert hook into “eye” of star yo, pu (2 loops on hook), insert into last spike of the star, yo, pu (3 loops on hook), insert hook into same st as last spike, yo, pu (4 loops on hook), insert into next st, yo and pu (5 loops on hook), insert into next st, yo and pu (6 loops on your hook), yo and pull through all 6 loops, yo and pu* (1 loop on hook: second star created). Repeat from * around,(15 stars or “eyes” total), sl st into
Round 4: chain 2, 2hdc in each “eye” around, sl st (30)
Round 5: ch 1, sc around, sl st (30)
Round 6: ch 1, sc 5, ch 5, skip 5, sc 20, sl st (30)
Rounds 7-9: ch 1, sc around, sl st (30)
Rounds 10-14: repeat rows 2-3 twice
Round: 15: ch 1, sc around, sl st (30)
Round 16: ch 1, *sc 3, sc2tog* repeat * around, sl st (24)
Round 17: ch 1, *sc 2, sc2tog*, repeat * around sl st (18)
Round 18: ch 1, *sc, sc2tog* , repeat *around, sl st (12)
Round 19: ch 1, sc2tog 6 times, sl st and fo. Weave in ends and make sure hole is closed tight. (6)
Pattern for the Thumb (worked once on each mitten)
Please note: This portion is worked in continuous rounds (vs joined rounds)- working in a clockwise motion
Round1: Work 12 chains around the opening left in mitten (5 on bottom, one on left side, 5 on top, 1 on right side)
Rounds 2-7: sc 12 around (12)
Round 8: *sc, sc2tog*, repeat * around (8)
Round 9: sc2tog 4 times, fo. Weave in ends (4)
Pattern for the Connecting Chain
chain 170, fasten off leaving long tail. Attach either end of the chain to the bottom medial side (thumb side) of each mitten.

Hi! For rounds 10-14, it says to repeat rounds 2 and 3. Is this correct? Or is it actually supposed to be rounds 3 and 4 that are repeated? Thank you!
Hi Kaila,
You are absolutely right, that was a typo on my end. It should read, “repeat rounds 3 & 4”, I am correcting it now. Thanks so much for bringing it to my attention.
Kindest Regards,
Bernadette
Thanks so much for the pattern!
You are so welcome friend! Happy you like it!