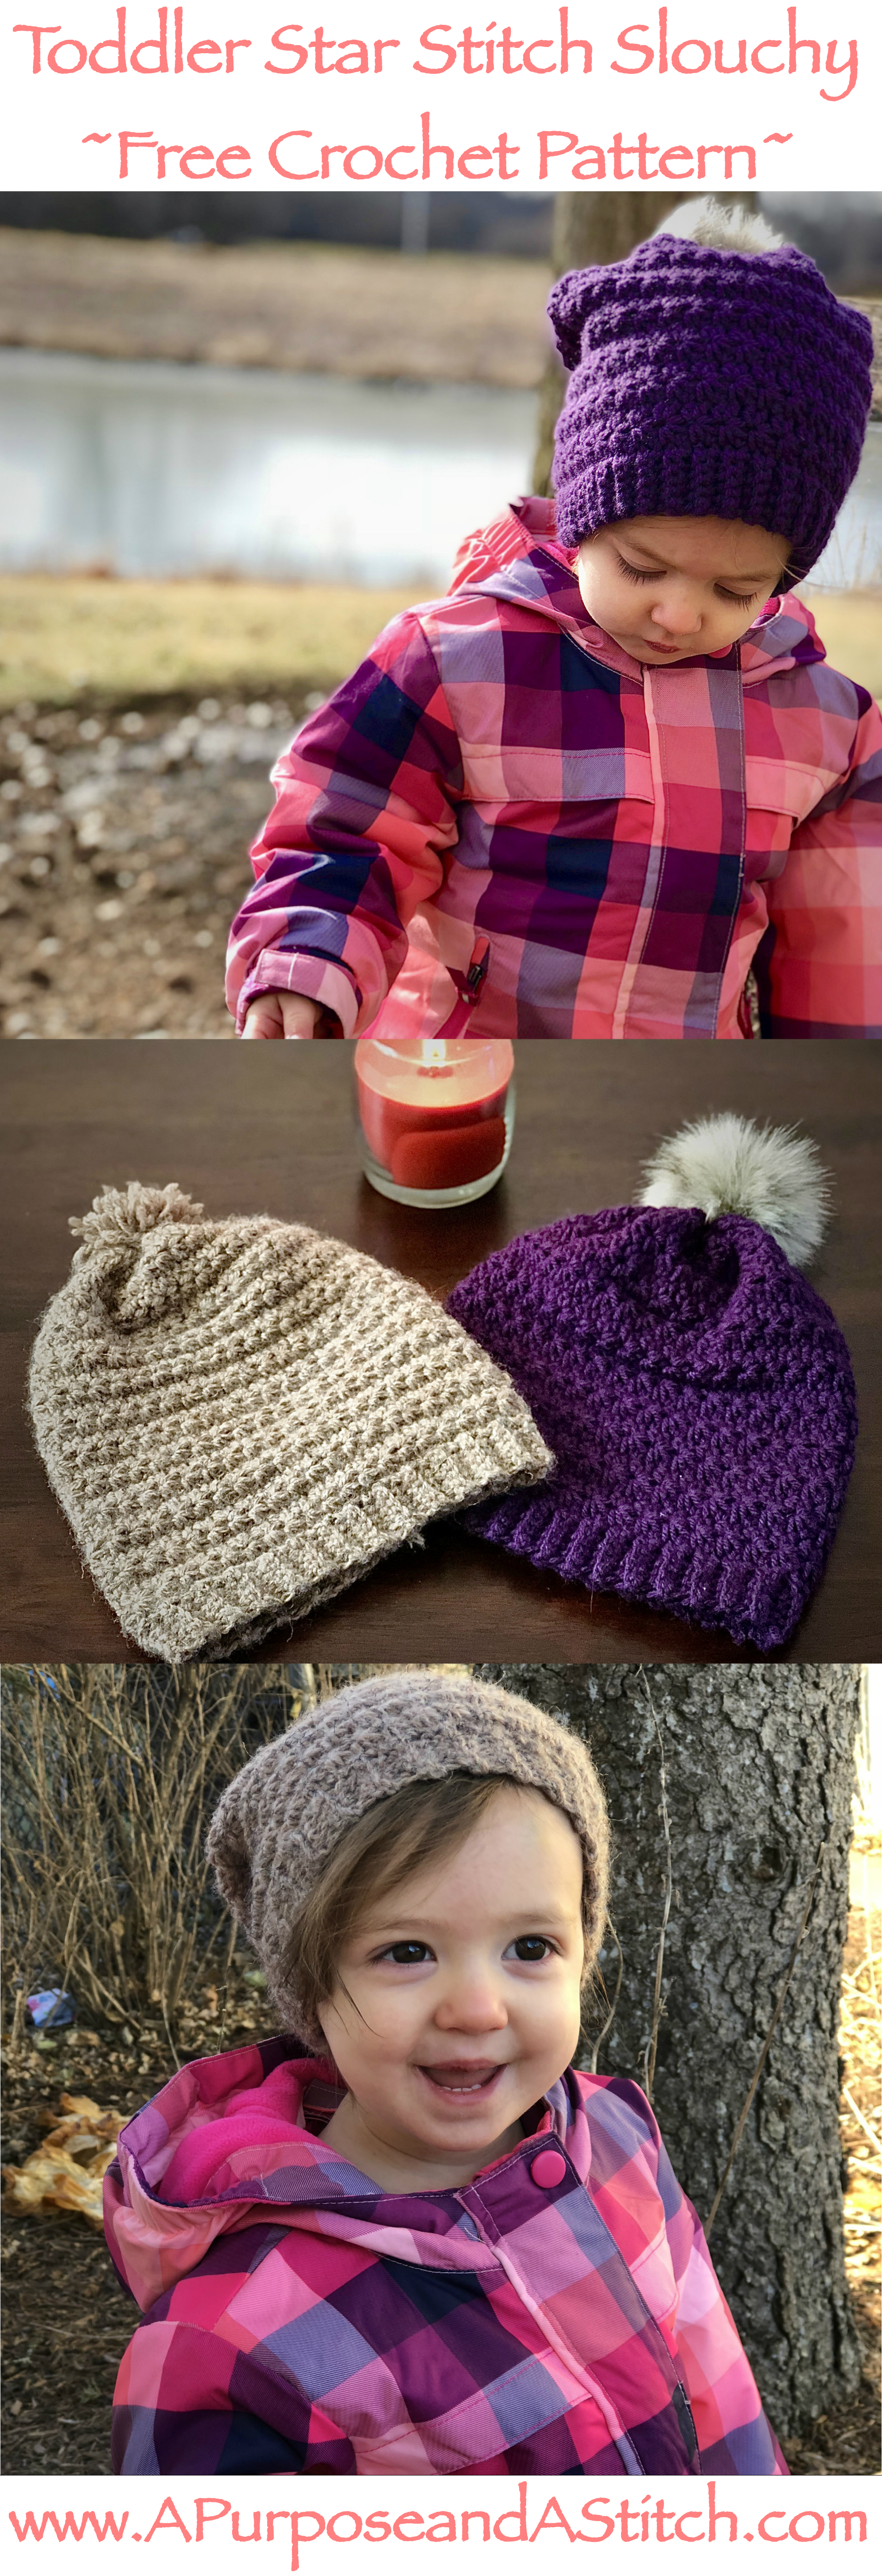
Toddler Star Stitch Slouchy- Free Pattern
**Below you will find the written pattern for this adorable slouchy. For a large font, ad-free version, you can purchase the inexpensive PDF from my Etsy shop here. **
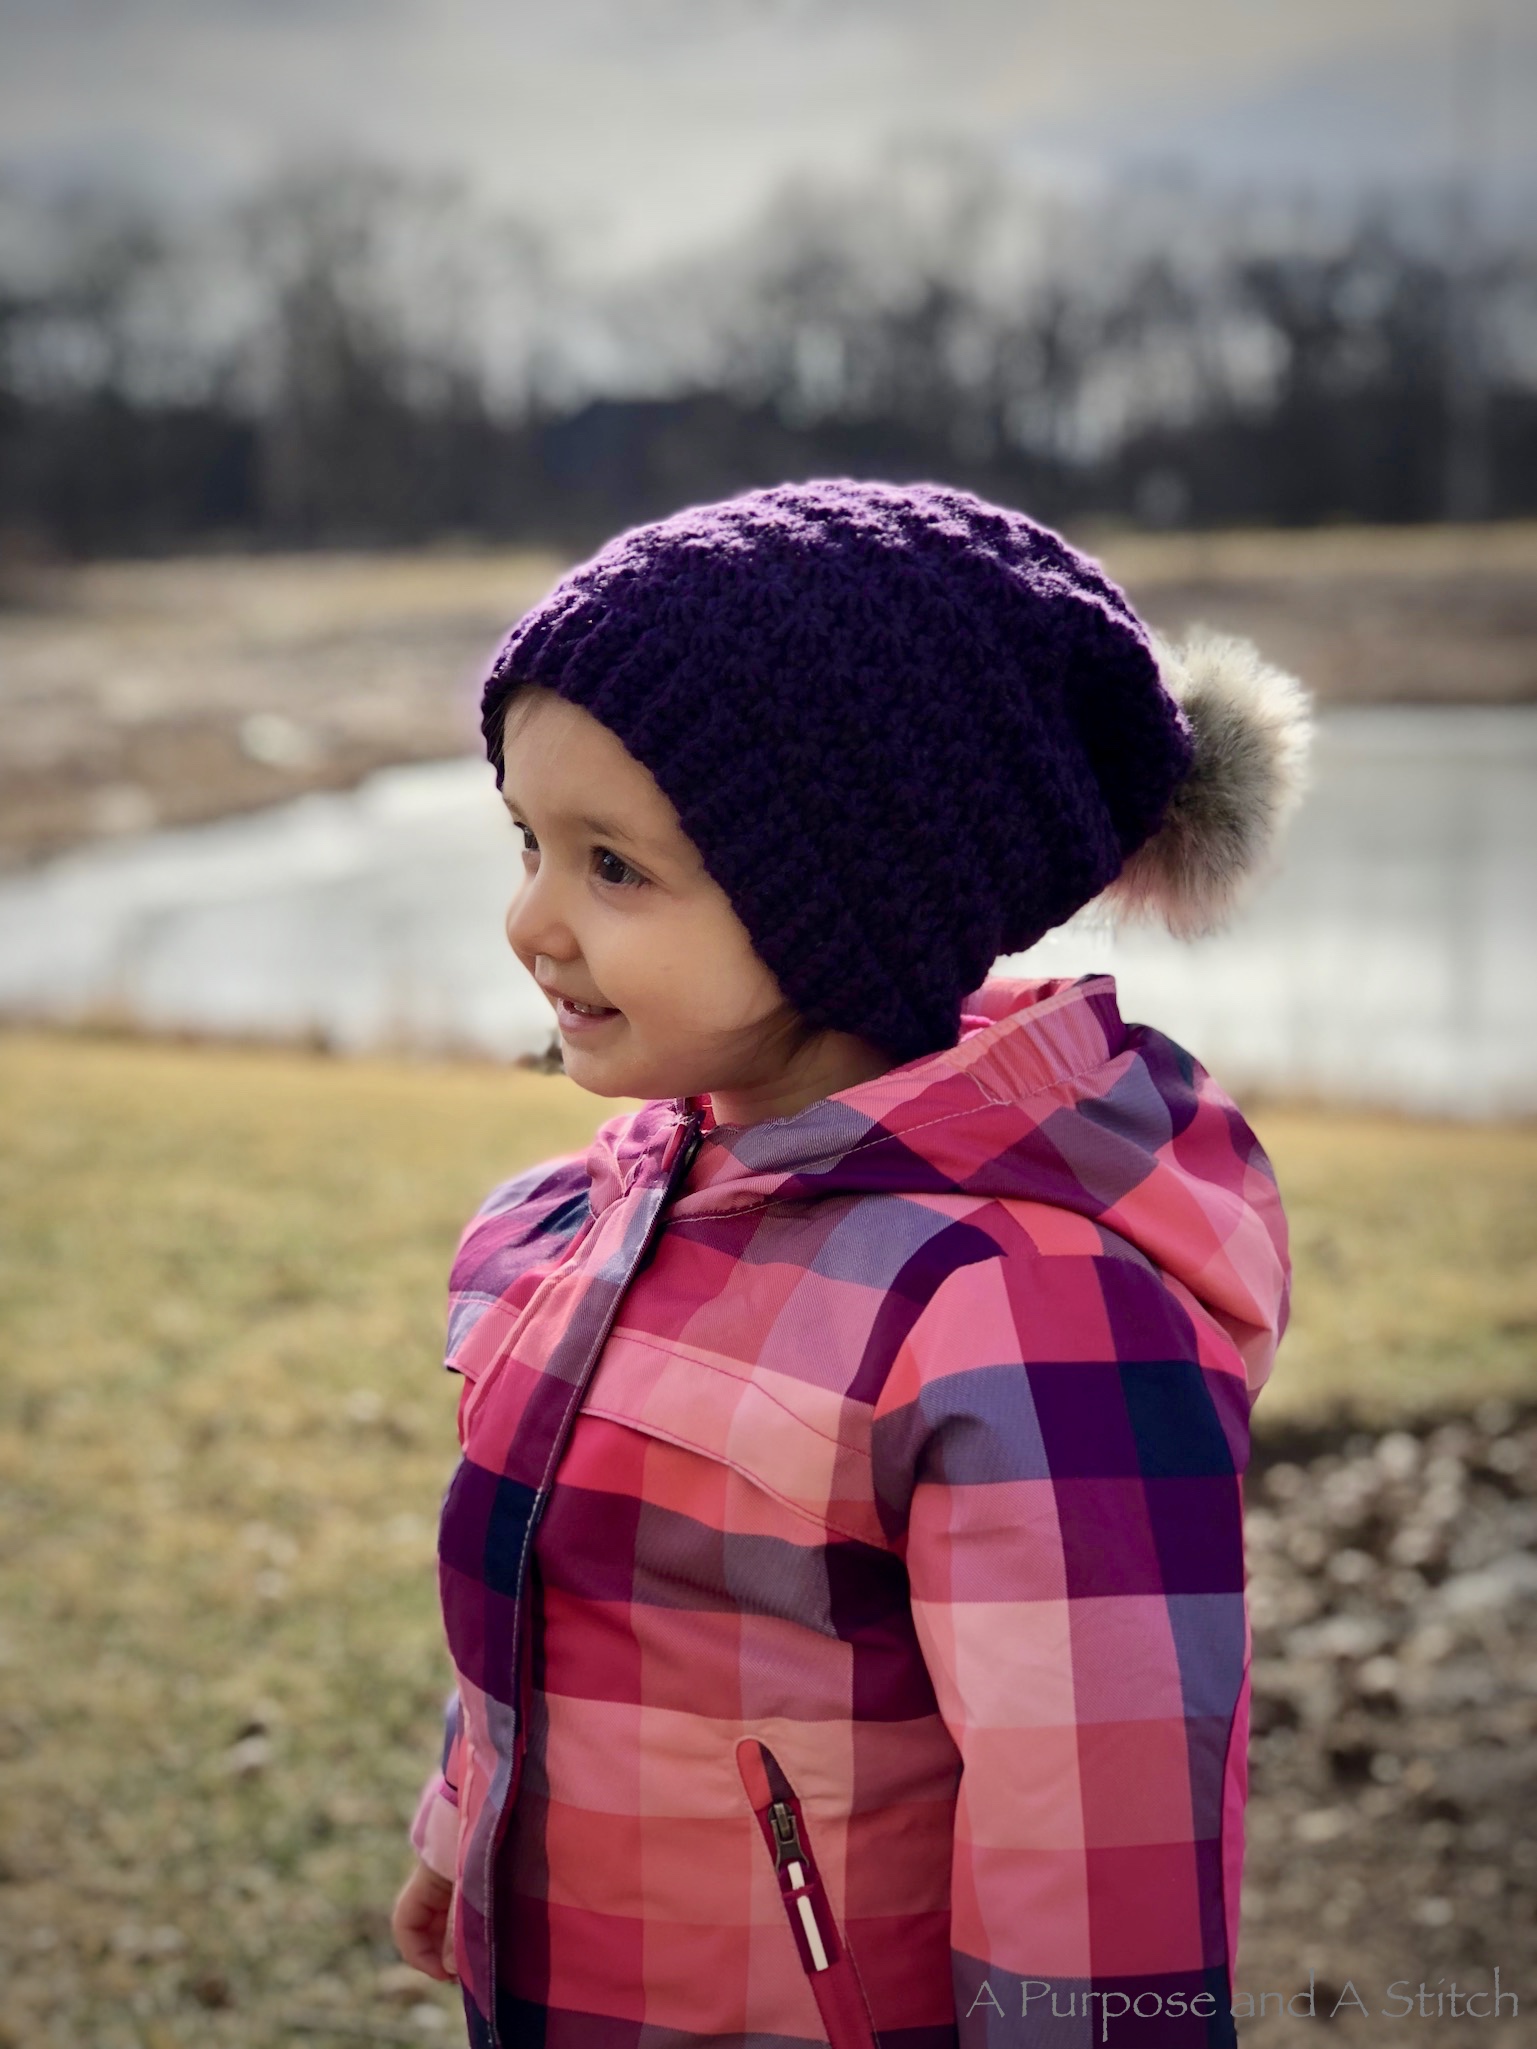
The star stitch is such a beautiful stitch and I loved using it to make this Toddler Slouchy.
To read the story behind the pattern and to see step-by-step pictures and directions, visit my blog on it here.


If you have a really good eye you might have noticed that the star stitches on the purple slouchy are slightly larger than the ones on the tan.
After making the tan slouchy, I really like it but wanted the star pattern to have more pop and for it to lay a little flatter in back. My resolution? I switched to a bigger hook after completing the ribbing. My pattern below has directions on how to make both versions. Version 1= tan slouchy, version 2= purple slouchy.
I hope you have as much fun making this slouchy as I did! Happy Crocheting!
What you’ll need:
1 4.25mm crochet hook (for both versions)
1 6.00mm crochet hook (for version 2 only)
Medium worsted weight (4) yarn –approximately 176 yards
I used this for the tan:
And something similar to this in Amethyst for the purple:
Abbreviations used in this pattern
ch: chain
sc: single crochet
blo: back loops only
sl st: slip stitch
yo: yarn over
pu: pull up
hdc: half double crochet
Gauge using 4.25mm hook
18 hdc= 4″
12 rows= 4″
Gauge using 6.00mm hook
13 hdc= 4″
10 rows= 4″
Measurements for completed slouchy
circumference by ribbing= 17.5″
height without pom= 9″
Pattern for the ribbing: both versions use the 4.25mm hook
Row 1: chain 6 (foundation). turn
Row 2-69: ch 1, sc in blo 5, turn
Row 70: ch 1, sc in blo 5, fasten off leaving long enough tail to join. Whip stitch ends together.
Pattern for the hat
For Version 1
Round 1: work 76 sc into top of ribbing evenly spaced around
Round 2: sl st into 1st sc of previous round. ch 3, insert hook in 2nd ch from hook, yo, pu (2 loops on hook), insert into 3rd ch from hook, yo, pu (3 loops on hook), insert into 1st st, yo and pu (4 loops on hook), insert into next st, yo and pu (5 loops on hook), insert into next st, yo and pu (6 loops on hook), yo pull through all 6 loops, yo and pu creating the “eye” of the star (1 loop on hook: first star created). *insert hook into “eye” of star yo, pu (2 loops on hook), insert into last spike of the star, yo, pu (3 loops on hook), insert hook into same st as last spike, yo, pu (4 loops on hook), insert into next st, yo and pu (5 loops on hook), insert into next st, yo and pu (6 loops on your hook), yo and pull through all 6 loops, yo and pu* (1 loop on hook: second star created). Repeat from * around (38 stars or “eyes” total), sl st into the 3rd ch (at the very top) of the first star stitch.
Round 3: chain 2, 2 hdc in each “eye” around, sl st (76)
Round 4-28: repeat rounds 2-3 14 more times (14 rows high). Fasten off leaving long tail. Weave long tail in and out every few stitches around the last row and pull tight. Sl st to opposite end of closure. Fasten pom pom to the top.


* Side note: if you like the ear warmer shown in these pictures, you can get the free pattern available here*
For Version 2
Switch to the 6.00 mm (US J/10) hook
Round 1: Using the 6.00mm crochet hook, work 74 sc into top of ribbing evenly spaced around
Same for both versions Round 2: sl st into 1st sc of previous round. ch 3, insert hook in 2nd ch from hook, yo, pu (2 loops on hook), insert into 3rd ch from hook, yo, pu (3 loops on hook), insert into 1st st, yo and pu (4 loops on hook), insert into next st, yo and pu (5 loops on hook), insert into next st, yo and pu (6 loops on hook), yo pull through all 6 loops, yo and pu creating the “eye” of the star (1 loop on hook: first star created). *insert hook into “eye” of star yo, pu (2 loops on hook), insert into last spike of the star, yo, pu (3 loops on hook), insert hook into same st as last spike, yo, pu (4 loops on hook), insert into next st, yo and pu (5 loops on hook), insert into next st, yo and pu (6 loops on your hook), yo and pull through all 6 loops, yo and pu* (1 loop on hook: second star created). Repeat from * around (37 stars or “eyes” total), sl st into the 3rd ch (at the very top) of the first star stitch.
Round 3: chain 2, 2 hdc in each “eye” around, sl st (74)
Round 4-28: repeat rounds 2-3 11 more times for version (11 rows high) Fasten off leaving long tail. Weave long tail in and out every few stitches around the last row and pull tight. Sl st to opposite end of closure. Fasten pom pom to the top.


I really like this beanie, but I want to do it for a 5 year old. What are the number for those please.
Hi Elizabeth, thanks so much for reaching out. I have not yet graded this pattern for anything larger than the toddler size, but you can increase the stitches in the ribbing and around the beanie in multiples of two until you get the circumference size you need for your 5year old. Hope that helps!
Hello
I don’t understand how you space 76 stitches when the ribbing is only 70 stitches. Can you tell me?
cheers,
Monique
Hi Monique,
Great question! Since you are creating the foundation and not working into actual stitches yet, you’ll be adding in an extra 6 stitches evenly spaced around. When I did this step, I added in an extra stitch for roughly every 10-11 stitches created until I had my 76 stitches. I hope this helps!