Tassel Earrings Tutorial

Looking for a quick, cute and easy last minute gift or summer project? Look no further then these delightfully simple tassel earrings!

The idea caught me by surprise, as I was in the midsts of several crochet WIPS and thinking of upcoming fall projects that I wanted to start, when it struck me. That being said, I was amazed at how easily the whole project came together in my mind’s eye.
To make these beauties you will only need a few jewelry findings and a skein of embroidery floss. I highly recommend using a new skein of floss that is still bound. This makes making the tassel pretty much the easiest thing ever.
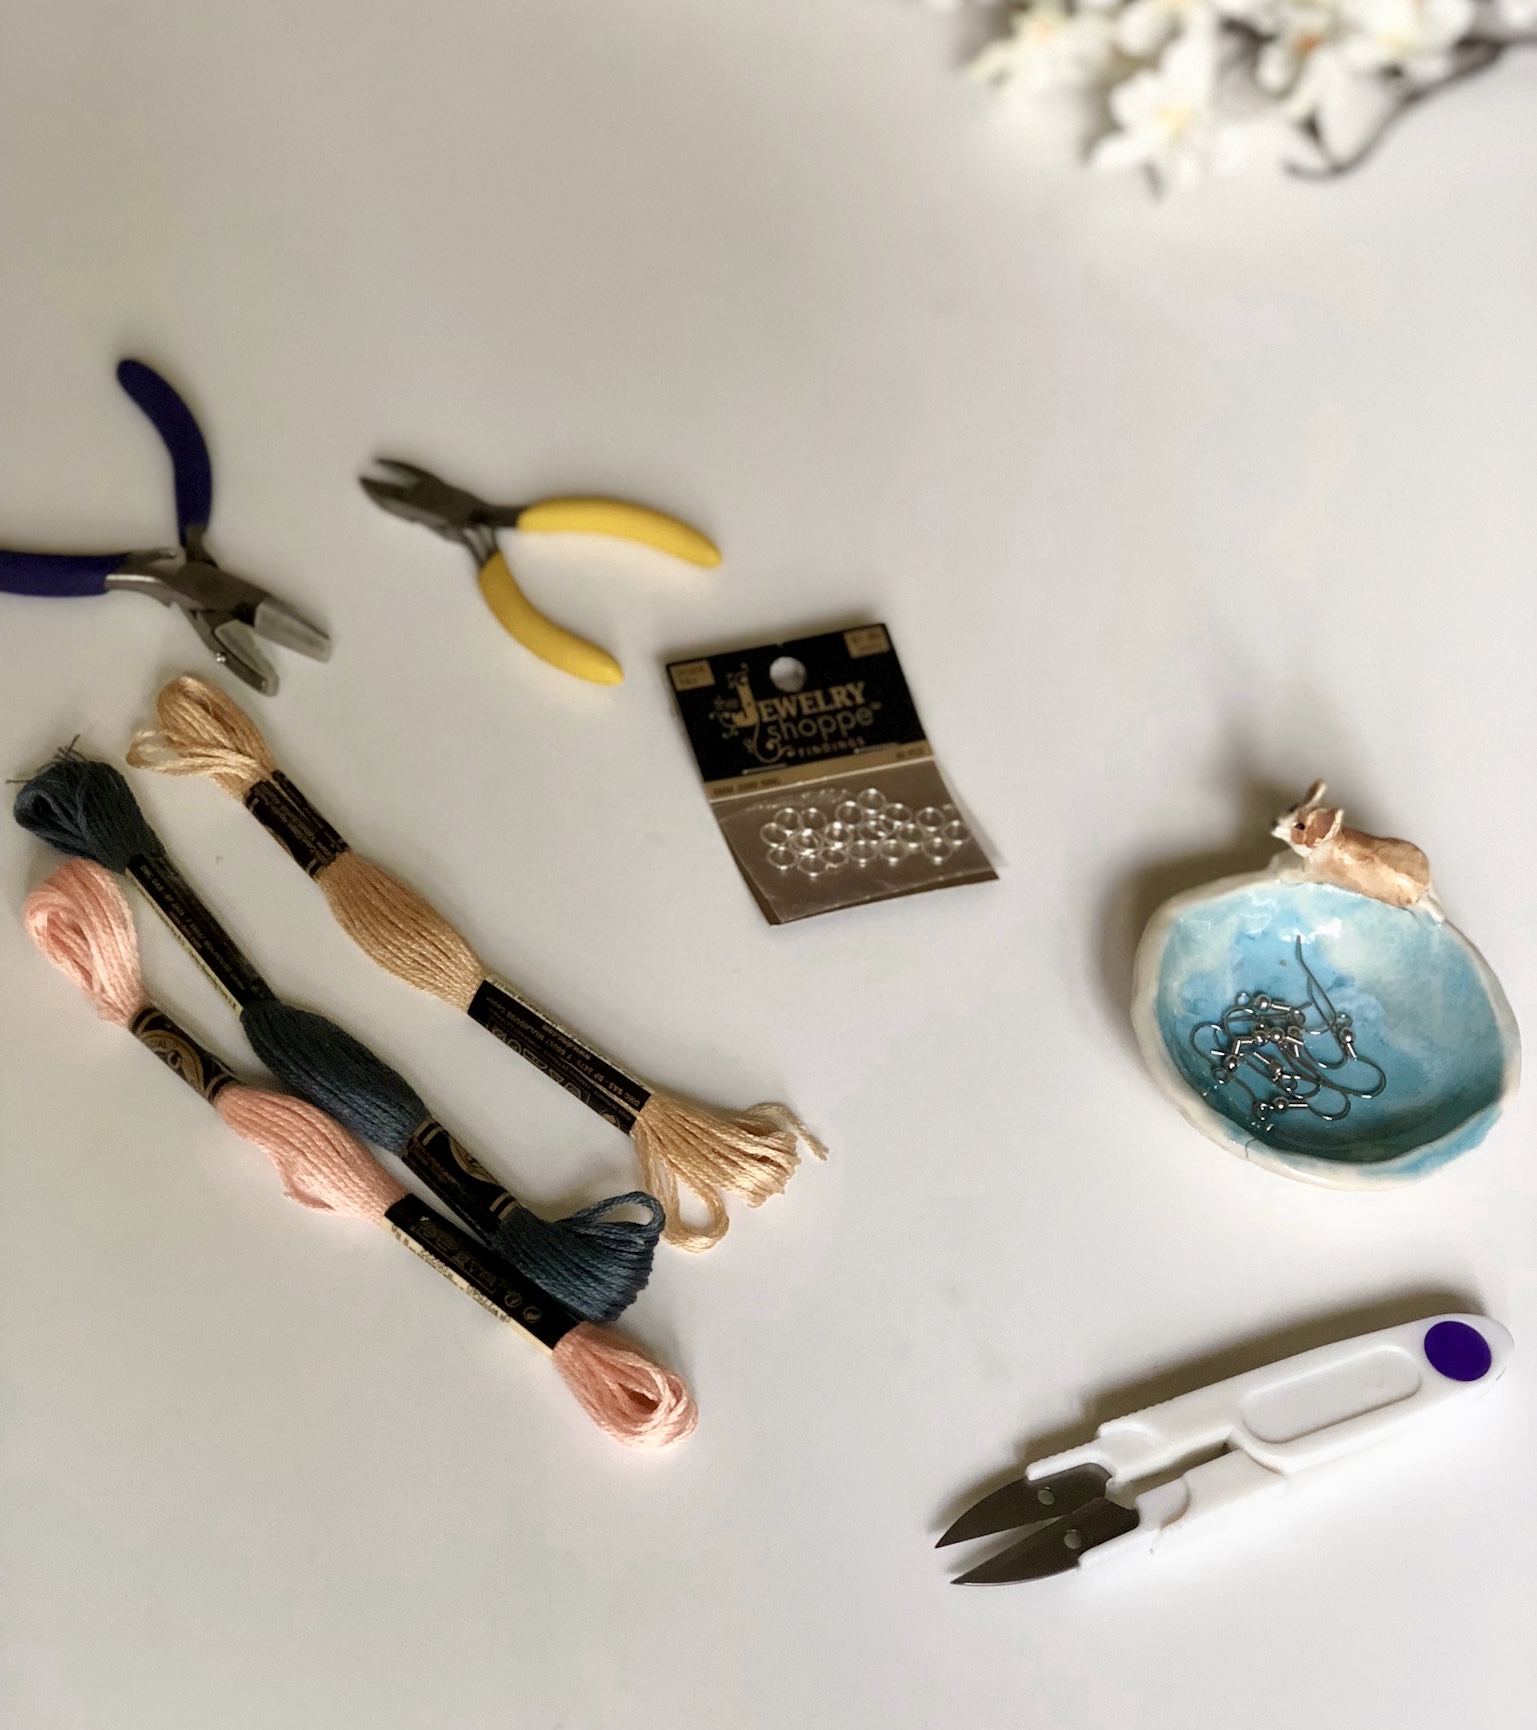
You’ll also need two 6 mm jump ring findings that you can find at your local craft store, 2 fish hook earring findings and 2 strands of complementary embroidery floss.
To get things started, you will begin by feeding one of your 6mm rings through one end of your skein.


You’ll need a set (or 2) of pliers to open the ring, you’ll then feed it through all the strands on one end of your skein.


Next you’ll add on your earring hook. Close the ring completely, taking care to make sure all strands of floss are secure within the ring. Repeat on the other end of the skein.


Now comes the fun part! You will either take a small (approximately 7 inches long) strand of embroidery floss from your skein, or from another skein if you want there to be a complementary component to your earrings. I had some remnants of a sliver skein that I just loved in conjunction with the floss and findings I was using.

You will take that strand of floss and begin to tightly tie it around one end of your skein, slightly below the ring and earring findings.


Once you tie the strand on one side, you will flip your skein over and tie again. Repeat this process 4 more times, for a total of 6 ties (3 on each side), ending the final tie with a double knot. Repeat on the other end of your skein.


From here you will fold your skein in half and cut the skein right down the middle. You now have 2 tassel earrings!


The only thing remaining is to bring the tails of your knotted strand in towards the center for a cleaner look.
For this you will want to use a very small crochet hook. If you have a lace crochet hook that would work perfectly for this, but I just used my 2.25mm hook and that worked just fine. Insert your hook through the very center of your tassel and grab the tails of your knotted strand, pulling through the center as your remove your hook.


Trim the tails so that they are well hidden in the center. You can also now trim the rest of the tassel if you wish to have shorter earrings, or if there are any uneven strands of floss from when you cut the skein.


That’s all there is to it! I hope you enjoyed making these enough to make a dozen or so for quick Christmas gifts this year, like I will be! ;-D

What You’ll Need
1-2 pairs of small pliers
2 6 mm jump rings
2 fish hook earring findings
1 small crochet hook (I used a 2.25mm hook)
1 complete and bound 8.7 yard skein of embroidery floss
2 7″ strands of embroidery floss
scissors
My Amazon Picks
Completed Measurements of Tassels
Blue Earrings- 2 1/2″ long
Pink & Tan Earrings- 3″ long
Directions
Step 1: using your pliers, open the 2 6mm jump rings and feed one through all the strands of floss on one end of your skein. Add an earring finding to the ring and close ring shut tight.
Step 2: Repeat on this on the other end of your skien
Step 3: Using a 7″ strand of embroidery floss, *tie a simple knot around all the strands of one end of your skein about 1/2″ down from the ring and earring findings. Flip your skein over and tie another simple knot*, repeat from * four more times, ending with a double knot.
Step 4: Repeat this process on the other end of your skein.
Step 5: Fold the skein in half and cut all strands across directly in the middle of the skein, remove skein bindings.
Step 6: Using your crochet hook, insert into the middle of the tassel so that the hook comes out of the top center. Grab the tails of the floss used to tie around the top of your tassel down and through. Cut the tails short and position the strands of the tassel around so that the remaining tails of the tie are hidden.
Step 7: Repeat on other earring
Step 8: Trim the tassels to your desired length. I did not trim the pink or tan earrings shown (except to clean up uneven strands) and trimmed about 1/2″ off of the blue.
Congratulations, you now have your very own tassel earrings!

I love to hear from my readers! If you enjoyed making these earrings, I hope you’ll share a picture of your completed project with me in the comments below or on one of my social media pages. 🙂
-B
