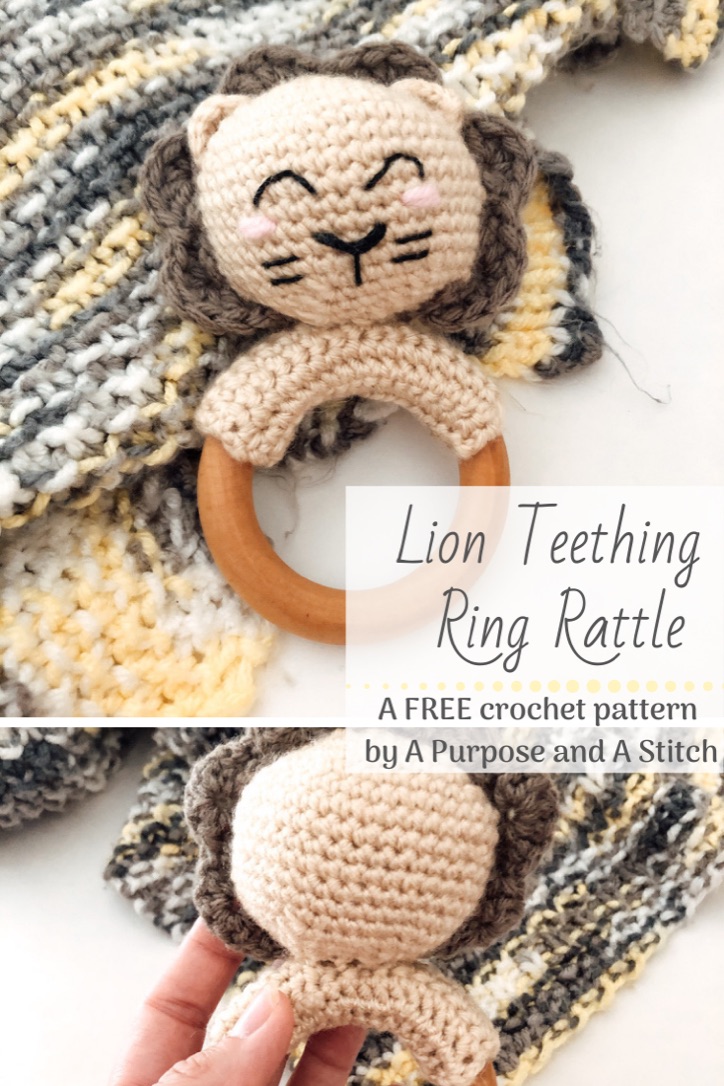
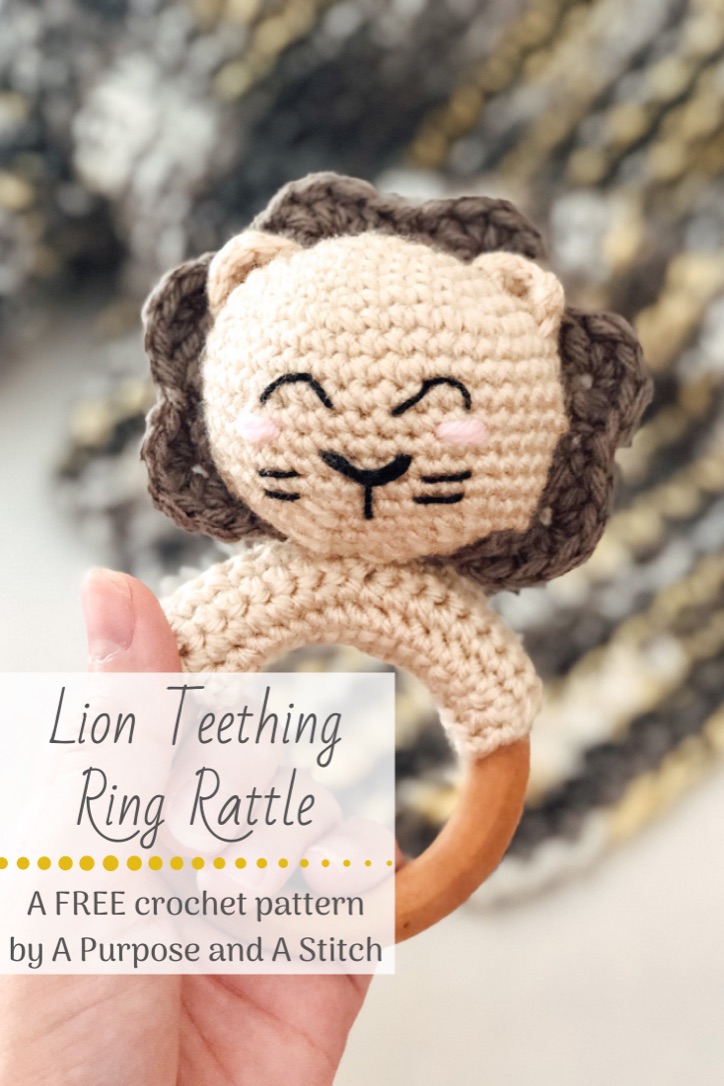
Lion Teething Ring Rattle- Free Pattern

About The Pattern
Below you will find the free web based pattern. If you’d rather, you can purchase the inexpensive printable PDF from our site here, our Etsy shop here or our Ravelry shop here.
All of our PDFs are printed in an easy to follow, colored format, and 50% of all proceeds are donated to help eradicate modern day slavery!
This is an easy-beginner level crochet pattern, with the most complexity coming in with the embroidery and assembly. So if you’re new to crochet and want to try out amigurumi, this pattern is a great place to start!
2 easy ears, a sphere head, a mane and a ring attachment piece come together to make a quick make that is both adorable and fun, perfect for any baby in your life!

About The Design
This cute lion rattle was inspired by our Hippo Teething Ring Rattle pattern, and we couldn’t resist sticking with a safari animal theme, so keep an eye out for an elephant teething ring coming soon!
If you want to read the full story behind this pattern, or see the step-by-step picture tutorial for additional help, you can find that on our blog post for this pattern here.

The Pattern
| What You Need |
|
| Completed Measurements |
| Width of head= 4.5″ 3” tall (excluding ring) |
| Abbreviations Used |
| sc= single crochet dc= double crochet MR= magic ring inc= increase (sc 2 into 1 st) dec= decrease ss= slip stitch fo= fasten off ch= chain MC= main color |
| Gauge Used (measured against Ring Attachment Pattern) |
| 10 sc= 2″6 rows= 1″ |
| Pattern Notes |
|
Pattern for the ears (make 2)
Foundation: in MC, work 3 sc into the MR, turn (3)
Row 1: ch 1, inc, sc, inc, turn (5)
Row 2: ch 1, ss in each st across, fo, leaving tail for assembly.
Feed starting tail through bottom stitches to get to the other end of the ear. (you should have a tail on either side of the ear).
Lion Head Pattern
Foundation: In MC, work 6 sc into the MR (6)
Round 1: sc 2 into each st around (12)
Round 2: *sc, inc*, repeat from * to * around (18)
Round 3: *sc 2, inc*, repeat from * to * around (24)
Round 4: *sc 3, inc*, repeat from * to * around (30)
Round 5: *sc 4, inc*, repeat from * to * around (36)
Round 6-12: sc around (36)
Round 13: *sc 4, dec*, repeat from * to * around (30)
Round 14: *sc 3, dec* repeat from * to * around (24)
- Attach the ears on a slight angle on the top of the head, starting at about round 3 on either side of the foundation.
- Embroider on the eyes (or place 9mm safety eyes) over round 9, about 3 stitches across and 3 stitches apart from each other.
- Using pink yarn or embroidery floss, embroider the cheeks right below the safety eyes or directly below embroidered eyes on round 10 about 2 stitches across.
- Embroider on the nose by working several laps of the black embroidery floss across 4 stitches over round 12 between the eyes. Starting from the inside of the head, feed the floss through the row directly below the nose, in the center of the 4 stitches that the nose covered. Feed that floss tail up and over the nose to pull down the strands and then feed the floss back through the head about 2 rounds down.
- Add the whiskers between the rows on either side of the snout, about 2 stitches long.
Begin stuffing head with fiberfill, add rattle and add some more stuffing.
Round 15: *sc 2, dec* repeat from * to * around (18)
Round 16: *sc, dec*, repeat from * to * around (12)
Finish firmly stuffing the head with fiberfill.
Round 17: dec in each st around, fo (6)
Ring Attachment Pattern
Foundation: in MC, ch 18
Row 1: starting in 2nd ch from hook, sc across, turn (17)
Row 2-9: ch 1, sc in each across, turn (17)
Check to make sure the attachment fits tightly and secure around the teething ring, add more rows as needed.
Fo, leaving long tail for assembly.
Mane Pattern
Foundation: in Mane color, ch 38
Row 1: starting in 4th ch from hook, dc 4, sk 2, ss, *sk 2, dc 5 in next ch, sk 2, ss*, repeat from * to* across, fo leaving long tail (35)
Assembly
Join long ends of the Ring Attachment to wrap around the teething ring, whip stitch (or use method of choice) to secure in place. Move the tail so that it is towards the center of the ring and use an embroidery needle to feed the tail through to the top of the ring to join the head.
Attach the head to the Ring Attachment using the Whip stitch (or method of choice) following the 16th round of the head as a guide.
Using Whip Stitch (or method of choice), seam the mane around the head, directly behind the ears. Attach to ears as you pass them for extra stability. Fasten off and weave in all ends.

Thanks ffor writing this
You’re so welcome! Thanks for the encouraging words!