Honey Bee Amigurumi- 2 Different Ways Blog Post
We recently welcomed Andrew to the world, and couldn’t be more grateful to have him in our family! My OBGYN is probably my favorite doctor, and one of the most positive and encouraging humans I know (which was so appreciated especially during this pregnancy).
I would often crochet while waiting to be seen for my prenatal appointments and my doctor quickly picked up on it, commenting on how much he liked my work.
To show my gratitude for his amazing bedside manner and encouragement, I decided I would put together a gift basket for him after giving birth. Since my in-laws are local honey farmers, I knew I wanted to include some of their honey and beeswax products. I also knew I wanted to crochet something for him. The logical crocheted compliment was a honey bee amigurumi. Better yet… a mommy and baby honey bee (because it’s for my OBGYN… Get it? lol!)

Overall, this pattern is pretty simple.
Both mommy and baby bee are created with the same pattern in mind, the baby is just created with a smaller hook, and less stitches and rounds. Other then that, they are exactly the same. The ornament version is simply the baby sized bee with a strand of yarn worked through a stitch on the back.
You will be starting at the head and working down the remainder of the body. To begin, you will create a magic ring. If you are unfamiliar with this technique, I recommend this helpful tutorial here.

The next round will consist of 2 single crochets worked into each stitch around.
 The following round is worked by alternating between single crocheting and single crocheting 2 into each stitch around. This will give more width to the head.
 For the baby, increases will end after this round. For the mommy, you will work one more round of increases.
The next few rounds are all worked with single crochets around, giving the head it’s round shape.

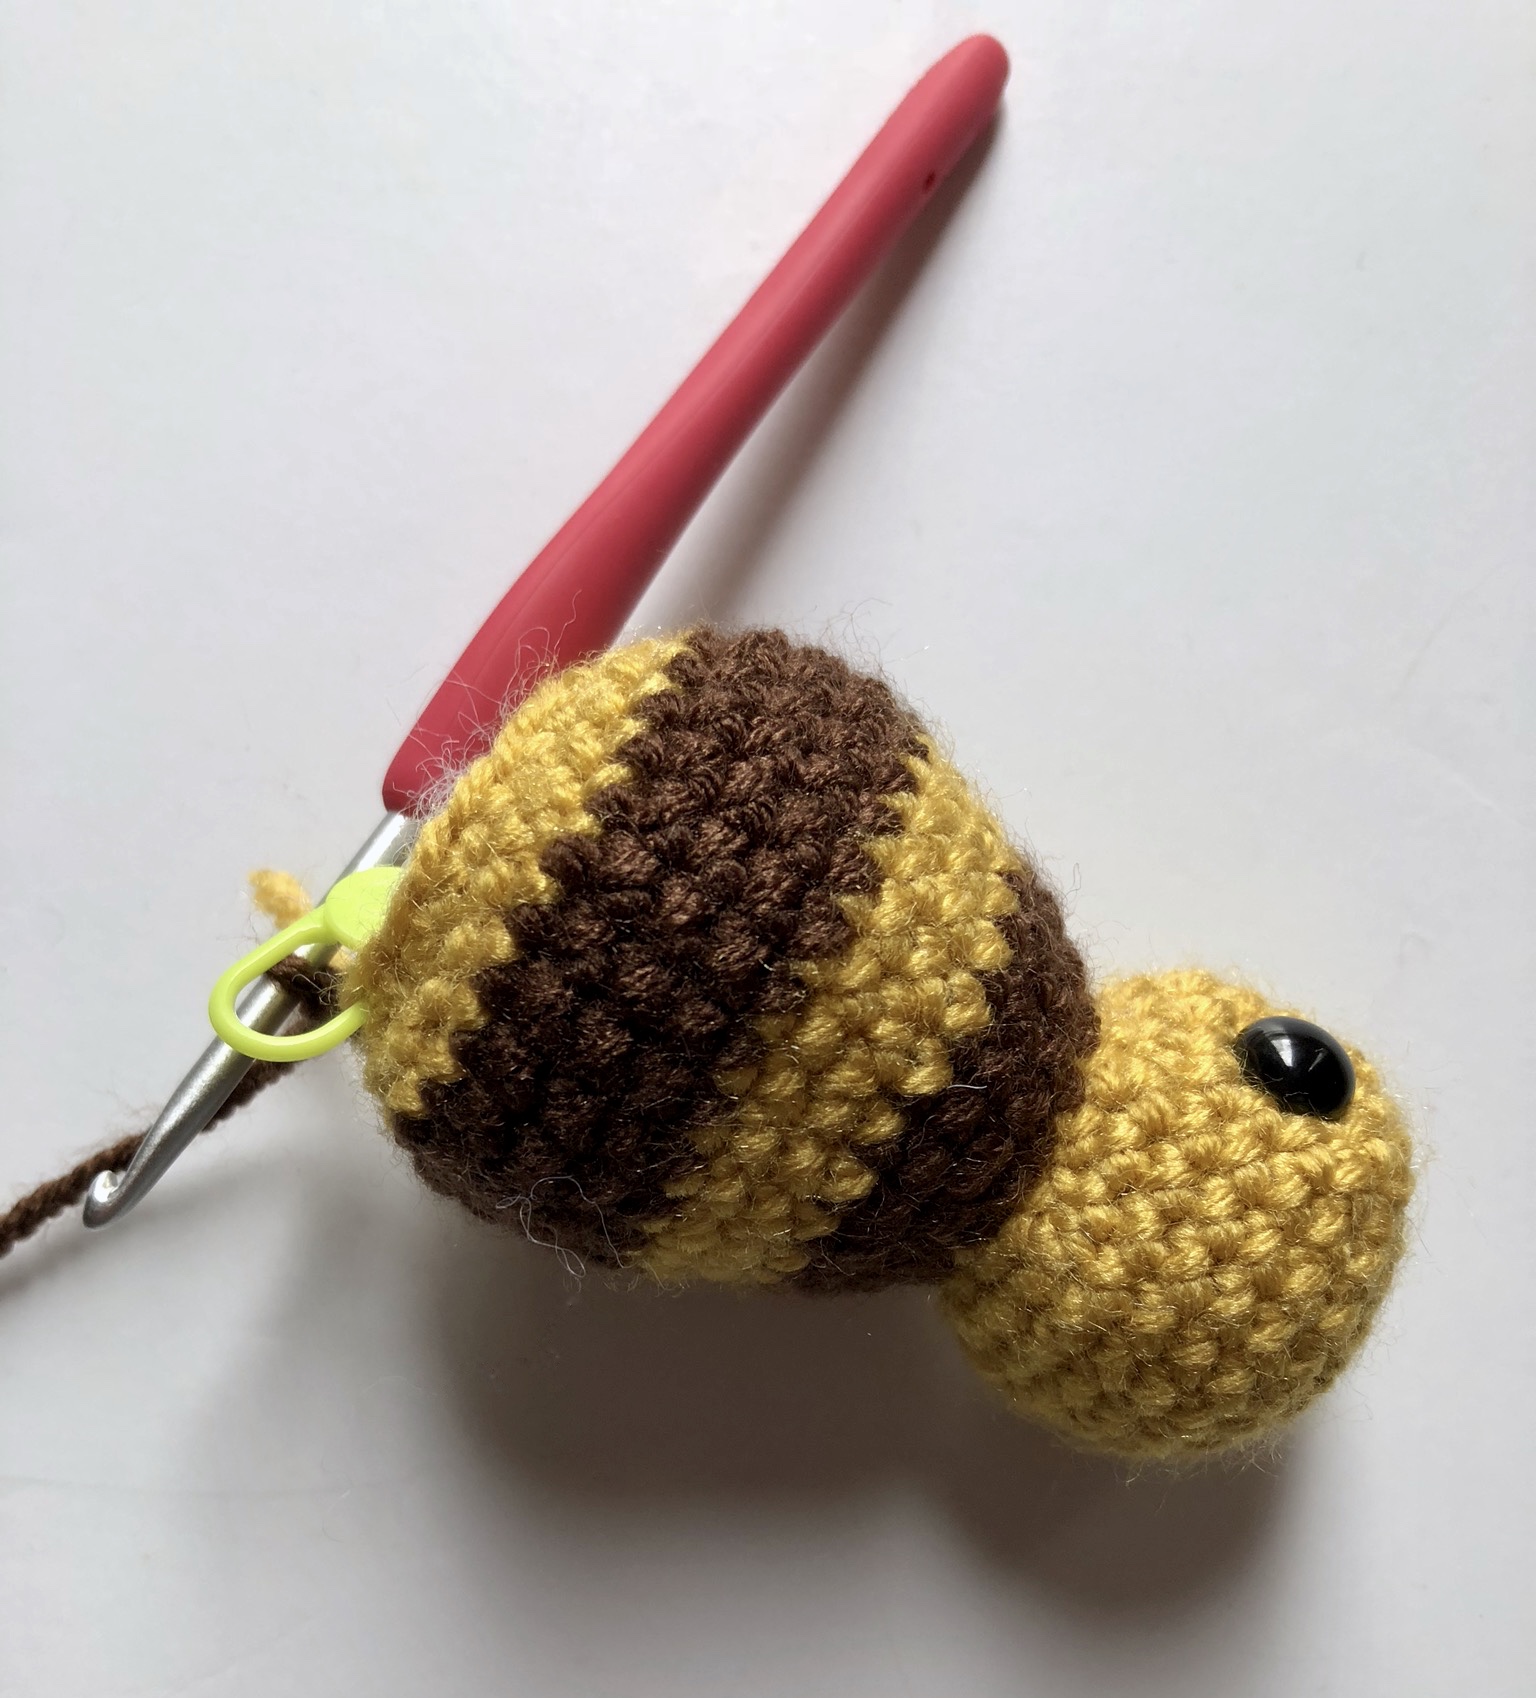
At this point, you will embroider on a cute little smile with black embroidery floss, and fasten your safety eyes in place on either side of the head. Make sure that your starting chain is located at the bottom of your work when you do this. You want the mouth to be located above your starting chain so that the color changes will be well hidden on the bottom of the bee.


In the next round, you will slightly decrease to create a divot for the neck.
For the next few rounds you will be switching to the brown yarn. I started my color change in the last stitch of the round just prior to the color change round. I did so by working the last single crochet as normal until the very last yarn over and pull up.
When you have the last two loops on your hook, rather then yarning over with your original color, you will yarn over with the color you are changing to and pull up with that color. Work the rest of your round with this color as normal.


Rather than cutting the colors at the end of each change, I just dropped it behind and carried it up the rounds when changing colors.

You will continue by working a series of increases, color changes, and lastly by a few rounds of decreases.
The bee will finish in brown (you can cut the yellow yarn after your final color change and carry the tail behind your brown stitches to secure in place). The stinger is created by working decreases until the hole closes at the end, then fastening off and feeding your tail through that hole towards the center of the bee’s body.


Once the body is complete, you will get your dog slicker brush out and start brushing the body.
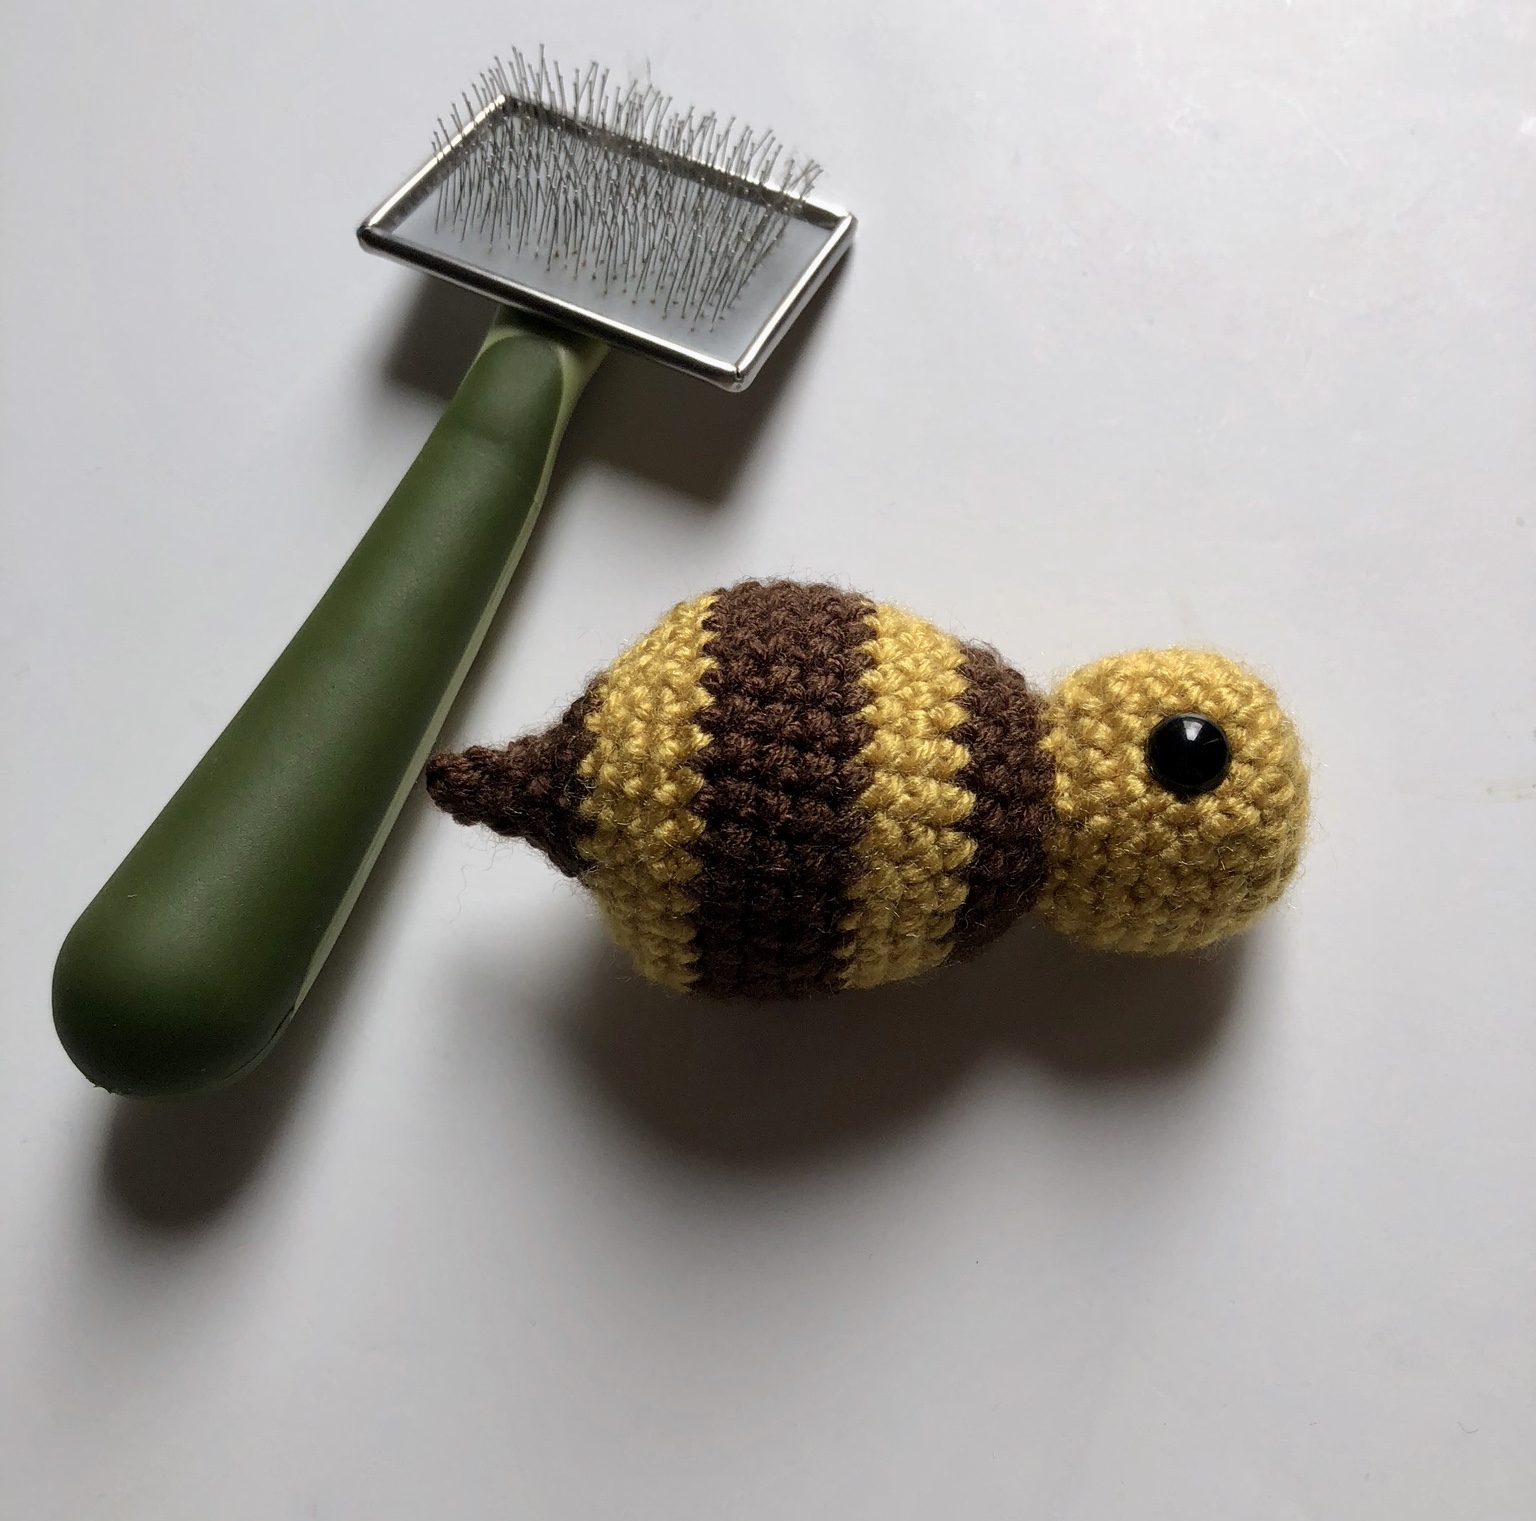 Since honey bees are furry, I wanted this guy to look furry too, so the dog slicker brush will help achieve this. Just go to town with it, agitating the fibers until you’re happy with your bee’s furriness.


I did not brush my bee’s head because I didn’t want to hide the cute little smile, and liked the way she looks with just her body furry.
The last step is to add on the wings. I used white felt that I cut in the shape of tear drops with a flat bottom.
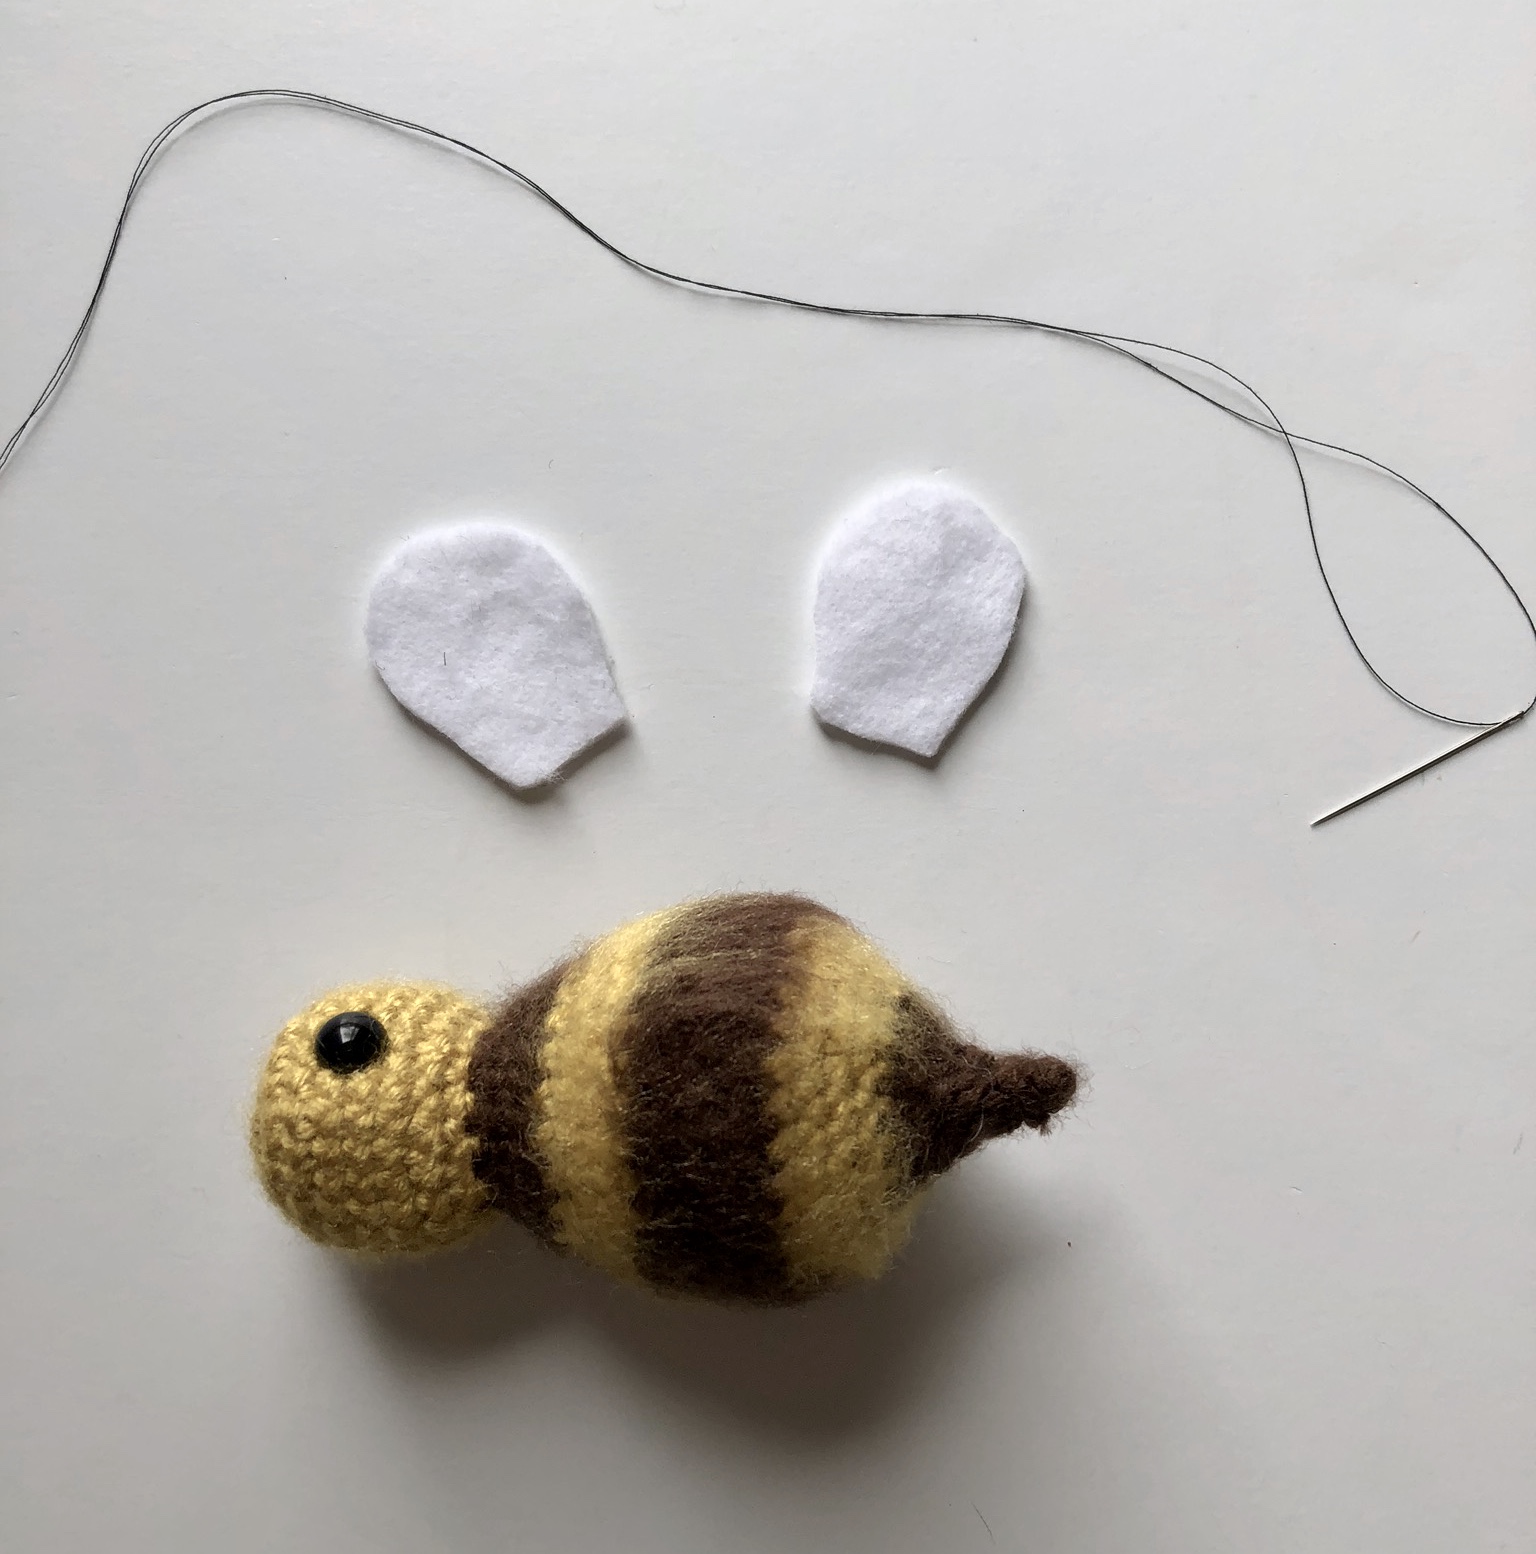
To give more detail to the bee, I used black thread and a needle to embroider on some veins before attaching to the bee’s body. There’s no real science to this, just work up the center with some branches coming out of the center line.


Once you have 2 wings, attach to the bee’s back using needle and thread.
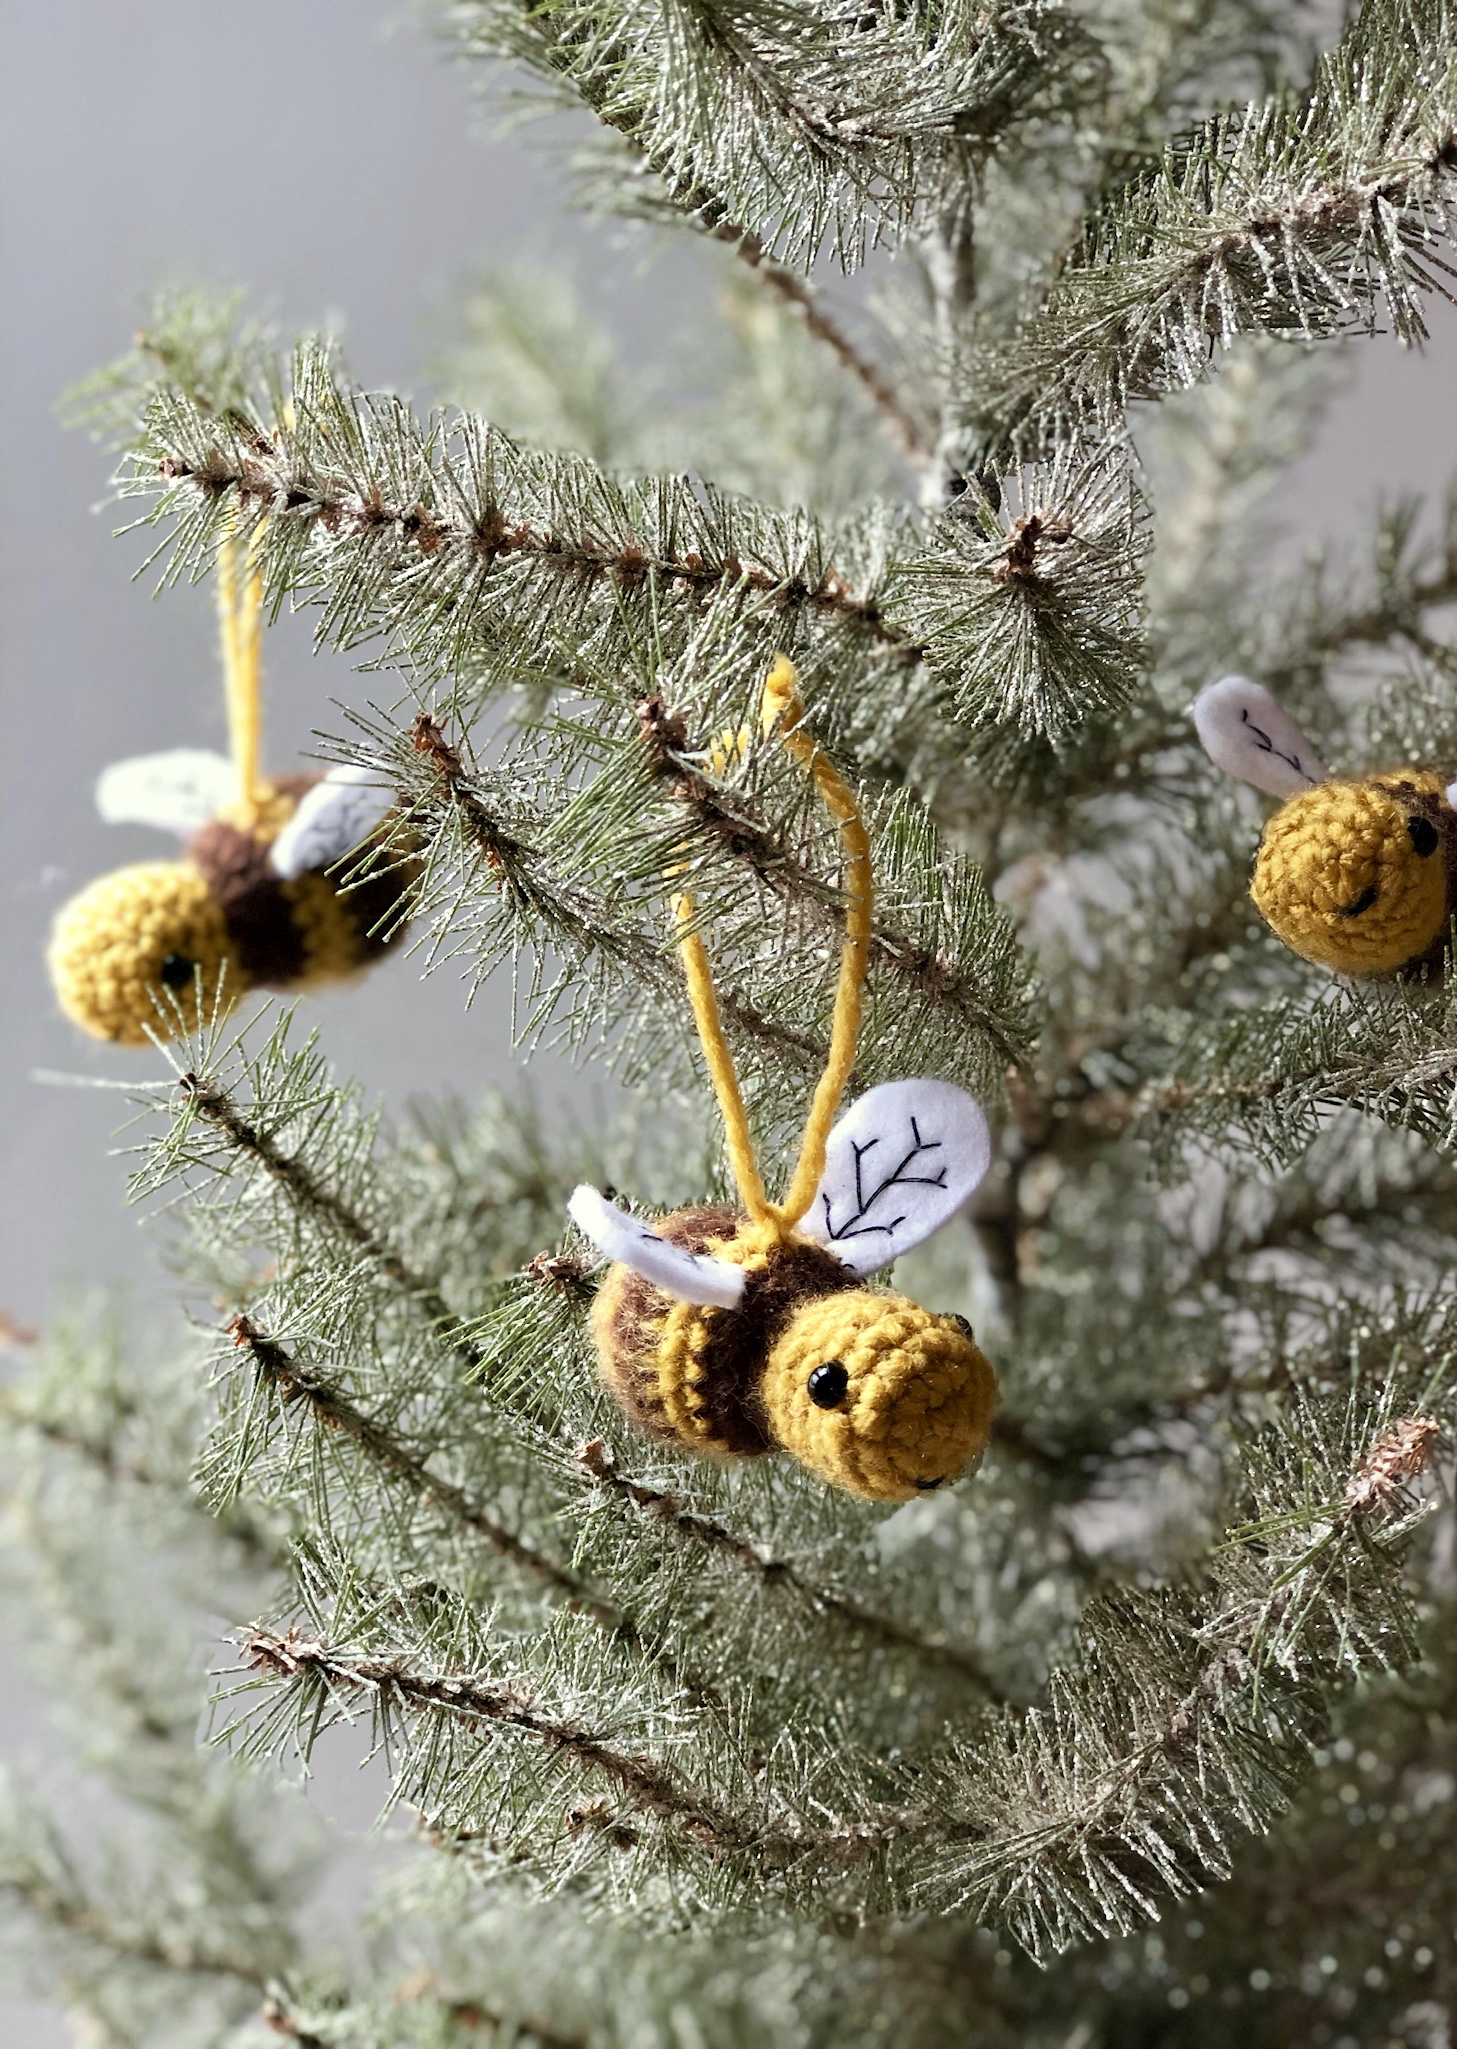
To turn your baby bee into a Christmas tree ornament, you will take a strand of yarn or jute and feed through a stitch between the wings using an embroidery needle. I recommend a strand that is at least 6″ long, to make sure there is enough space to hang the ornament on a tree branch.


And there you have it! Honey Bee Amigurumi 2 different ways! Mommy & baby or ornament!


I hope you enjoyed this tutorial and if you make one of these adorable bees, that you will share a picture of your completed project with us on social media! We love to see what others create using our patterns!