Hippo Rattle Teething Ring- Free Pattern

Yay for babies! And yay for crochet items for babies!
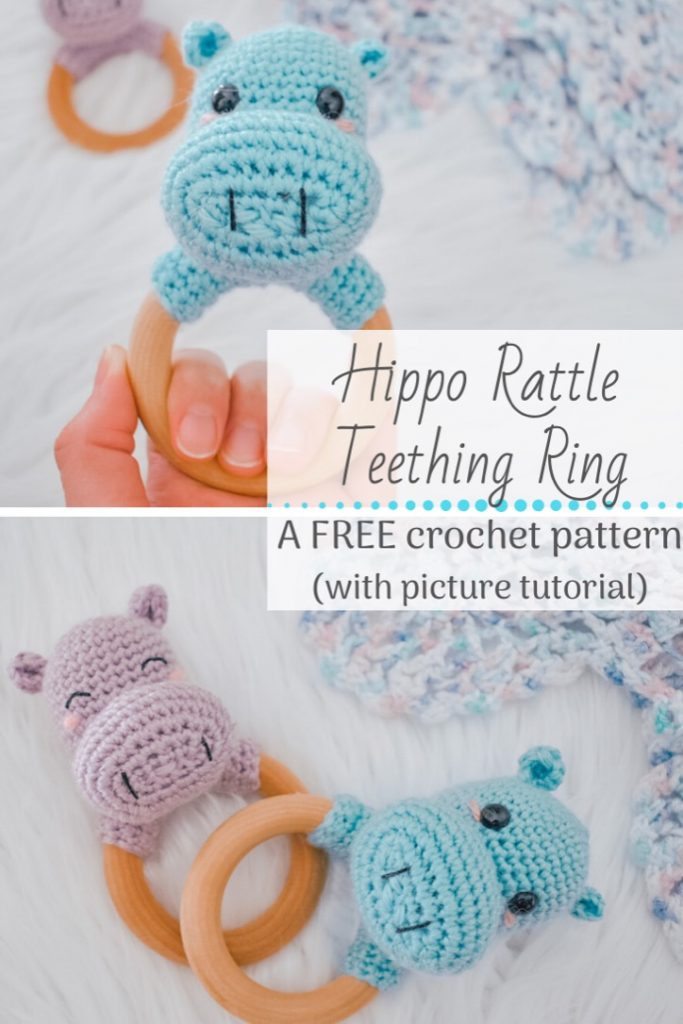
I’m so excited to share our lates baby-themed crochet pattern with you all today! I give you; the Hippo Teething Rattle. Super cute and adorable, functional as a teething ring and a rattle, with an easy grip for baby!

About The Pattern
To read the full story behind what inspired this pattern, or to get additional help making the pattern, I recommend checking out our step-by-step picture tutorial blog post found here. You can also purchase the inexpensive, ad-free colored PDF from our Etsy or Ravelry shops!
You will also notice in this pattern that there is no gauge listed. I don’t typically list gauge for my amigurumi patterns, as it can be difficult to get an accurate gauge with the smaller pieces. I do work tighter stitches with amigurumi than I would with a garment or other flat item, to prevent the stuffing from peeking through when finished. The tighter your gauge, the smaller your hippo will be, the looser your gauge, the larger it will be.
About The Materials Used

For the yarn I used Knit Picks Mighty Stitch, which is so soft and beautifully colored, but any soft worsted weight yarn will work as a good substitute.
In regards to the rattle and wooden ring, I recommend checking out the links listed in the “What You Need” section to find the exact rattle and teething rings we used.
After scouring for a good wooden teething ring across multiple platforms, I took the leap of purchasing them on Etsy and was not disappointed! The rattle was easier to find on Amazon, but the one listed here will ensure a good fit in the head of your hippo.
The Pattern

| What You Need |
|
| Approximate Completed Measurements |
| 3″ tall (excluding the ring) 7.5″ around at widest point (where head and snout join) |
| Abbreviations Used |
| MR= magic ring ch= chainst= stitchsc= single crochet blo= back loop only inc= increase (single crochet 2 into 1 st)dec= decrease fo= fasten off rep= repeat |
| Pattern Notes |
|
Snout Pattern
Foundation: ch 7
Round 1: starting in 2nd ch from hook sc across. Continue to sc into blo of foundation around (12)
Round 2: inc in each st around (24)
Round 3: *sc, inc, rep from * around (36)
Round 4-7: sc in each around (36)
Round 8: *sc, dec, rep from * around (24)
Round 9: sc in each around (24)
Embroider on nose details; using black embroidery floss, stitch on 2 lines at front of snout on either side of the foundation row, starting at the top of round 2 and running down towards the bottom of round 2. Firmly stuff with fiberfill
Round 10: *sc, dec, rep from *around, fo leaving tail for assembly
Head Pattern
Foundation: work 6 sc into MR
Round 1: inc in each st around (12)
Round 2: *sc, inc, rep from * around (18)
Round 3: *sc 2, inc, rep from * around (24)
Round 4: *sc 3, inc, rep from * around (30)
Round 5-13: sc in each around (30)
Round 14: *sc 3, dec, rep from * around (24)
Embroider on facial details; use black embroidery floss or place safety eyes in place between rounds 9 &10 and about 7 sts apart.
Use pink embroidery floss or yarn to stitch on cheek details about a row below stitched eyes or directly below safety eyes about 1 stitch long. Begin to stuff with Fiberfill
Round 15: *sc 2, dec, rep from * around (18)
Add rattle and firmly stuff with more fiberfill
Round 16: *sc, dec, rep from * around (12)
Round 17: dec in each around, fo leaving tail for assembly (6)
Ear Pattern (make 2)
Foundation: work 5 sc into MR, turn
Row 1: ch 1, sc, hdc, 2 dc into next, hdc, sc, fo leaving tail for assembly.
Use 2 starting and ending tail to tie base of ear together at bottom
Ring Attachment Pattern
Foundation: ch 10
Row 1: starting in 2nd ch from hook, sc across, turn (9)
Row 2-17: ch 1, sc in each across, turn (9)
Row 18: ch 1, sc in each across, fo leaving long tail for assembly.
Assembly
Join long ends of the Ring Attachment to wrap around the teething ring, whip stitch to secure in place. Move tail so that it is towards the center of the ring and use embroidery needle to feed tail through to the top of the ring to join the head.
Attach ears to top of head, so that they are located between rounds 4&5 towards the back side (opposite of facial details) of the head. Weave in ends.
Attach the snout to head so that the top is just below the eyes and that the bottom hangs just slightly below the last round of the head closure (the portion of the snout hanging down will rest on the front of the the teething ring).
Use tail of the Ring Attachment to secure bottom of snout to the front of the ring and the tail of the head to secure to the center top of the Ring Attachment.
Weave in all ends and cut off remaining tails.
And that’s all there is to it! I hope you enjoyed making this pattern as much as I did designing it.

Love the pattern. My snout was way to big.
Hi Erna, thanks for making the pattern! Sorry you weren’t thrilled with the end result.
My first rattle and this pattern was so easy to follow, I love how it turned out!!
Awe, thank you so much for the kind words! I’m so glad you enjoyed making this rattle!
Thank you for sharing your hippo rattle- really easy – had fun making it-
You are so welcome! So happy to hear you like it! ☺️
Seriously so fun and easy! Came together well, I’m excited to give this to my niece.
The link for the rings is sold out, but it still worked on a 70mm ring I got (+/- 2.75″)
I’m so glad you enjoyed making it and I hope your niece loves it just as much! Thanks so much for sharing!