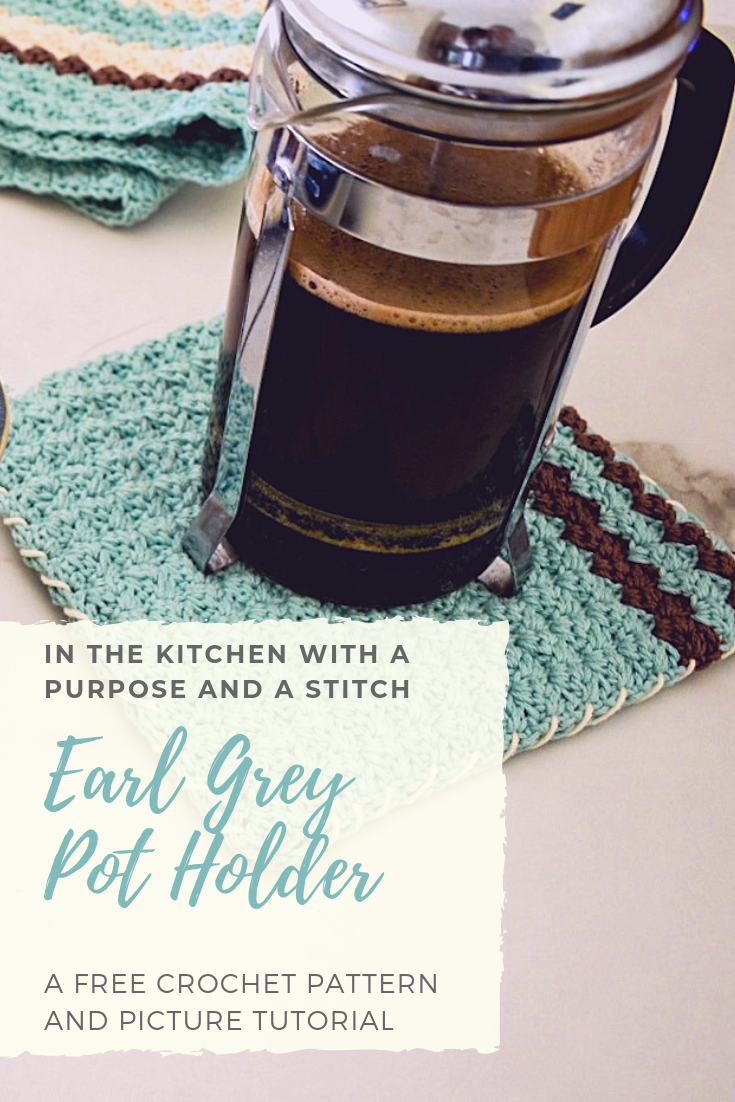
Earl Grey Pot Holder- Free Pattern

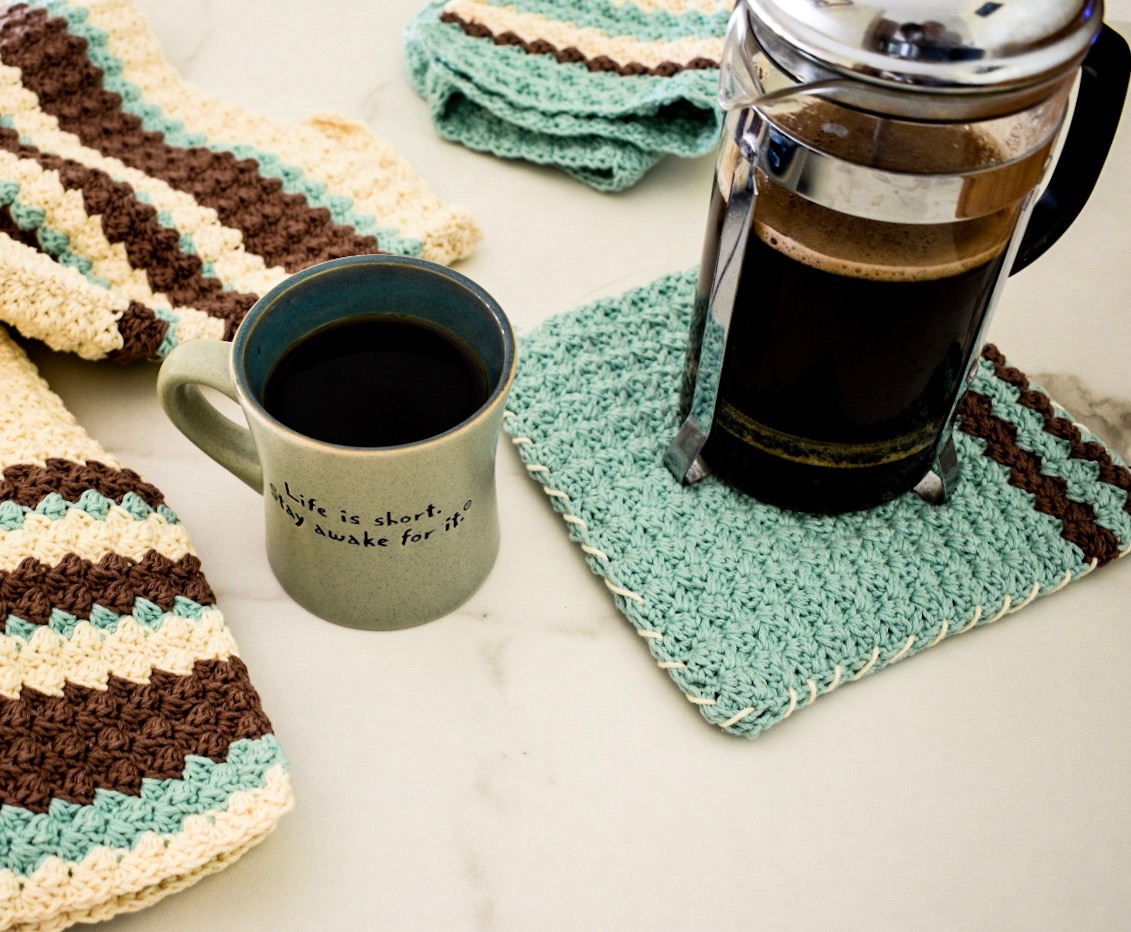
So here it is… the item that inspired the entire “In The Kitchen” line on our blog. We were in desperate need of new pot holders and with my husbands encouragement, I decided to make my own!

It’s customizable, beautiful and actually quite functional! I wasn’t sure how well a crochet pot holder would hold up against hot pans and cookie sheets, but with the double layer design, this actually functions better that some other store bought pot holders we have!

This gem actually worked up quicker then it’s “In The Kitchen” counterparts, making it possibly my favorite pattern in the line. In case you missed it, you can get the matching Sweet Mint Washcloth and Chamomile Tea Towel free crochet patterns on our blog as well!
This pattern consists of 3 main components: 2 square panels (for the pot holder) and a small loop pattern (for a hook). You will start this pattern in the same fashion as the others, by crocheting a foundation row in your primary color, followed by a few rows of alternating colored rows to give a bit of detail. The entirety of these panels is worked in the Sedge Stitch. If you are unfamiliar with this stitch, please check out our free tutorial for additional assistance.

After creating 2 identical panels, you will make the loop, which is just a few short rows of single crochets.

To assemble, you will first fold the loop in half then attach to a corner of one of your panels. I placed my loop opposite of the stripes, but feel free to place yours elsewhere if so desired. I then lined up the stripes of both panels and (with the loop ends towards the center), and began to whip stitch around the edges with a third color of yarn.


Since I made all three patterns of our In The Kitchen line out of just 5 skeins of yarn, I made this pot holder with the yarn that was remaining. If you are not making one or both of the other patterns, you could certainly add a stripe of a third color or have no stripes at all and just use one color for the whole thing.
After completing the tea towel and washcloth, there was not enough of my third color (the cream) left to make a whole stripe in it on both sides of the pot holder. SO, I just used it on assembly and LOVE the accent it adds to this piece.
I really hope you all enjoy this pot holder as much as I do and get as much use out of yours as I already have out of mine.
What You’ll Need
1 skein of 24/7 cotton yarn by Lion Brand Yarn (approximately 42-53 grams in primary color, depending on use of 2nd and 3rd yarns)
2 different colors of scrap cotton yarn for accents (optional- approximately 9 grams for stripes and loop, and 2 grams for edging)
3.5 mm (US E) crochet hook
scissors
My Amazon Picks
Gauge Used
20 sledge sts= 4″
8 rows= 4″
Completed Measurements
8″ wide
8″ long
Pattern Notes
I really enjoyed using Lion Brand’s 24/7 cotton yarn for this pattern, specifically for its drape and absorbency from the 100% cotton composition. If you do not have access to this yarn- another cotton based, aran weight yarn should work fine as a substitute.
This hot pad is the final of 3 patterns from our “In The Kitchen” line. There is also a pattern for a kitchen tea towel, as well as a washcloth. All three patterns use the same colors to keep the line in unison. This pot holder was designed to utilize the remainder of yarn from the first 2 patterns. If you would like to make all 3 you will need 2 skeins of the primary and 3rd colored yarns, and 1 skein of the 2nd colored yarn.
The 2nd and 3rd colors are listed as optional because so little is needed. You could just as easily use a single color and skip the color changing portions if you do not have extra cotton yarn on hand.
For each color change, I recommend pulling in the next color into the first chain of the row and securing the tails in place by working them into the subsequent stitches (for at least 3 stitches) to prevent less weaving in at the end.
You can choose to make your hot pad with just one of the panel patterns, but this will result in a thinner, less heat-resistant pot holder.
This entire pattern is made in the sedge stitch. For extra help in working this stitch, check out our free tutorial found here.
Abbreviations Used
ch= chain
hdc= half double crochet
dc= double crochet
sk= skip
sc= single crochet
fo= fasten off
Panel Pattern (make 2)
Foundation [starting in the first color]: ch 39, (hdc, dc) in 2nd ch from hook, * sk 2, (sc, hdc, dc) in next, repeat from * across, sc in last ch, turn
Row 1: switch to 2nd color yarn, ch 1, (hdc, dc) into the last sc from previous row, *sk 2, (sc, hdc, dc) in next sc, repeat from * across, sc in last, turn
Row 2-3: switch back to 1st color yarn, repeat row 1
Row 4-5: switch to 2nd color yarn, repeat row 1
Row 6-28: switch to 1st color yarn, repeat row 1, fo weave in all ends.
Loop Pattern
Foundation: ch 3, starting in 2nd ch from hook, sc across, turn (3)
Row 1-18: ch 1, sc across, fo and cut yarn (3)
Assembly
Fold the Loop portion in half and attach to one of the pot holder panels on an opposite corner from the stripes.
Place the two panels on top of each other so that the stripes are lined up and the loop is located in between the two panels. Begin to whip stitch around the edge with your third color yarn. I liked using the whip stitch to offer some contrasting color, but feel free to use another join method if you do not want the stitches to be as noticeable or do not have a third colored yarn.
Tie off and weave in all ends.

I’m working on this one
I hope you enjoy it!