Baby Squirrel Girl- Blog Post

Since we didn’t find out Audrey’s gender until her birth, her in utero nick name was “Peanut”, “Nugget” or “Baby Panda”. However, as soon as Will discovered that she was a girl, her nick name immediately became “Baby Squirrel Girl”. In fact, he was calling her that even prior to us settling on the name “Audrey”. No real reason, I think he just likes the way it rhymes. Regardless of it’s lack of meaning, it stuck.
Since “Baby Squirrel Girl” had more or less officially been dubbed Audrey’s nick name, I’ve been trying to come up with a pattern in my head for an amigurumi squirrel. I was so excited to finally have this little lady complete in time to use as a stocking stuffer for Audrey this past Christmas and am so excited to have worked up the pattern to share with you here. 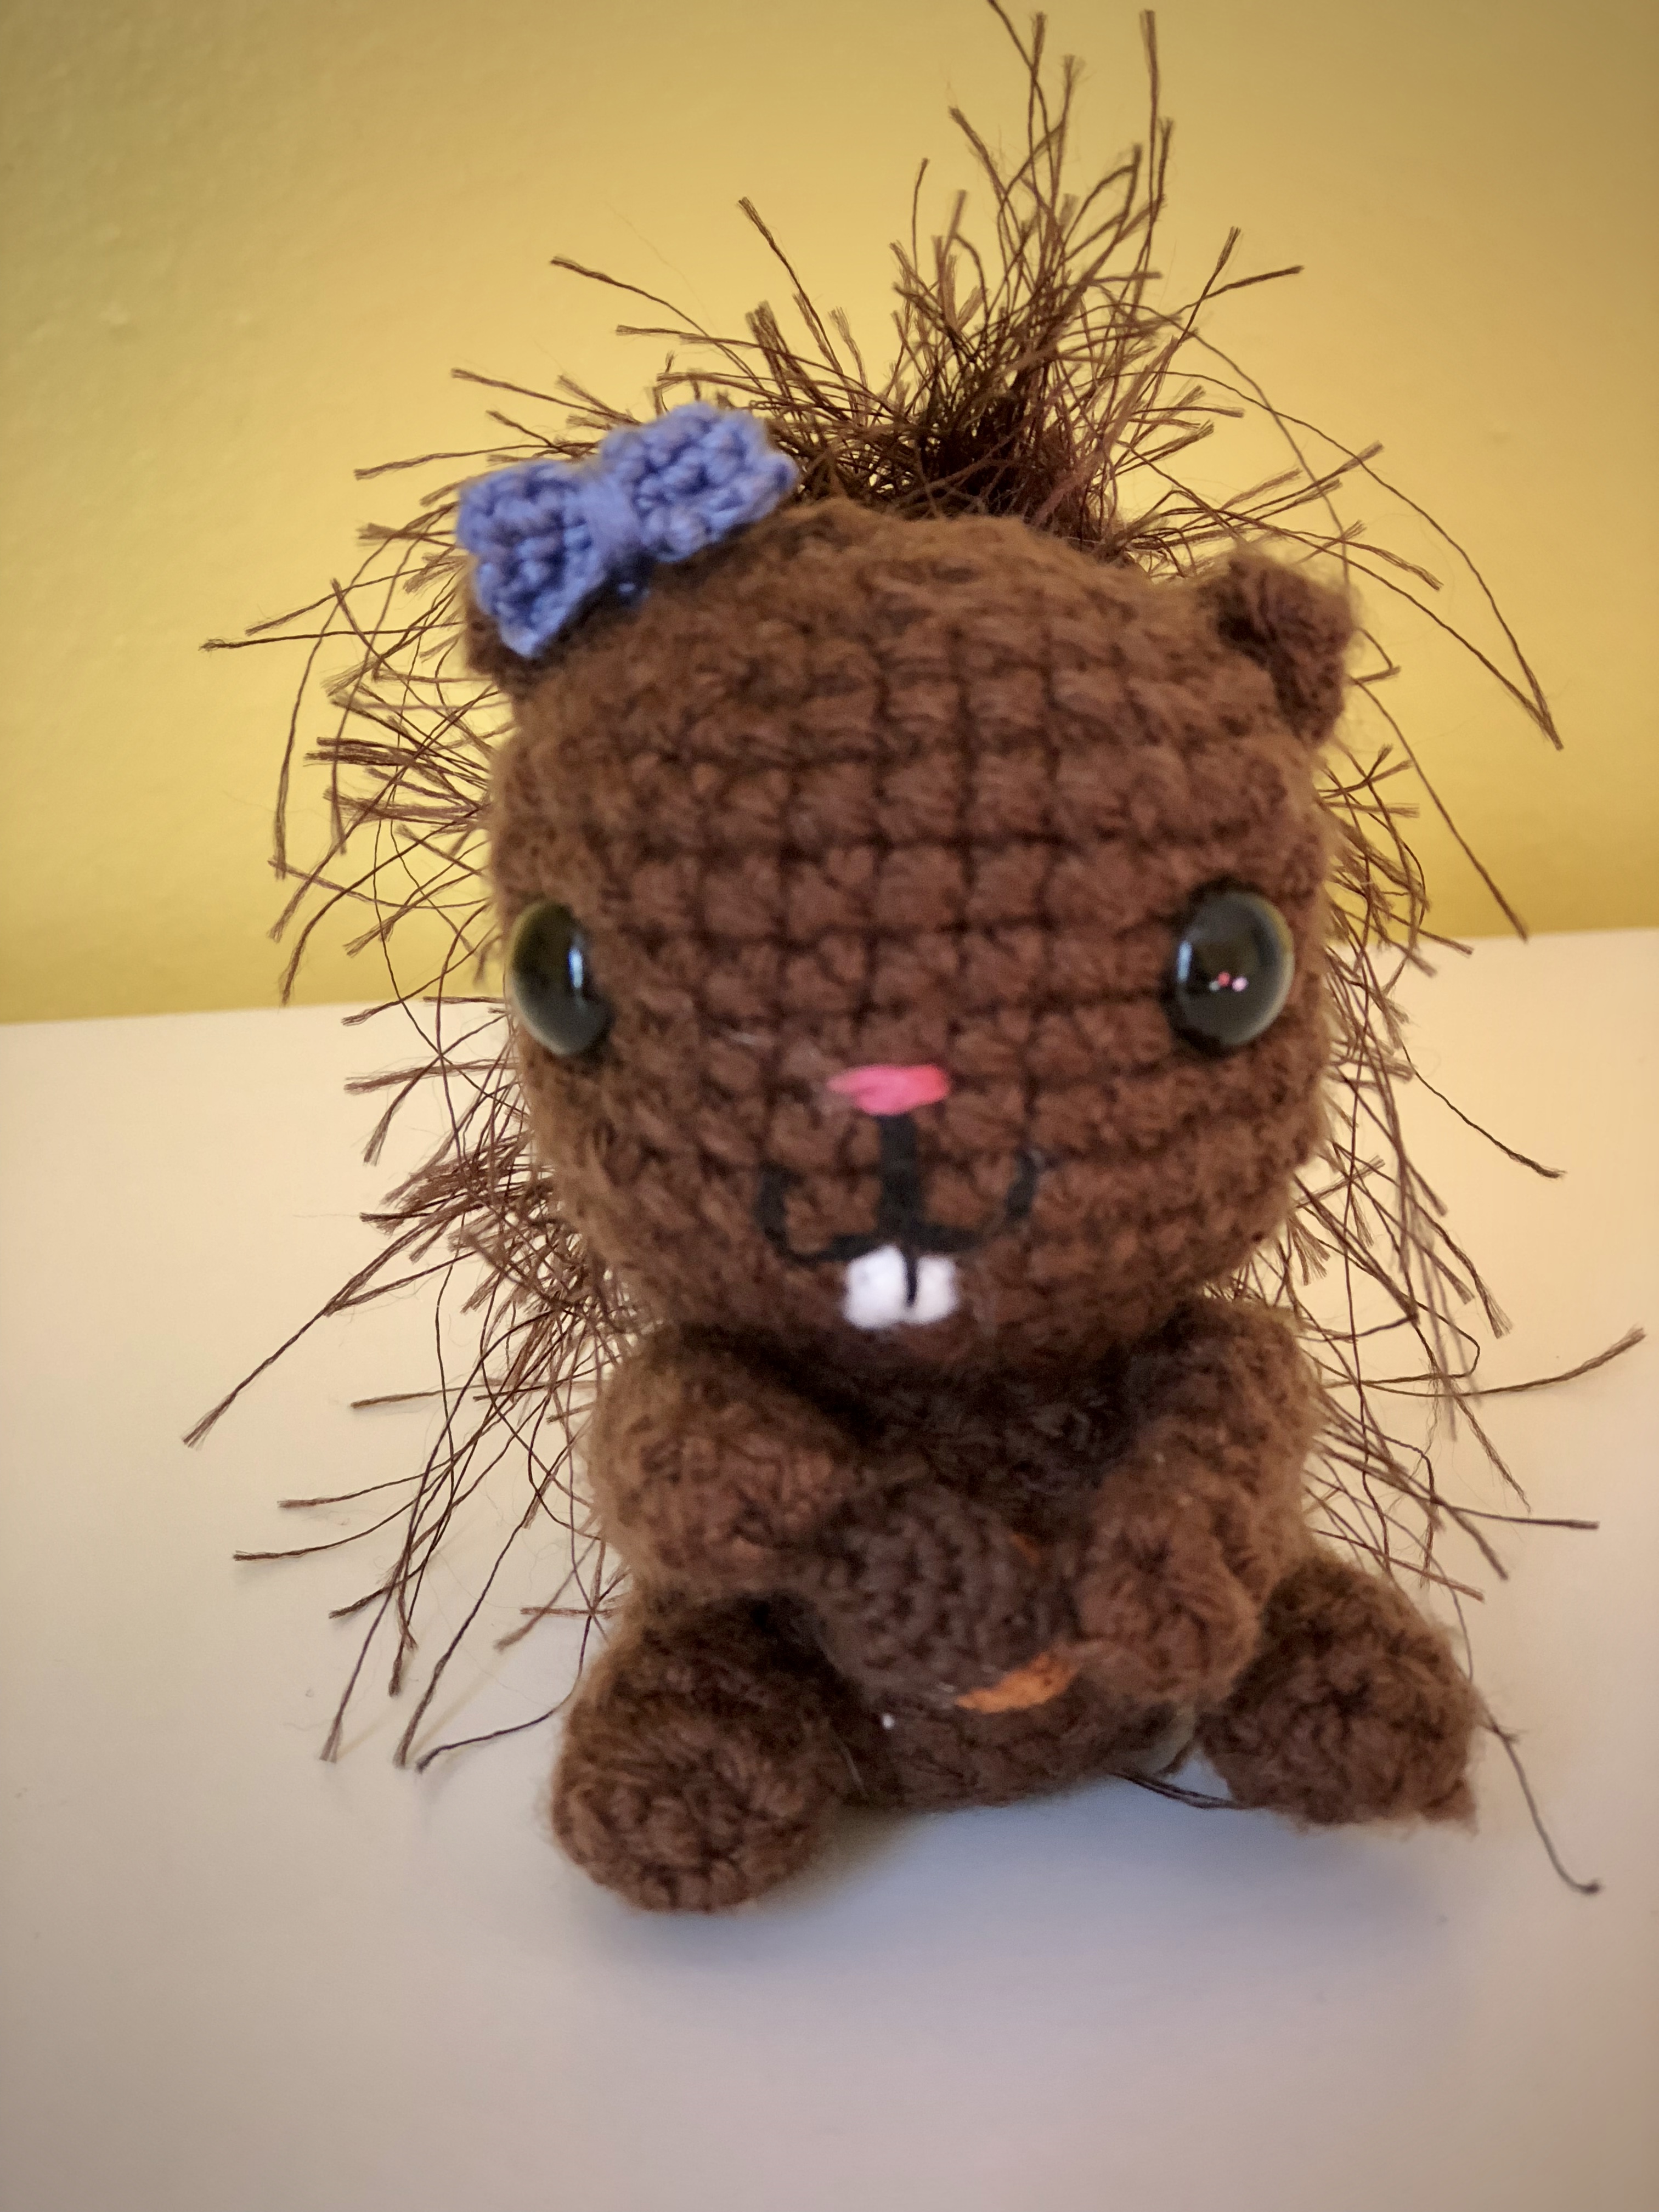
Isn’t she cute? I gave her all the bells and whistles I could think of, because only the best for my Baby Squirrel Girl! She has a furry and bendable tail, movable arms, an acorn she can munch on, even a cute bow for her head.


Unfortunately, all the bells and whistles do come with a cost and she does take a little bit longer to put together because of it, but I think it was all well worth it!
The majority of the pattern is simple and similar to any other amigurumi pattern you may have made in the past. The whole pattern consists of a body, a head, two arms, two legs and a tail.
For the head I started with a magic ring. If you are unfamiliar with this awesome technique, check out this super detailed, and easy to follow tutorial here. After making the magic ring, it became a simple matter of increasing and then decreasing stitches in each round to make a round sphere.


I added the face and eyes before finishing the head, this makes it easier to work into and stuff. To embroider the face, I started with the nose in the middle of the eyes. After the nose was stitched in place, I made a “U” shape directly below the nose a few rows down. Before finishing the mouth, I stitched on a small square of white felt for the teeth. I then drew the black floss down the inside of the head (behind the teeth) and then up and over the felt to more clearly define 2 separate teeth. Next, I looped the black floss under the “u” to make more of a “w” shape for the mouth. I fastened off underneath the place where I made the nose. Once the face was on, and the head was stuffed, I closed it up.
 The arms, legs and body are worked similarly to the head, starting out with the magic ring. After that there are just a few increases and mostly just single crocheting around to get the length/height needed. Before stuffing the body, and fastening off the tops of each arm, I inserted safety eyes into the arm and through the body, securing with a washer. This makes it so the arms can move up and down, how cool is that!?!


I had the most fun experimenting with and making the tail. I wanted to make sure it had a natural curve towards the top so that I wouldn’t have to rely too much on the pipe cleaner to shape the tail in place. For the gray squirrel I actually made the base of the pattern in black to give it a darker hue towards the center.


I started out working the base of the tail up, increasing slightly as I went until I reached the point I wanted to have the most dramatic flare. From here I added increases to the sides of the tail and then slowly started decreasing at the back side. This gave a natural indent to the pattern making it easier to bend into shape later. I added in a pipe cleaner before closing it up to ensure extra bend-ability (don’t mind me making up words over here, haha).

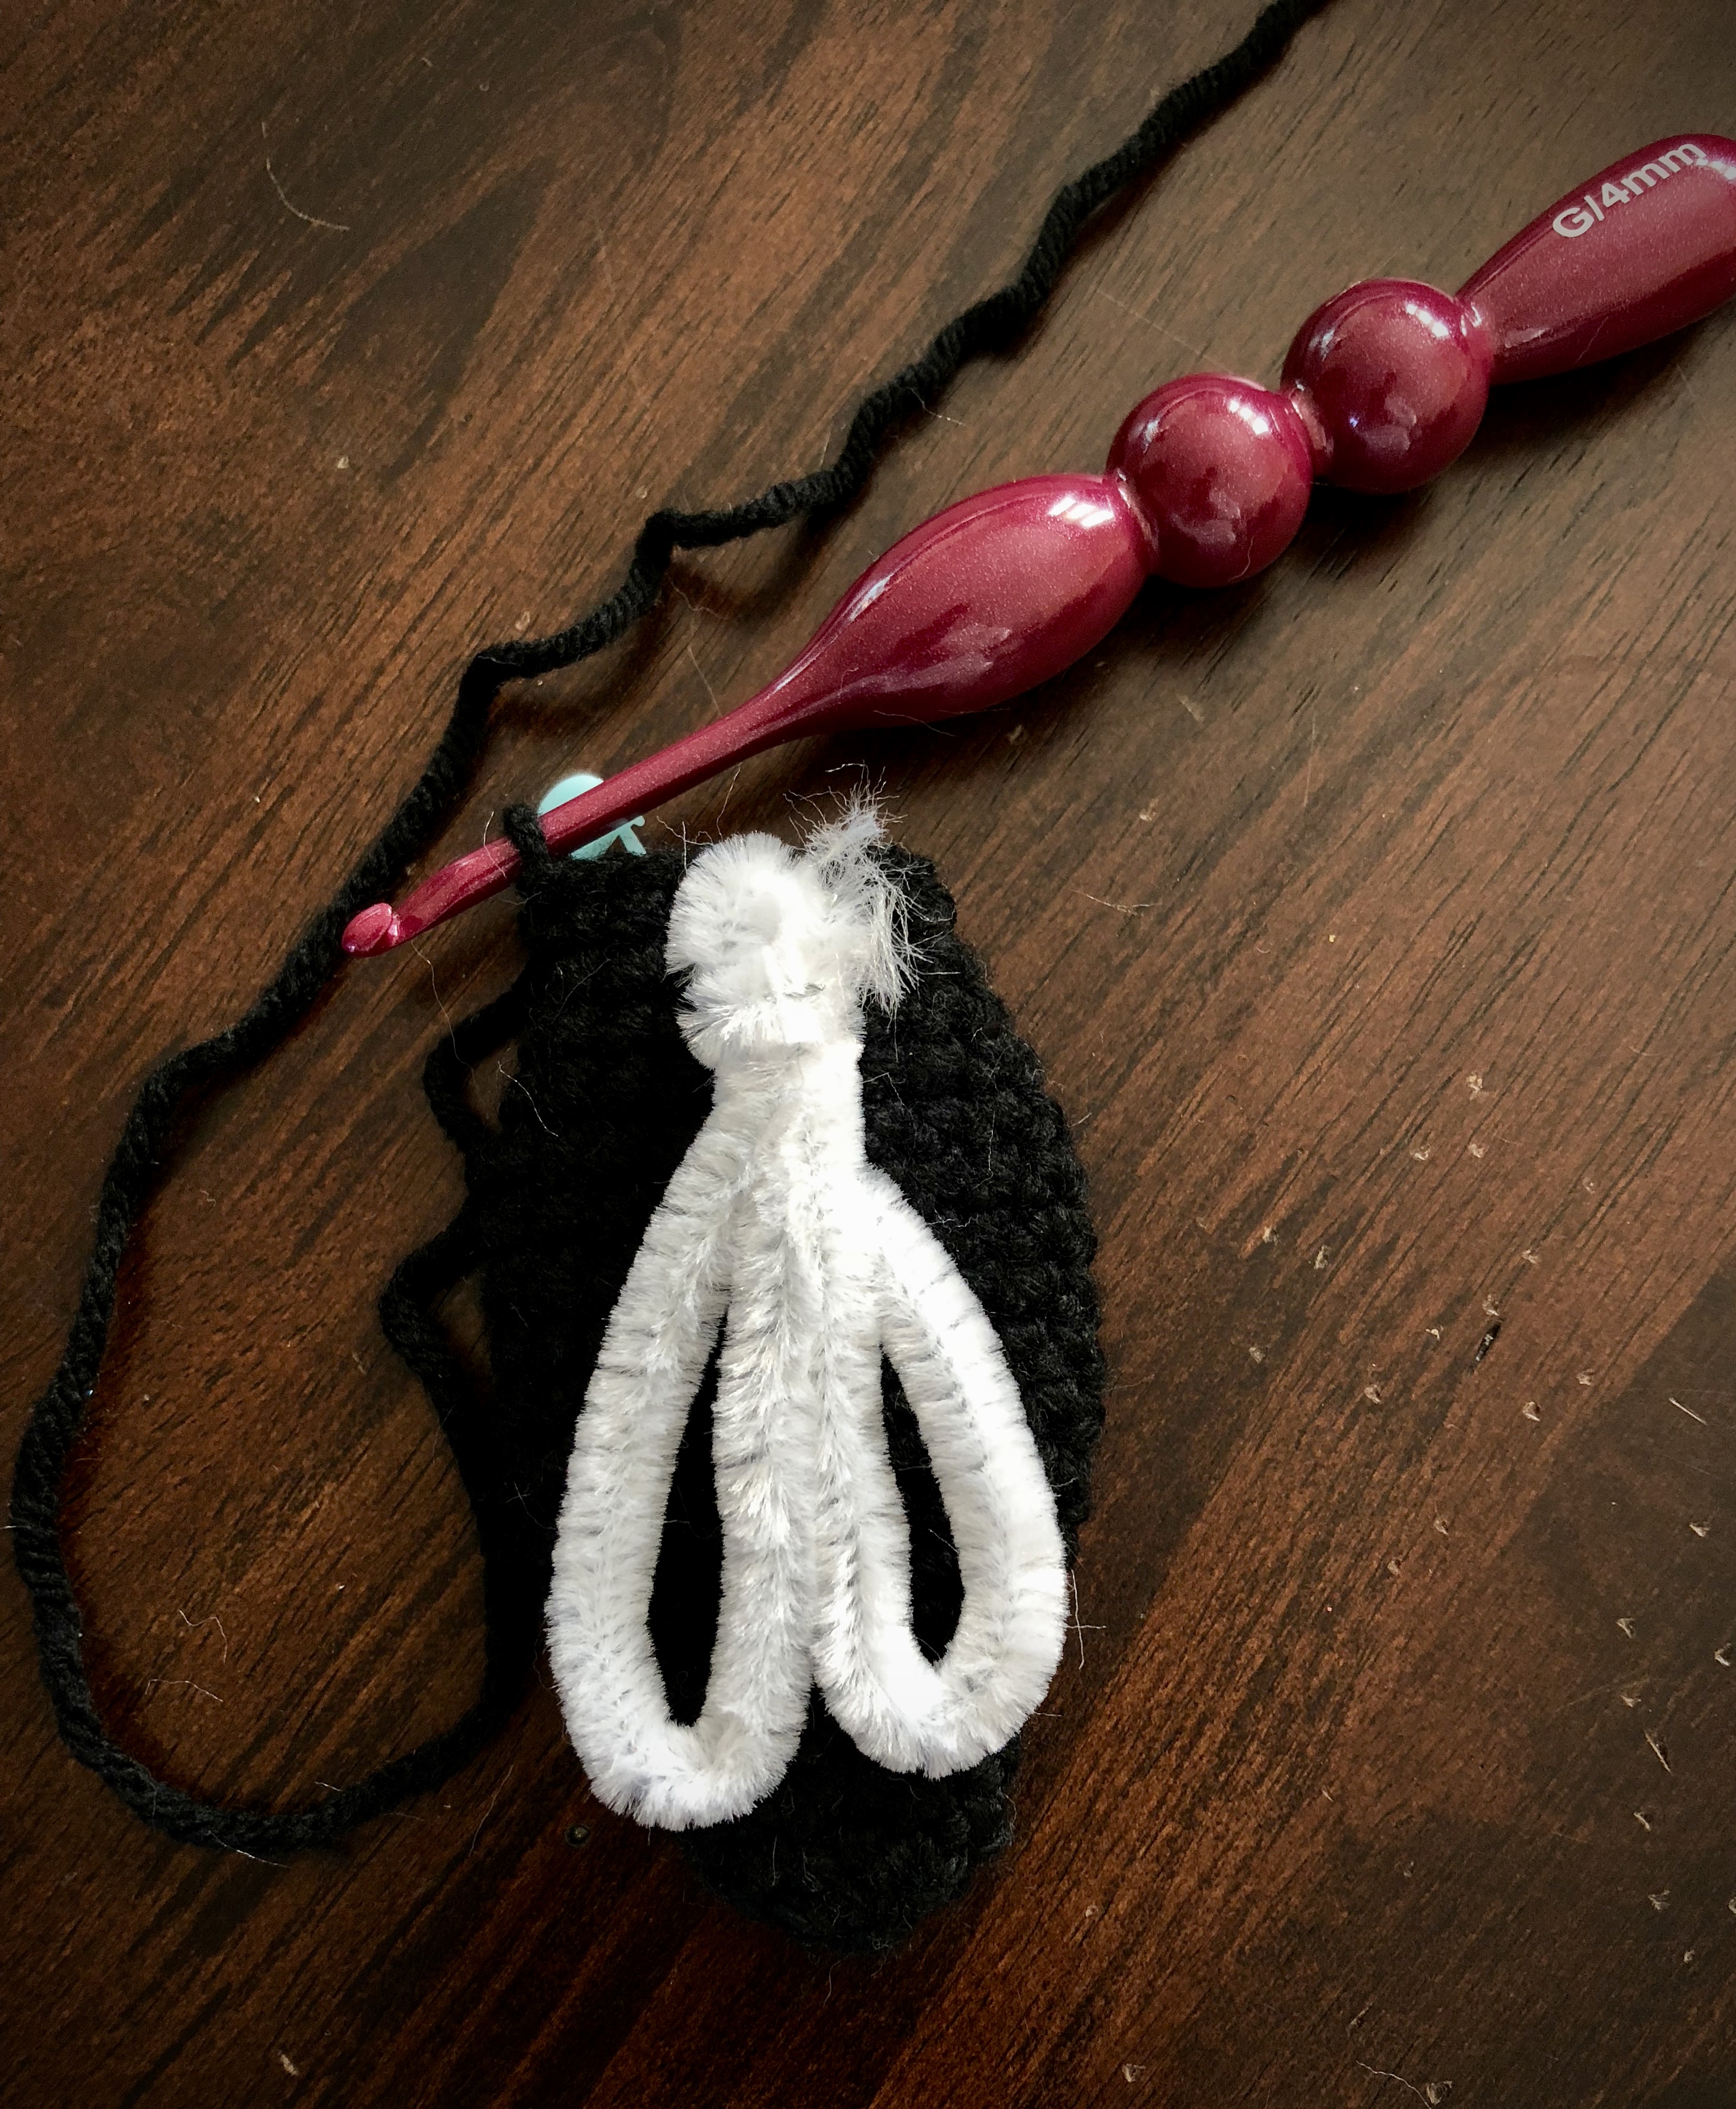
To give the tail that furry and extra bushy look, I used eyelash yarn as an accent. Eyelash yarn can be difficult to work with, and is nearly impossible to frog. If I would have wanted to make the tail out of eyelash yarn alone, I would have had to use such a big hook that the poly fill would be falling out and there would be no shape to it. The solution? I made the tail using regular worsted weight yarn and then went back and added the eyelash yarn around later. Note: I did switch to a 4.00mm hook before making the base of the tail in order to more easily apply the eyelash yarn.

To apply the eyelash yarn, I pulled up a loop of it (working into the existing stitches of the base) towards the bottom of the tail with my 2.50 mm crochet hook and then started working single crochets around every few stitches and rows until it looked full enough for my liking.


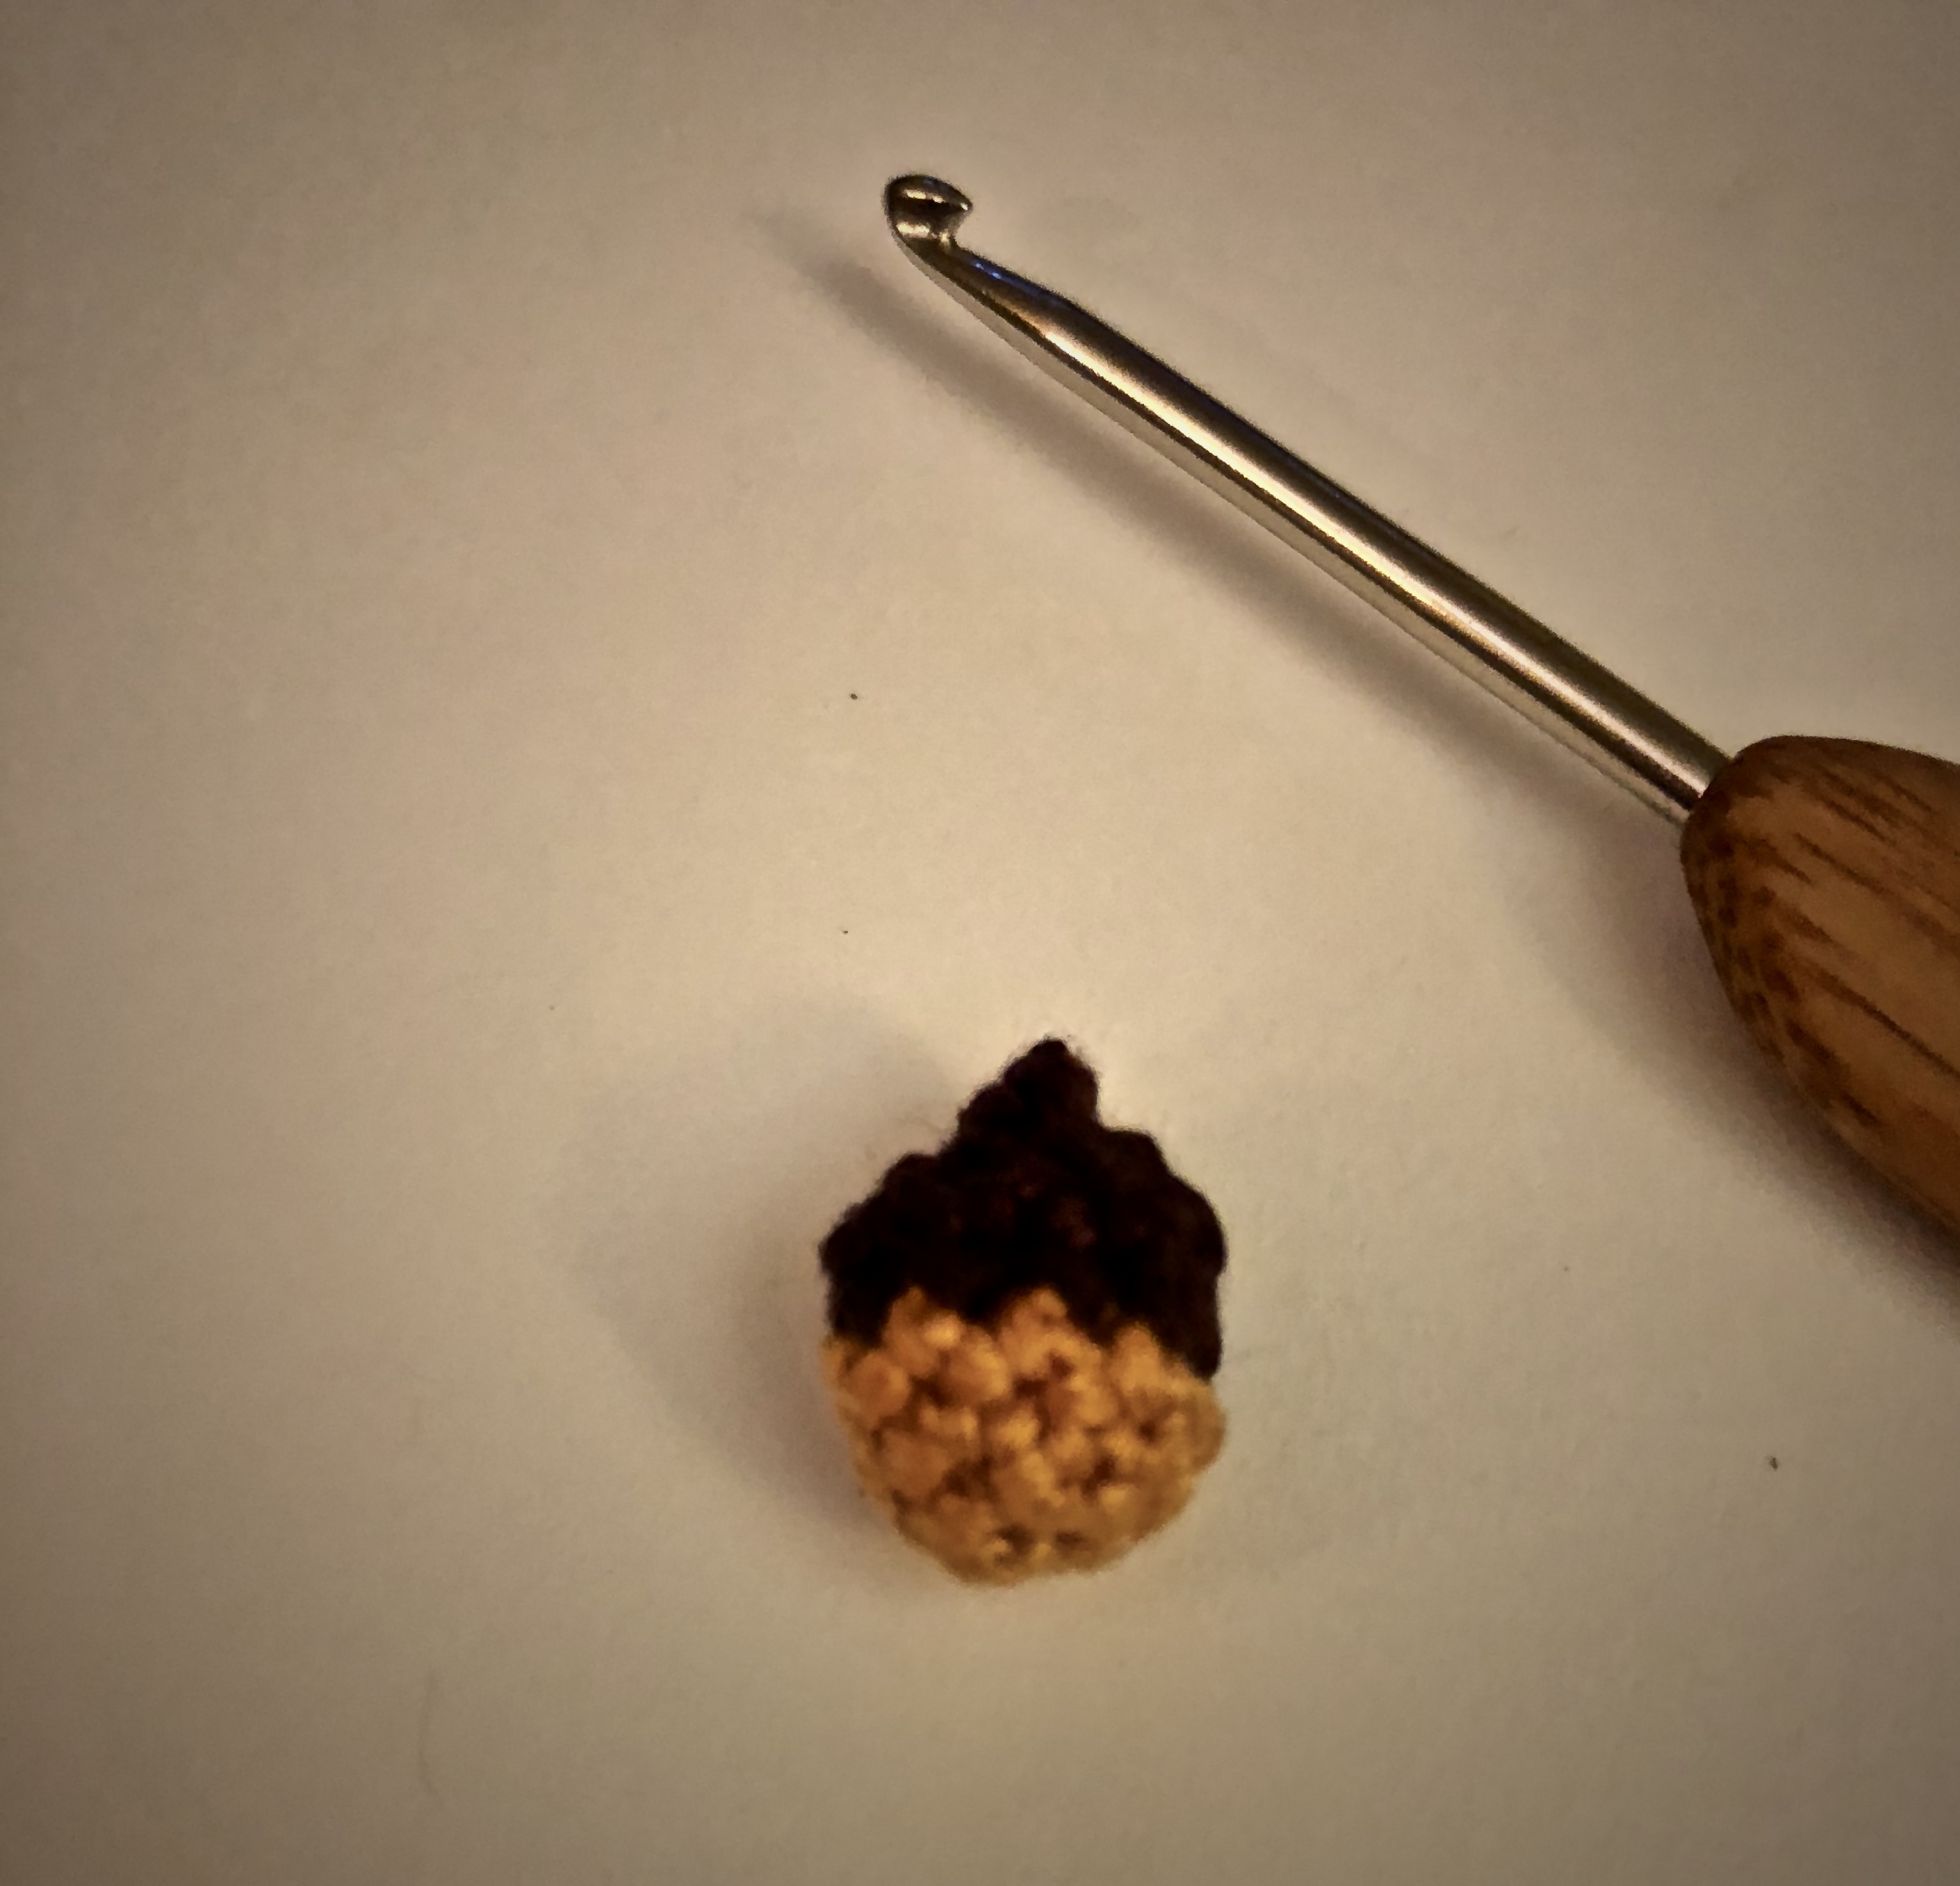
After the tail was complete, all that was left was assembly and making the bow and acorn which I did using embroidery floss instead of yarn.

Making the bow was super simple! All it takes is making a few rows of single crochets, then pinching the center together and fastening to the head.

The acorn was a little more difficult, as working in a round with embroidery floss can be a little challenging, but I was still very happy with how it turned out!
Since completing the second squirrel and writing up the pattern, I’ve already thought of different variations of how you could personalize this little girl even more.
 I love to hear from my readers so if you get the chance to make this sweet Baby Squirrel Girl, make sure to share a pic, I can’t wait to see what you do with the pattern!
Happy Crocheting!