


**Below you will find the free crochet pattern for the Jennie Beanie. Please make sure to read through all pattern notes before starting this beanie, you may also find the blog post with a free picture tutorial helpful. You can also purchase the inexpensive PDF if this pattern from our Etsy shop here, for a concise, large font and ad-free version of this pattern.


And if you love this pattern, but want to make it in a different size, you can now purchase the fully-graded PDF from Etsy or Ravelry. Available in sizes newborn-adult male on Etsy here or on Ravelry here. This PDF also includes extensive notes on how to completely customize this beanie to fit your gauge, specific yarn choice, hook choice and more.**
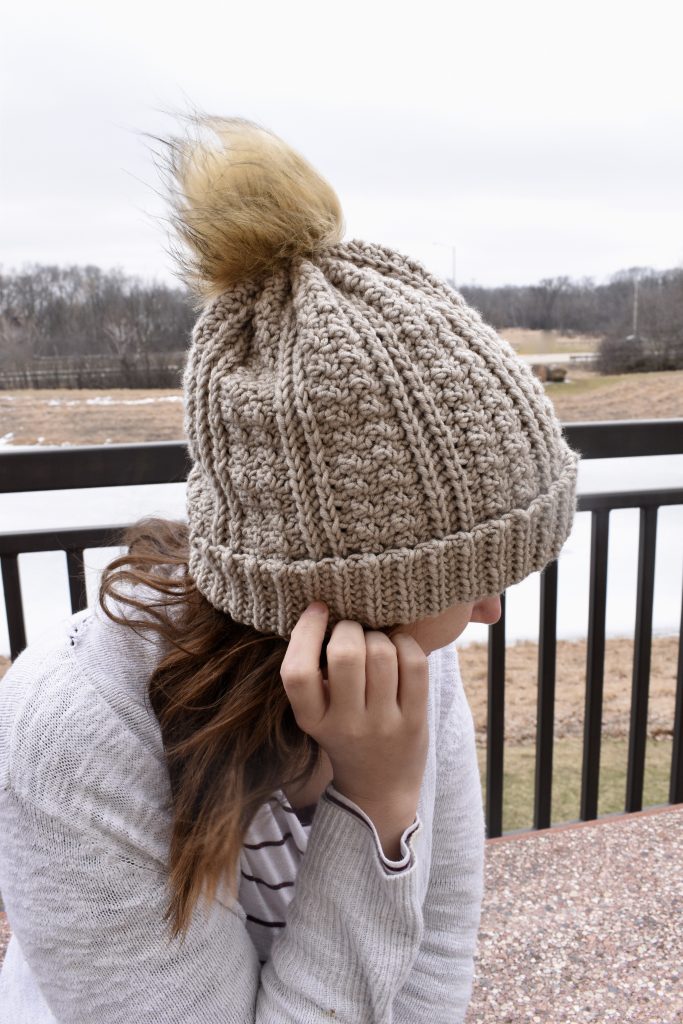
If you’re like me and love the look of knit, but prefer to crochet, then this pattern is for you!
Beginner level crochet stitches come together to bring you clean lines, with a bit of elegance, perfect for any fashion style.


If you can slip stitch, single crochet, half double crochet and double crochet, then you can make this beanie!
It is also easy to convert this beanie hat from a slouchy style to a well fitted winter cap, with a simple fold of the brim.


I hope you enjoy making this versatile and beautiful knit-looking beanie as much as I did.
And if you like this pattern, I bet you’d also enjoy our two most favored crocheted beanie patterns, also available on our site for FREE:


The Brilliant Cables Beanie & The Fireside Beanie


What You’ll Need
6.00mm (US J) crochet hook
2 skeins of worsted weight 4 yarn (*or thin bulky weight 5 yarn- see pattern notes*) – approximately 250 yards
Embroidery Needle
Scissors
Faux Fur Pom Pom (optional)
Completed Measurements
19 1/2 ” circumference
11 1/2″ tall (unfolded)
Gauge Used
16 hdc ss in blo= 4″
16 rows= 4″
Abbreviations
ch= chain
hdc= half double crochet
ss= slip stitch
WS= wrong side
RS=right side
blo= back loops only
sc= single crochet
dc= double crochet
Special Stitches
hdc ss = yarn over, insert hook into designated stitch/loop and pull up a loop. Pull that loop through the 2 loops on hook.
Pattern Notes
- This pattern is written in US standard size and abbreviations
- *I’ve also made this beanie using Caron X Pantone Yarn (as shown in pictures on this post), which is rated as a category 5 weight yarn, but is very similar in bulk to a worsted weight (category 4) yarn. The pattern is written for worst weight yarn since that is a far more common weight yarn, but if you would like to make this in a yarn similar to the Caron X Pantone, you certainly can. This will result in a beanie with a circumference of roughly 20″.
- This beanie consists of one rectangular piece, seamed together to create a cylinder, then closed up at the top. This makes modifying the hat easy to accommodate a variety of head sizes, make sure to check out our blog post for more information on customizing the size of this beanie.
- Each row needs to be worked in a multiple of 2. So if you want to make this shorter, or taller, or want to adjust the brim length, you simply need to adjust the stitch count of each row by 2.
- The stitches that make up this beanie offer a lot of give, so while the circumference size may concern you if you have a larger head circumference, I recommend trying out the pattern as written before adding more rows.
- Every seed stitch portion should start with a single crochet and end in a double crochet
Pattern
Foundation: ch 48, starting in 3rd ch from hook, hdc ss across, turn (46)
Row 1(WS): ch 2, hdc ss in blo across, turn (46)
Row 2 (RS): ch 2, hdc ss in blo 12, *sc in blo, dc in blo, repeat from * across (ending with a dc in blo), turn (46)
Row 3: ch 1, *sc, dc, repeat from * 16 more times, hdc ss in blo 12, turn (46)
Row 4: ch 2, hdc ss in blo 12, *sc, dc, repeat from * across, turn (46)
Row 5-6: repeat rows 3 & 4 (46)
Row 7-9: ch 2, hdc ss in blo across, turn (46)
Row 10-65: repeat rows 2-9 7 more times (46)
Row 66: ch 2, hdc ss in blo 12, *sc in blo, dc in blo, repeat from * across (ending with a dc in blo), turn (46)
Row 67: ch 1, *sc, dc, repeat from * 16 more times, hdc ss in blo 12, turn (46)
Row 68: ch 2, hdc ss in blo 12, *sc, dc, repeat from * across, turn (46)
Row 69-70: repeat rows 67 & 68 (46)
Row 71: ch 2, hdc ss in blo across, turn (46)
Row 72: With the right side facing in, bring the foundation row and row 71 together and ss the foundation chs to the 3rd loops (loops furthest from you) of each hdc of row 71 across, joining the two rows and creating a cylinder. Fasten off leaving long tail. (46)
Weave the tail in and out of the top of the rows around the cylinder and pull tight to close. Continue using the tail to tie opposite ends of top together, making sure it’s completely closed. Add faux fur pom pom if desired. You can find a free tutorial of making your own pom poms here.


