


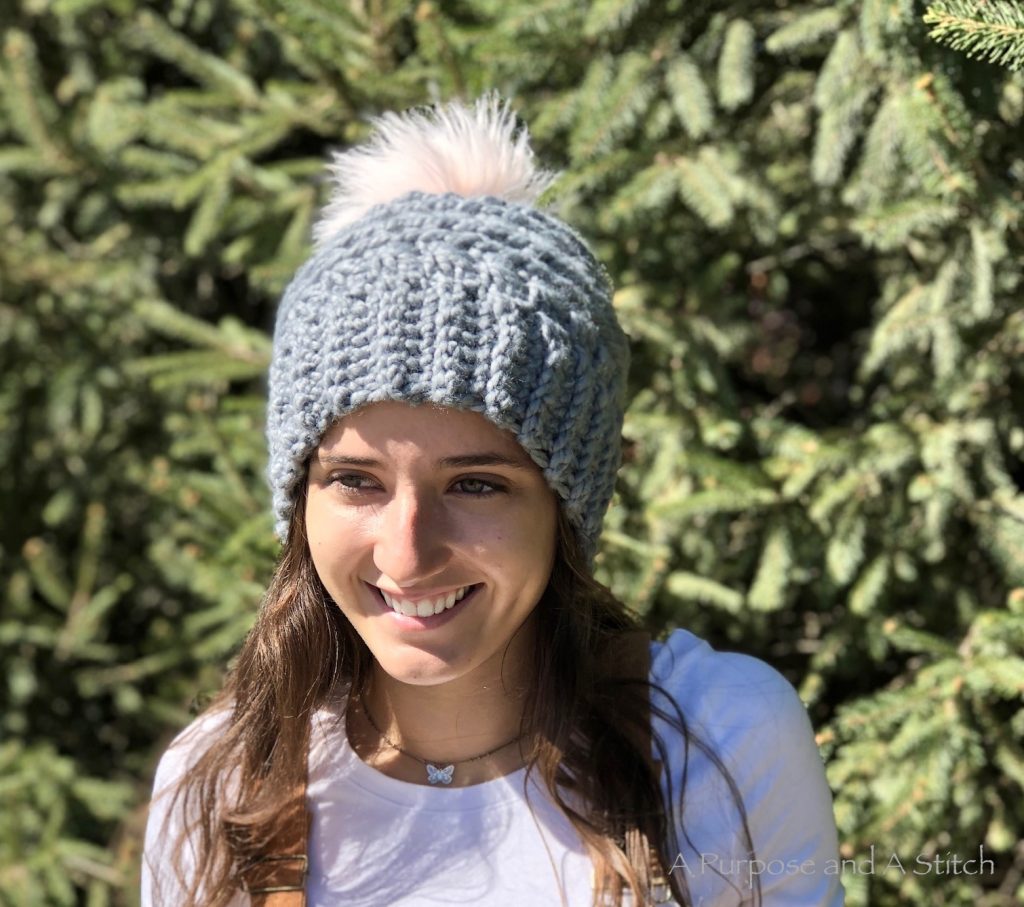
This Fireside Beanie is such a luxurious, yet simple hat to work up. Perfect for a quick winter project, or gift! Below you will find a detailed picture tutorial of how to make this beautiful beanie. **For the free Adult Female pattern, you can visit my post here, for the free pattern in sizes baby- child, please visit my pattern page here.** If you would prefer an ad-free, printable version, you can purchase the inexpensive PDF for the Adult Female size as well as for the Mommy & Me (in baby-adult female sizes) from our Etsy shop.
This beanie requires just one skein of Lion Brand’s Quick and Thick Wool Ease yarn (just make sure it’s a skein that has 106 yards instead of 87 yards as you’ll need at least 100 yards for this project). It also works up quickly, in less than 2 hours time!


There are a few stitch patterns that go into making this beanie including: back loop single crochets, complete star stitches, camel stitches and half double crochet decreases. If you are unfamiliar with any of these stitches, fret not, I will walk you through them all below.
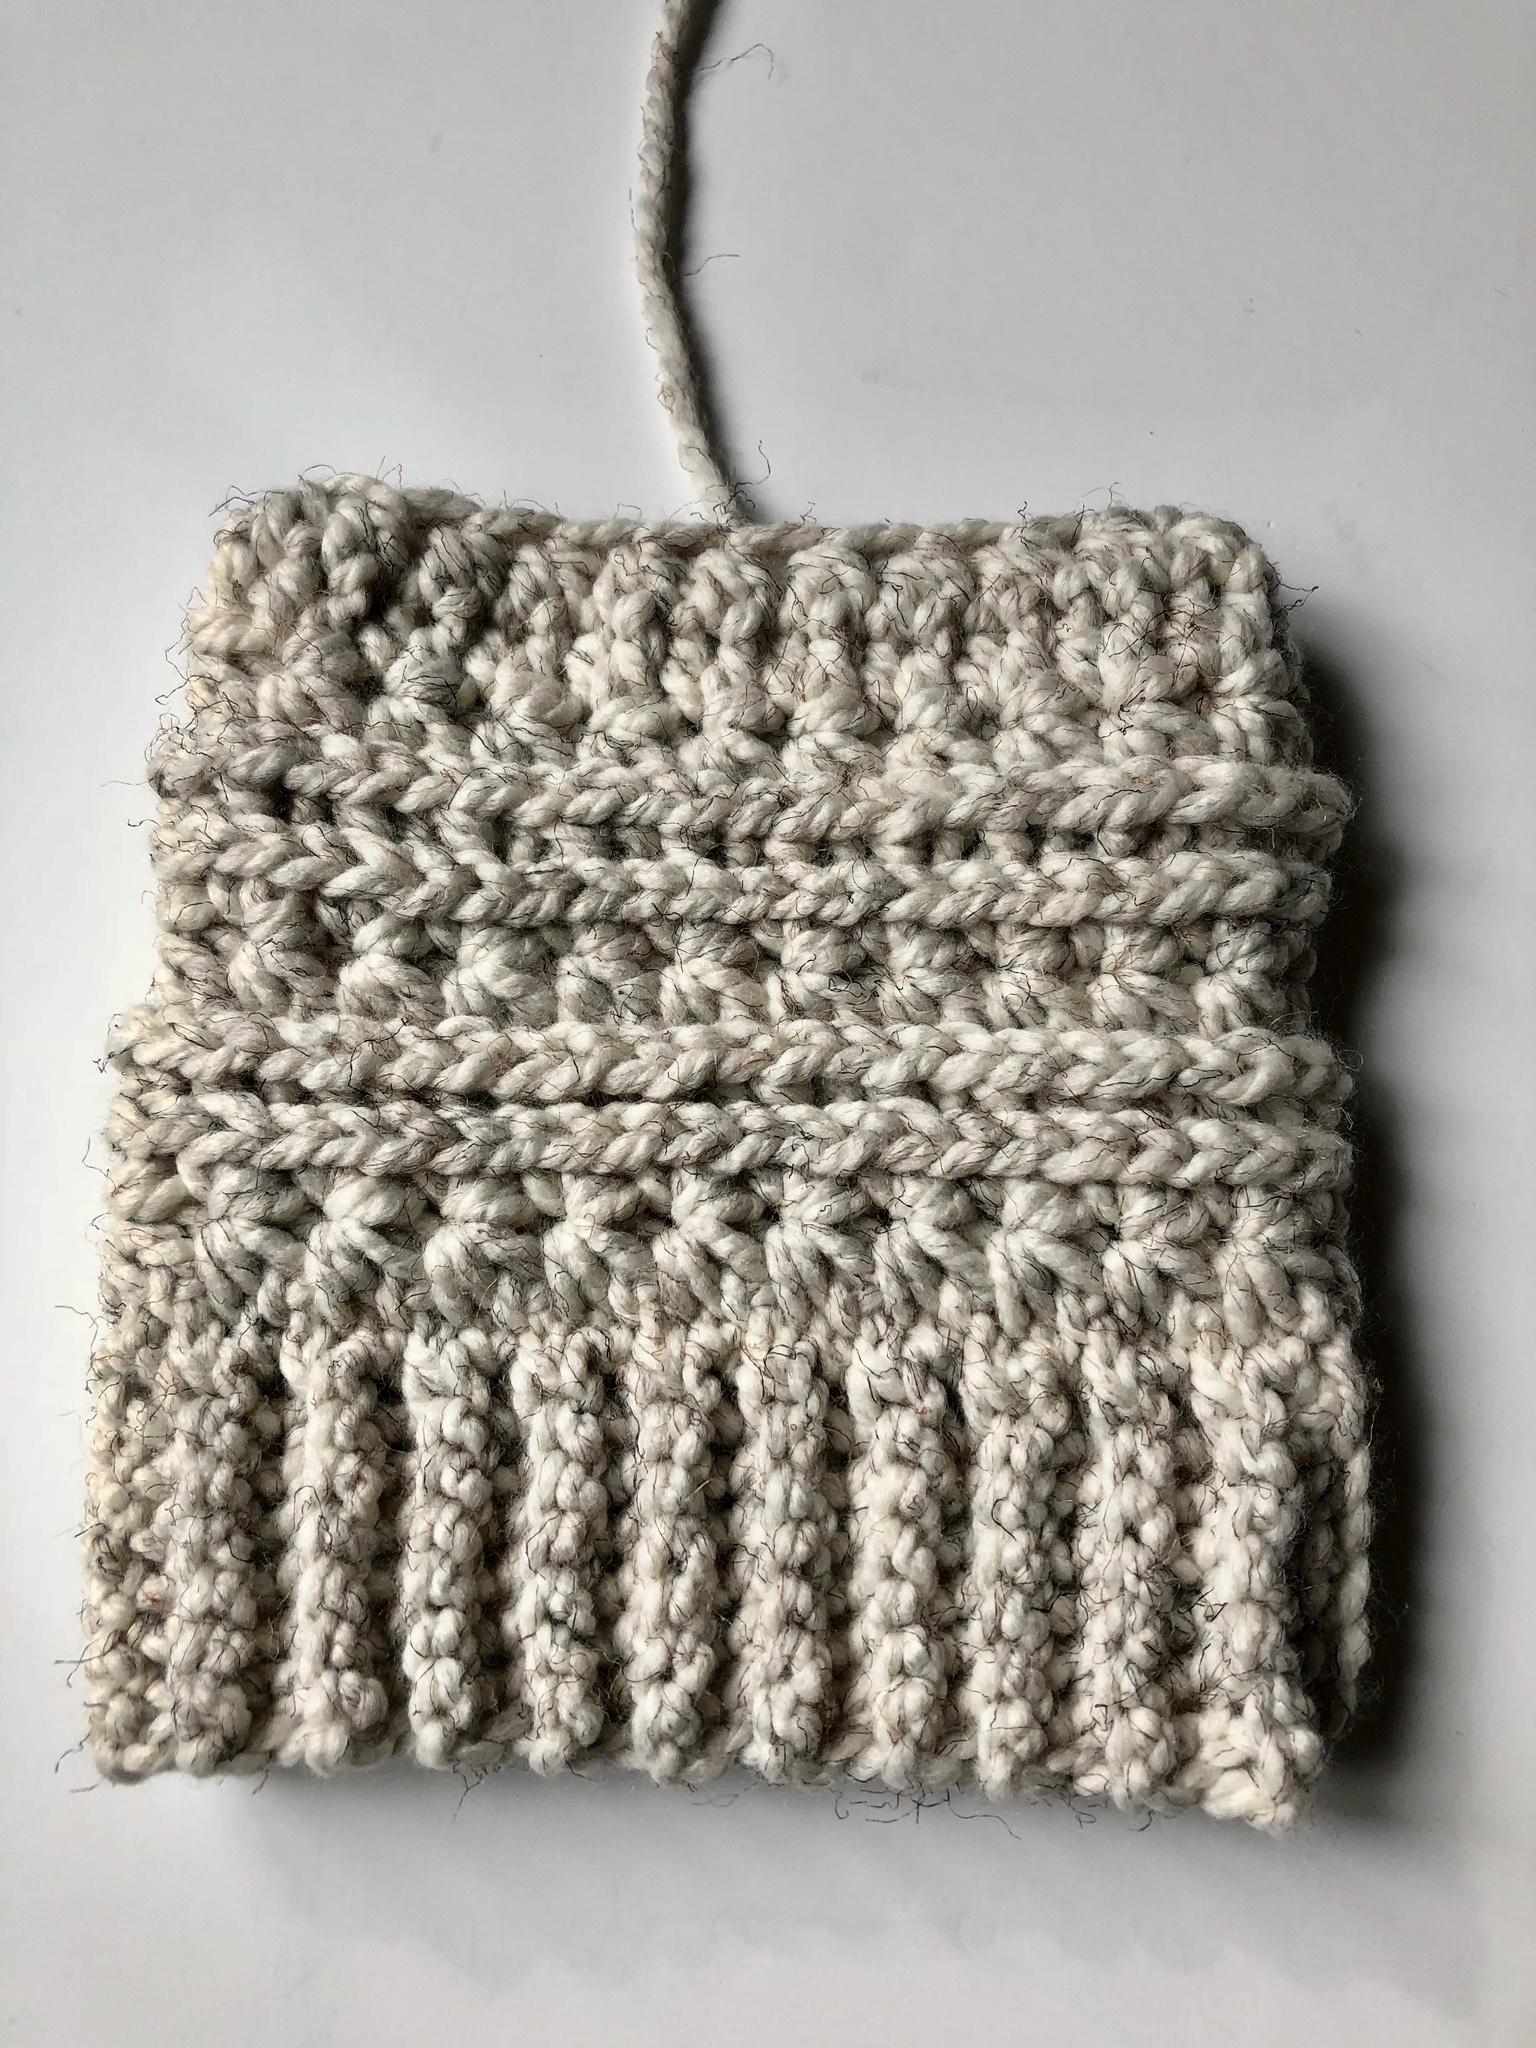
This beanie is worked from the bottom up, and starts out with a basic ribbing pattern for the brim.
To work the ribbing, you will start with a small foundation, working in the back loops only of each consecutive row.


When I say to work in the back loops only, that means that you will work in the back leg of the “v” only instead of under the whole “v” as you would with a regular single crochet stitch, or under the front leg only as you would with front loop only single crochets.

Once you achieve the length needed to fit the circumference of your head, you will fasten off and mattress stitch the edges together. Don’t know how to do the mattress stitch? I recommend this wonderful tutorial from Chi Wei of One Dog Woof that you can find here.


Once your brim is complete, you will begin to pull up single crochets around the top. You will do this by reattaching your yarn to the remainder of the tail left from the ribbing. Each row from the ribbing will have a single crochet worked into it.


Once the foundation for the beanie is set, you will begin to work the complete star stitch pattern. The complete star stitch is worked across two rounds, the first round for the bottom of the star, and the second round for the top.
To begin the bottom round, you will slip stitch into the first single crochet of your foundation round, you will then chain 3.
Starting in the second chain from your hook, you will insert your hook and pull up a loop.


Next, you will insert your hook into that same single crochet stitch that you slip stitched into and pull up another loop, giving you 4 loops on your hook.


You will now pull up 2 more loops by inserting your hook into the next two single crochet stitches, giving you a total of 6 loops on your hook.


The last step of this first star stitch is to yarn over and pull through all 6 loops.


Yarn over once more and pull through the one loop on your hook, this will give you the “eye” of the first star.


To begin working the next star, you will insert your hook into that “eye” and pull up a loop.


After this, you will insert your hook in between the last and 2nd to last spikes of your first star and pull up another loop.
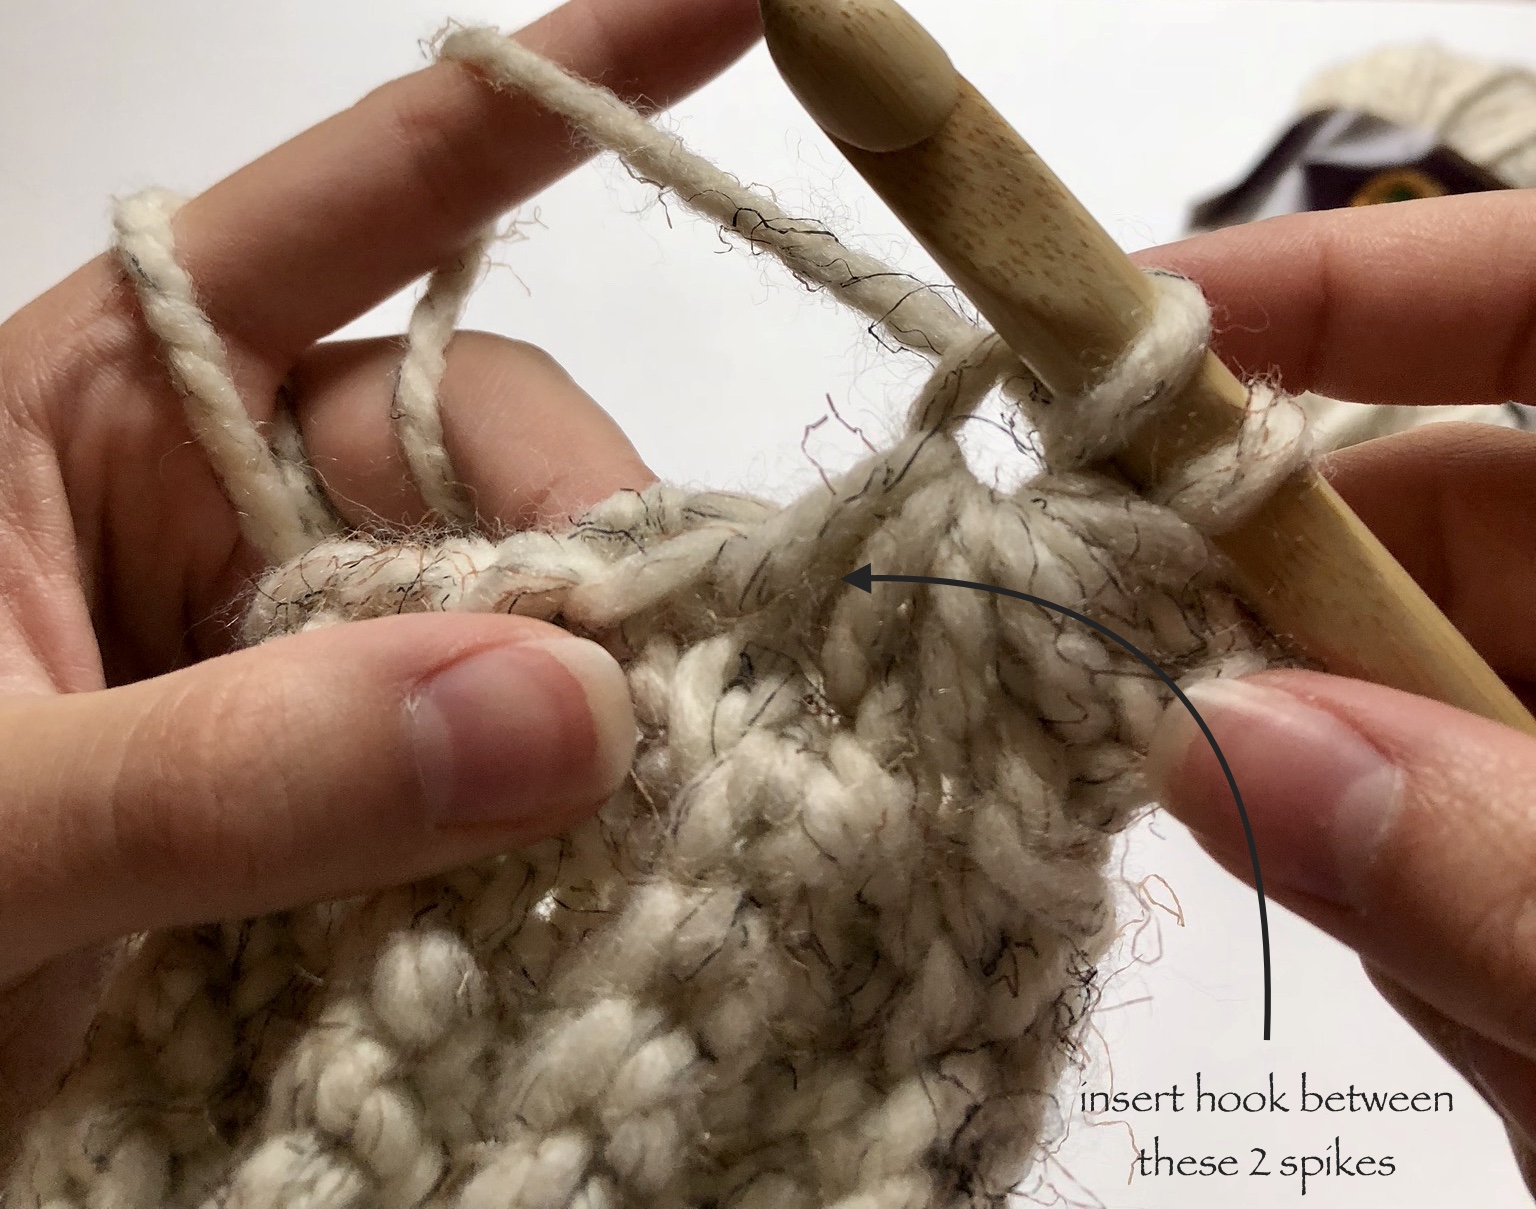

You will then pull up the 4th loop by inserting your hook into the last single crochet you worked into for your first star (on the outer edge of the last spike).


The last 2 loops will be pulled up by working into the next two stitches. Once again you should have 6 loops total on your hook.


Now yarn over and pull through all 6 loops, yarn over and pull through once more creating the 2nd star and “eye”. You will repeat the steps for your second star in each remaining stitch around.


The last star will be completed a little different from the rest. After the yarn over and pull through 6 loops, you will insert your hook into the ch 3 space that created the first star, yarn over and pull up to complete the “eye”.


This technique will create less gapping between the first and last star which you’ll thank me for when wearing this beanie in sub zero temps 😉
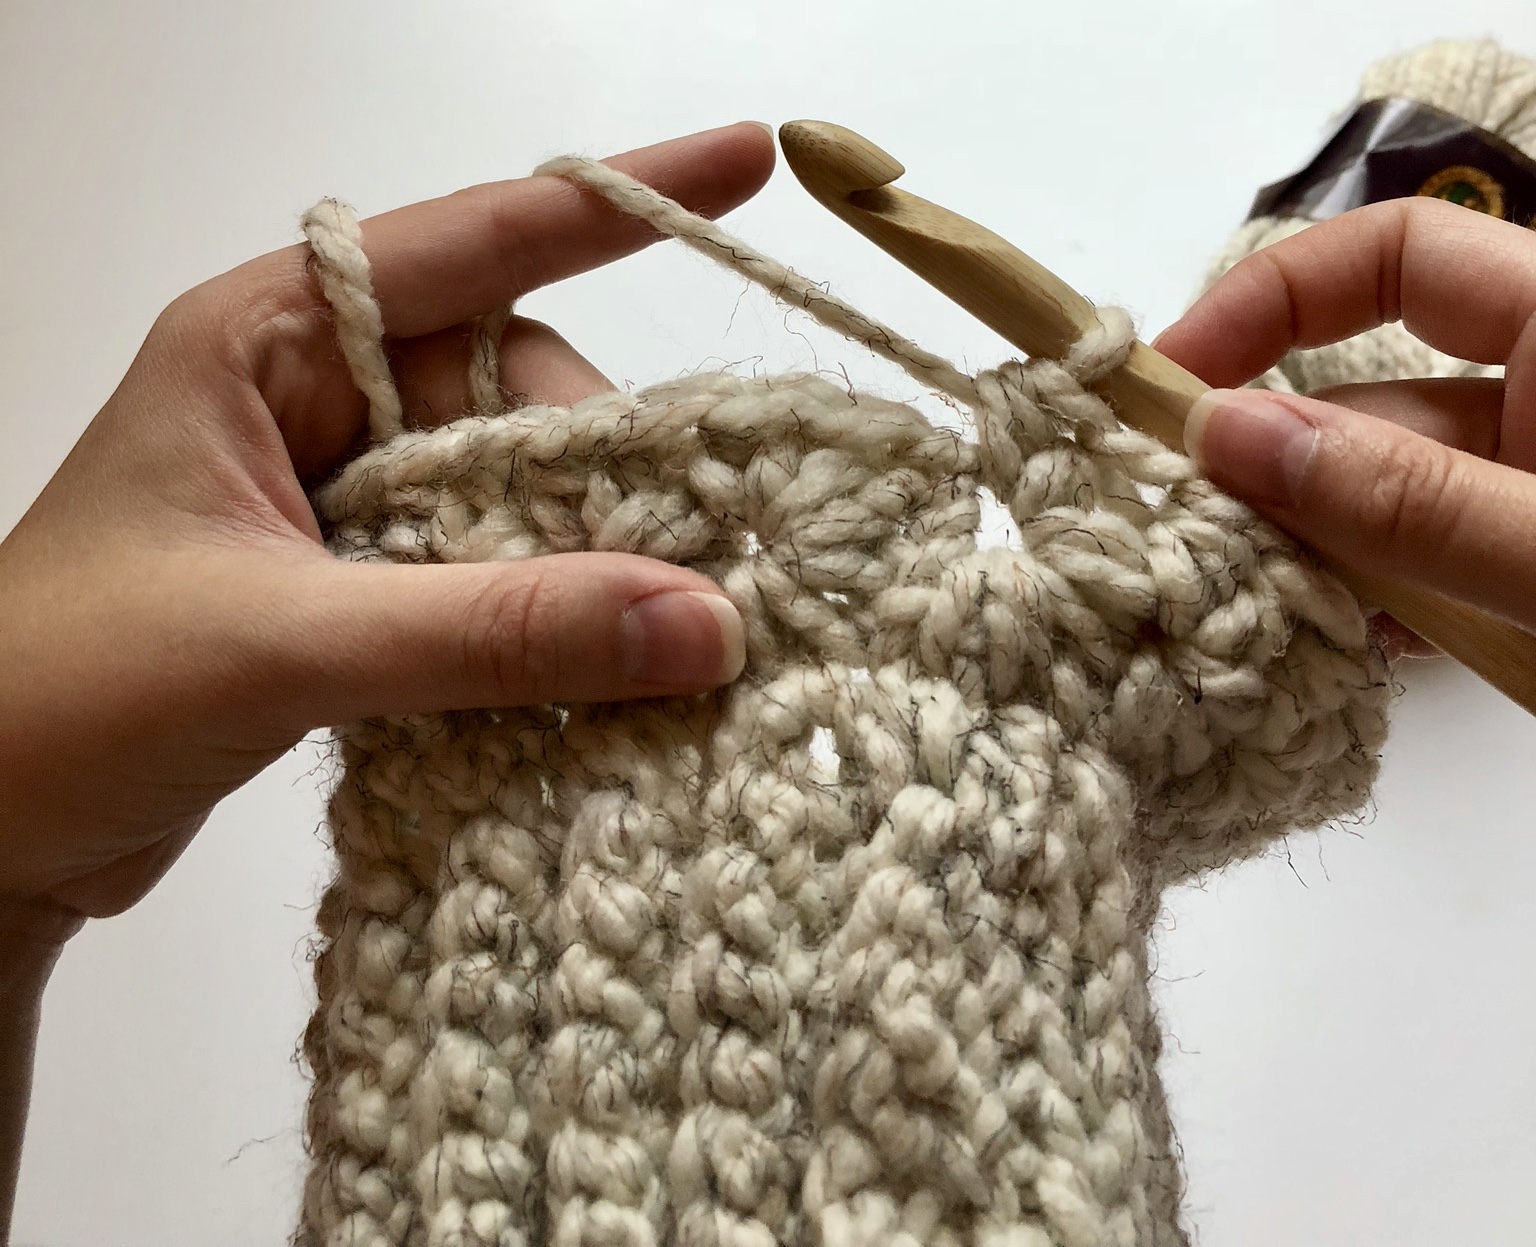
The second round of the completed star stitch is much more straight forward then the first. You will simply be working 2 half double crochet stitches into each “eye” around.
To start this round, you will chain 1 and then work your first half double crochet into the first “eye” of your first star. Typically with half double crochets, you start rounds by chaining 2 to gain the appropriate height of the stitch. However, I found that by only chaining 1, it creates a much more seamless look when working the next round of camel stitches.


You will end this round of half double crochets by slip stitching into that chain 1.

If you are unfamiliar with this hump, it may be a little tricky to initially locate, but once you find it, this stitch is actually very easy to work.
So when working a half double crochet, you first yarn over and then essentially work a single crochet stitch to complete, just pulling through 3 loops instead of 2. That initial yarn over is what creates this “hump”. In order to find it, all you need to do is first locate the “v”, then below and behind it you will see that 3rd loop.


Now yarn over and insert your hook into the 3rd loop (working behind the “v”) and complete a half double crochet stitch.


This round will be completed by working these camel stitches around and by slip stitching into the first stitch to finish.


The next round is a little different as you will be combining the camel stitch with the bottom round of the star stitch.
To do this you will start with a chain 3. Begin working the first star as you did before, but when you go to pull up your 4th, 5th and 6th loops, you will work into the “humps” of your previous round of half double crochets.


Each remaining star around will be worked in a similar fashion, by working into the “humps” rather than the “v’s” of your previous round.


Complete the 2nd row of your star stitch as normal, by working 2 half double crochets into each “eye” around.
You will repeat the camel and star stitches one more time each to attain the height of your beanie, ending in a round of the 2 half double crochets of your complete star stitch.


The very last round of your beanie will be a round of half double crochet decreases around.
I’ve come across at least half a dozen ways to decrease half double crochets, but I went with the most standard version for this pattern. So to work this stitch you will, yarn over, insert your hook into the first stitch and pull up a loop.


You will then yarn over again and insert your hook into the next stitch, pulling up one more loop. Yarn over one more time and pull through all 5 loops on your hook.


Repeat these decreases around and fasten off leaving a long tail.


Pull the tail tight, closing the top hole and fasten off. I recommend tying off at least twice to make sure it’s nice and secure.


Add a faux fur pom pom and your Fireside Beanie will officially be complete!

