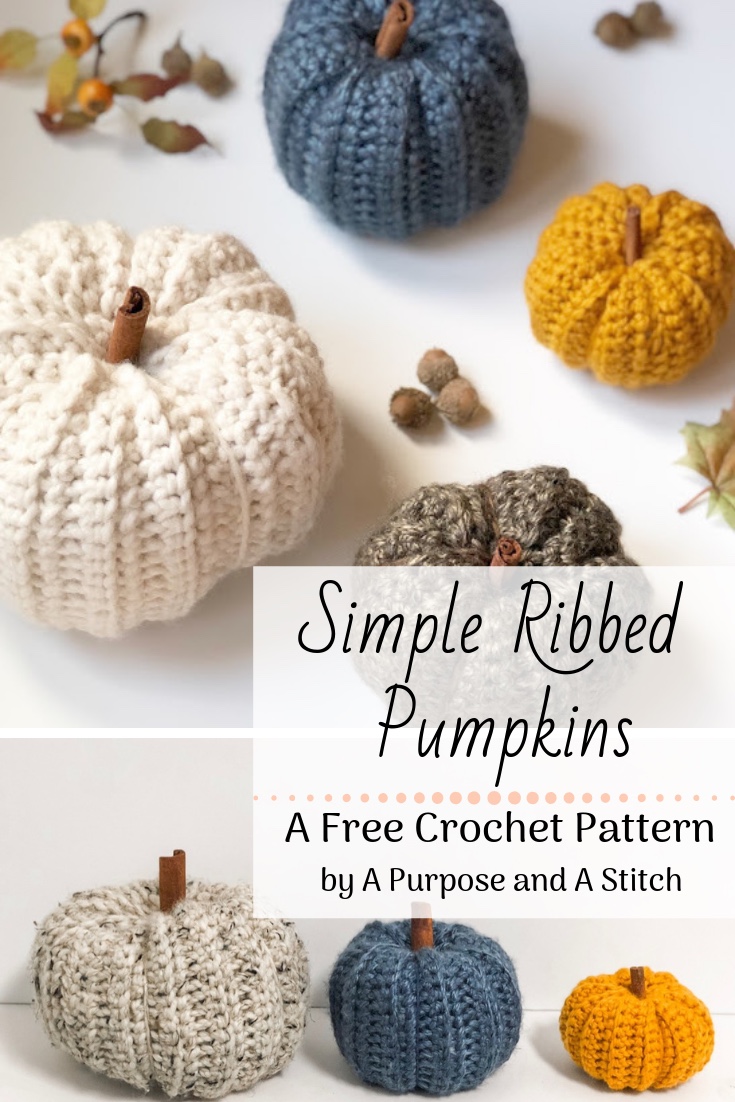
** Below you will find the step-by-step instructions and pictures of making these beautiful pumpkins, as well as the written out pattern. If you love this pattern, but don’t love the ads- you can now purchase the inexpensive PDF from our Etsy shop here. You can also purchase or add to your Ravelry Que here. **
Fall is right up there with spring on my list of favorite seasons! I love the mild temperatures, yummy treats and most of all; the beautiful changes in nature! All the colors of fall give me a warm and cozy feeling inside, paralleled only to the feeling I get right around Christmas time.
I usually jump on putting out the fall decor around my house WAY too early, but it still never seems like I get to leave it up long enough. This year I got it in my head that I wanted…. no, NEEDED to have some crocheted pumpkins to add to my decor.

Thankfully, these guys are INCREDIBLY easy to make so you can quickly flood your house with them.
Each of these pumpkins are made in the same exact manner, regardless of which size pattern you choose to follow. The only difference will be the amount of stitches and rows used. Additionally, you will use a smaller hook for the small pumpkin and a heavier weight yarn for the large pumpkin.
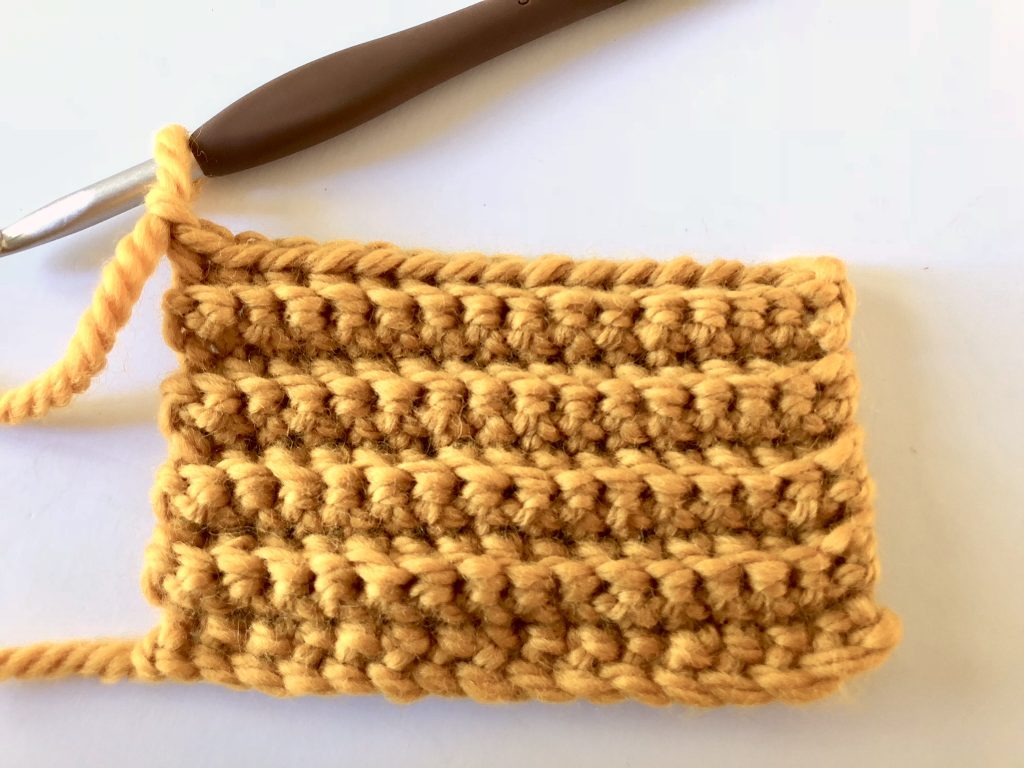
You will start things out with a foundation chain, then starting in the 2nd chain from your hook, you will begin to single crochet in the back loops across.
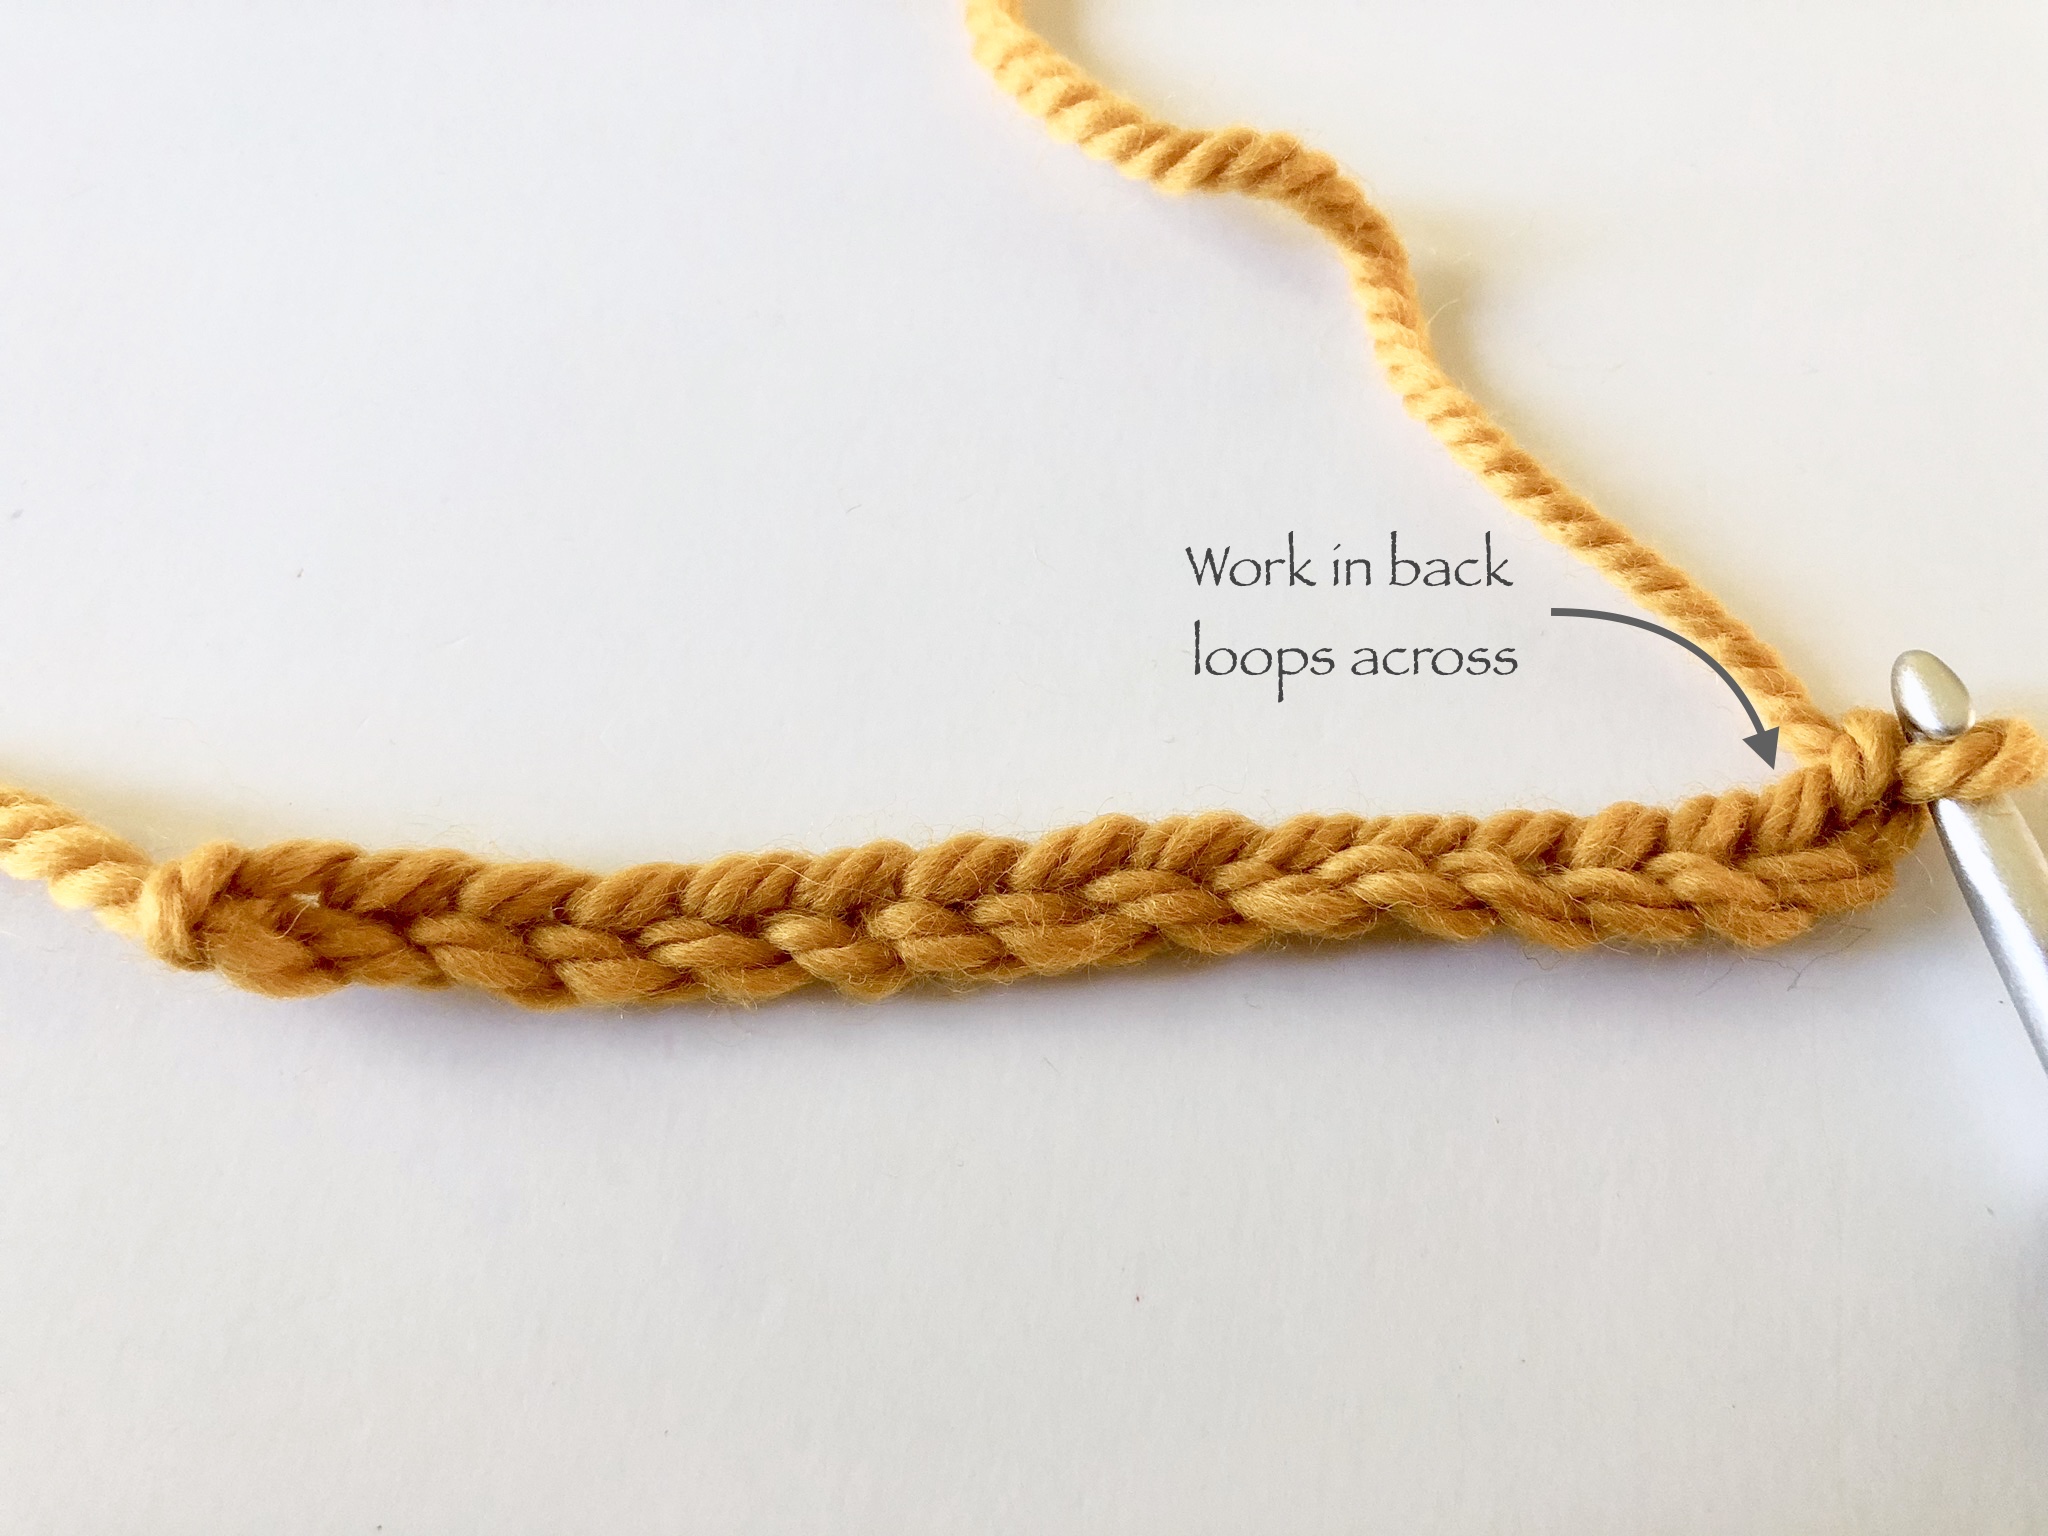

The second and each subsequent row will consist of single crochets worked into the back loops only. This is what gives these pumpkins their ribbed look.


Once you have enough rows needed for your pumpkin size, you will fasten off, leaving a tail at least as long as the rows are wide.


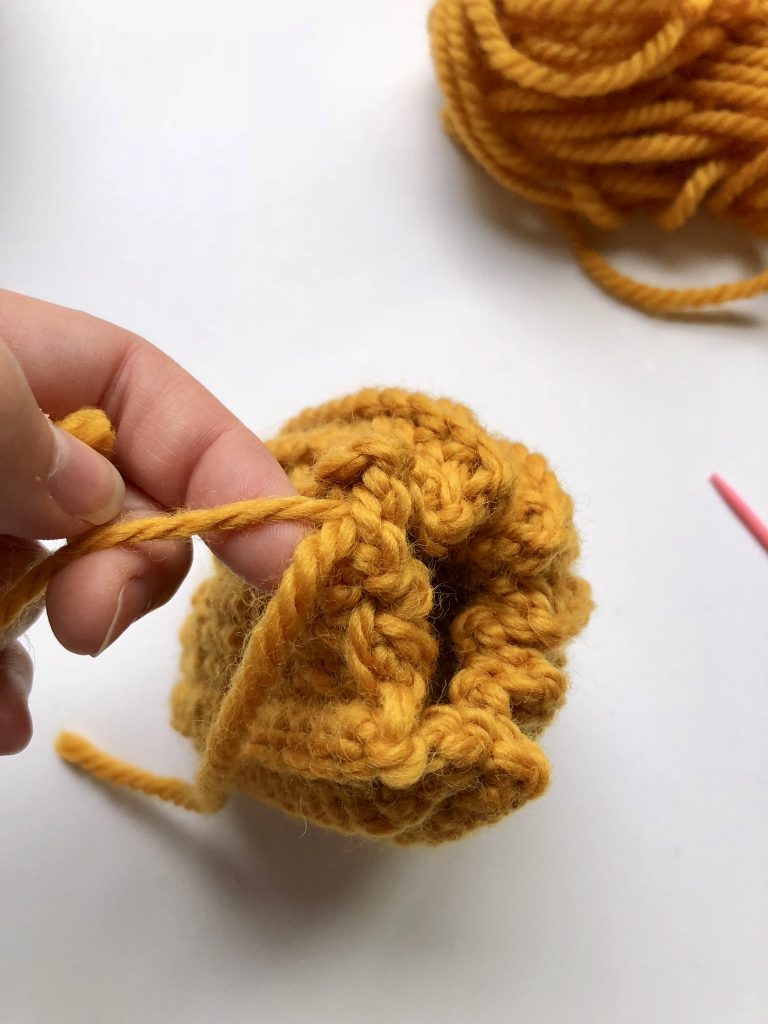
Using the tail, you will mattress stitch your end row to your foundation row creating a cylinder.


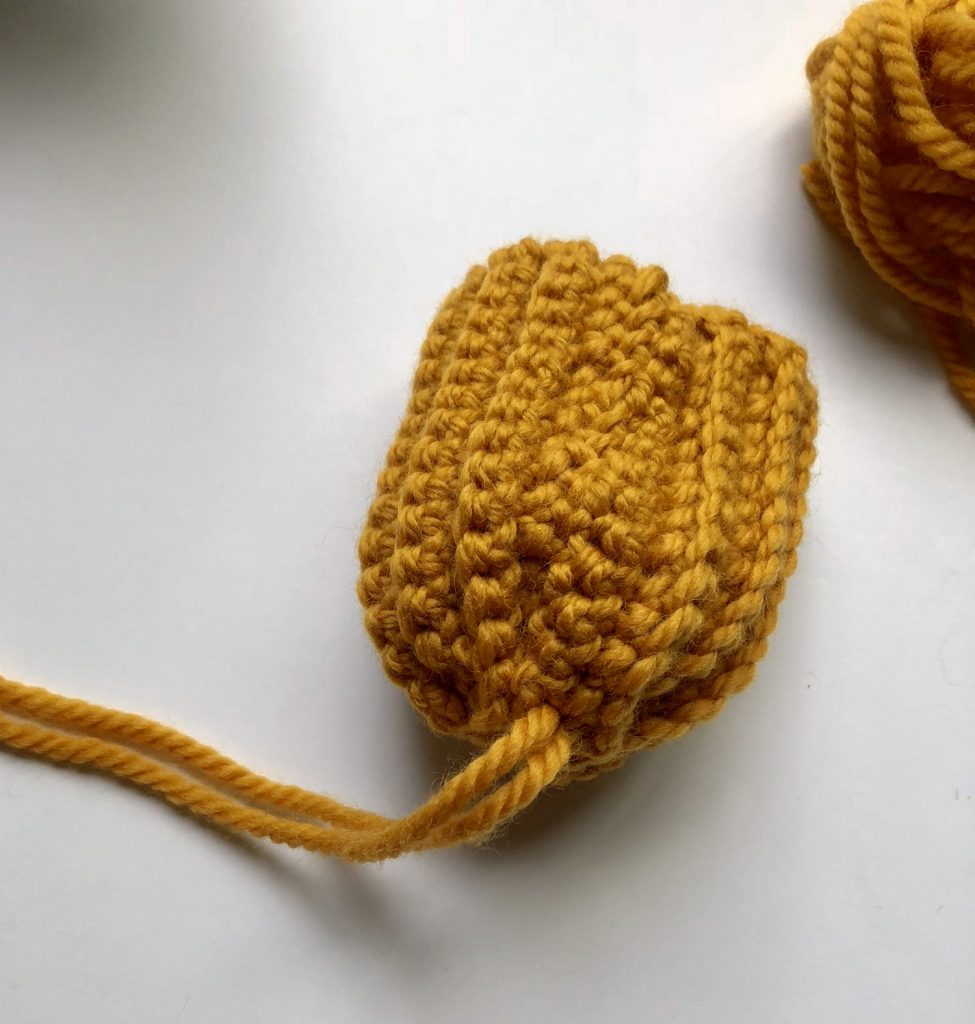
Next, you will use a longer piece of yarn to weave in and out of every row around on one end of the cylinder. Once weaved around, you will pull tight and tie secured, closing the bottom up. Leave the strands in tact for later use.


Now you can begin stuffing your pumpkin with fiber fill. The firmer you stuff, the taller and more plush your pumpkin will be and the larger the ribbing will turn out. Using less fiber fill will result in a shorter and more defined pumpkin.
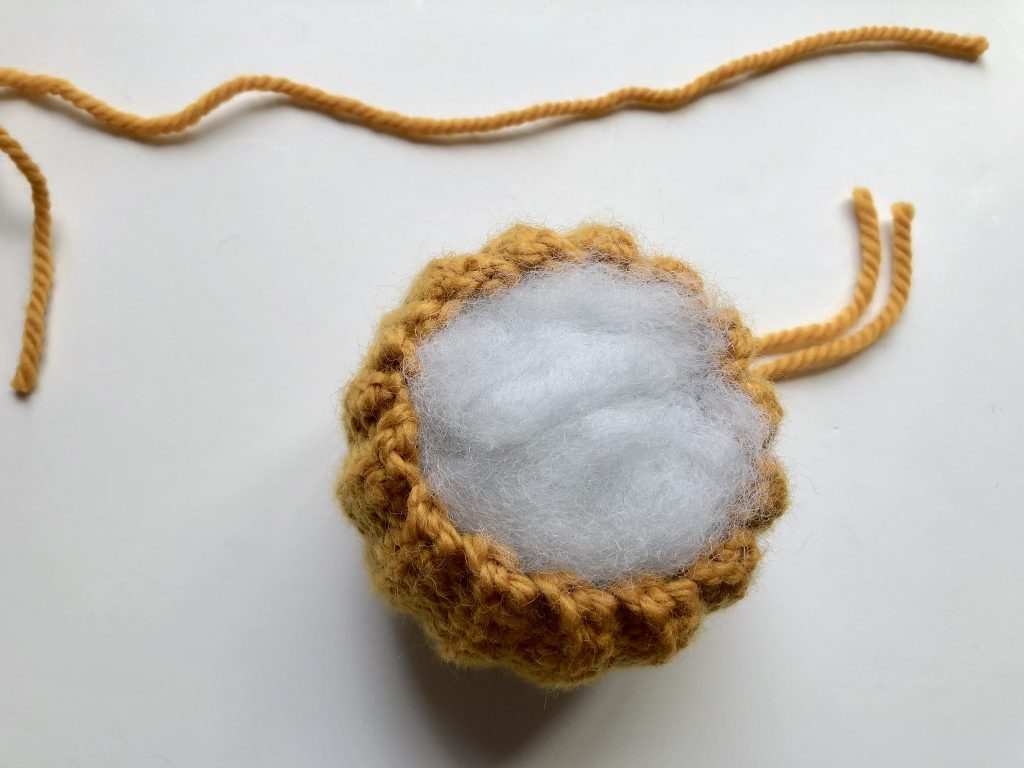
Once the fiber fill is in place you will take another longer strand of yarn and weave in and out of the rows around the top. Pull and tie off, leaving strands in place. You will want to make sure to leave a small gap for the cinnamon stick.


From here, you will use the strands left from the bottom, (and or additional strands of yarn if your bottom strands are not long enough) to pull over the outside of your pumpkin and through the center.


I used a darning needle to pull the yarn strands through the center of the pumpkin and recommend you do the same. Pull each strand as tight as you can and tie off, weaving the ends into the pumpkin.


Repeat this process with the top strands and any additional strands preferred for more ridges. I did 4 around on my small and 6 around on my large pumpkin, but this is completely your preference.

Once all strands are tied around the pumpkin’s body, make sure all ends are weaved in and out of sight.


The finishing touch is to add a cinnamon stick to the top center of the pumpkin. I cut the longer cinnamon sticks in half with kitchen shears. If you want a more secure stem, use a hot glue gun to attach.


And thats all there is to it! Told you it was simple 😉


What You’ll Need
6 mm crochet hook (for small)
8 mm crochet hook (for medium & large)
bulky weight (5) wool yarn – approximately 32 yards for small, approximately 56 yards for medium
extra bulky weight (6) wool yarn – approximately 87 yards for large
embroidery/ darning needle
scissors
Fiber fill
Cinnamon sticks
My Amazon Picks

Abbreviations Used
ch= chain
sc= single crochet
blo= back loop only
fo= fasten off
Gauge
Small:
16 rows= 4″
16 sc in blo= 4″
Medium:
12 rows = 4″
12 sc in blo= 4″
Large:
10 rows= 4″
10 sc in blo = 4″
Approximate Completed Measurements
Small- 2 1/2″ tall (without stem) and 12 1/2″ around
Medium- 4″ tall (without stem) and 16″ around
Large- 4 3/4″ tall (without stem) and 22″ around
Pattern for Small Pumpkin
Use 6 mm crochet hook and bulky (weight 5) wool yarn
Foundation: Ch 16
Row 1: starting in 2nd ch from hook, sc in blo across, ch 1 and turn (15)
Row 2-28 : sc in blo across, ch 1 and turn (15)
Row 29: sc in blo across, fo leaving long tail (15)
Pattern for Medium Pumpkin
Use 8 mm crochet hook and bulky (weight 5) wool yarn
Foundation: Chain 21
Row 1: starting in 2nd ch from hook, sc in blo across, ch 1 and turn (20)
Row 2-22: sc in blo across, ch 1 and turn (20)
Row 23: sc in blo across, fo leaving long tail (20)
Pattern for Large Pumpkin
Use 8 mm crochet hook and extra bulky (weight 6) wool yarn
Foundation: Chain 26
Row 1: starting in 2nd ch from hook, sc in blo across, ch 1 and turn (25)
Row 2-32: sc in blo across, ch 1 and turn (25)
Row 33: sc in blo across, fo leaving long tail (25)
Assembly

Using the tail, mattress stitch the edges of the first and last rows together (forming a cylinder) and fasten off. Using a strand of yarn, weave in and out across the top gaping created by each row around the cylinder created.
Pull ends tight to close the end and tie off. Stuff firmly with fiber fill. The more fiber fill you use, the taller and more plush your pumpkin will be. For a shorter and wider pumpkin, use less fiber fill.
Once stuffed, you will take another strand of yarn and weave in and out around the top of the pumpkin, closing tight and tying off as you did with the bottom. The only difference, is that you will want to leave a bit of a hole at the top for the stem later.
You should now have 4 strands hanging off your pumpkin (two on the bottom and 2 on the top). Using a darning needle, take each strand and wrap around the outside of the pumpkin’s body and pull through the center. Tie off as tight as you can and weave in the ends. If you would like more divots, add 2-4 additional strands around.
Once all the ends are tidied up, you can add the cinnamon stick. I cut the longer sticks in half using kitchen shears, but please do this carefully!
You may choose to secure your cinnamon stick with hot glue, or just pop it right into that center hole at the top.
All done! I hope you enjoyed making these pumpkins as much as I did! Don’t forget; if you have a question, or just want to share a picture of your finished product, I love to hear from my readers! Leave a comment below 😉