Mary’s Cardigan- Blog Post

Read the inspiration behind, and check out the step-by-step picture tutorial for making Mary’s Cardigan below. For the FREE crochet pattern, be sure to check back later today on our pattern page.
I am SO excited to share my latest garment pattern with you! When I first designed the Beginner Friendly Triangle Scarf last spring, I fell in love with the drape and colorways offered by the Shawl in A Ball line by Lion Brand Yarn. I knew then that I wanted to use it for a cardigan design, just didn’t know exactly how I would want that to look.
I’m all about comfort, mixed with a bit of functionality. Thus, I went for an oversized design on this cardigan, and it had to have pockets! Since this was my first cardigan sweater design, I kept things simple, with minimal pieces and assembly.

The combination of yarn, hook size and design result in a lightweight sweater perfect for spring and fall, but a cozy sweater that will still function well in winter. I hope you enjoy!
Before starting the cardigan, I recommend working a gauge swatch. However, if you’re like me and hate crocheting something that you know you will need to frog, I’ve designed the pockets for this cardigan with a gauge swatch in mind.
So you can test your gauge against the pocket, and if all goes well, there will not be a need to rip anything out! The pocket should measure roughly
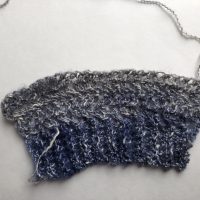
To start the pocket, you will be working a series of single crochets into the back loops only to form a sort of ribbing look for that will run across the top of each pocket.


Once the ribbing is complete, you will pick up a row of herringbone double crochet stitches across the top of the ribbing.

If you’re unfamiliar with this stitch, I really like the video by Jess over at Make and Do Crew, but it’s quite easy once you get the hang of it.
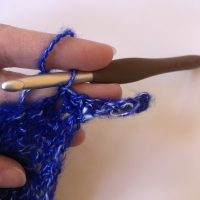
To crochet the herringbone double crochet you’ll start by yarning over and inserting your hook into the designated stitch or space. Then you’ll yarn over and pull through the stitch and the first loop on the hook (two loops on your hook). Yarn over once more and pull through the closest loop to the hook, then finally yarn over and pull through the 2 remaining loops on your hook.


It should also be noted that the turning chain for this pattern counts as a stitch, so you will need to skip the first stitch of each row in order to keep the count correct.

Once your primary row of herringbone double crochets are placed, you will work a few more rows repeating this stitch across, and then fasten off.


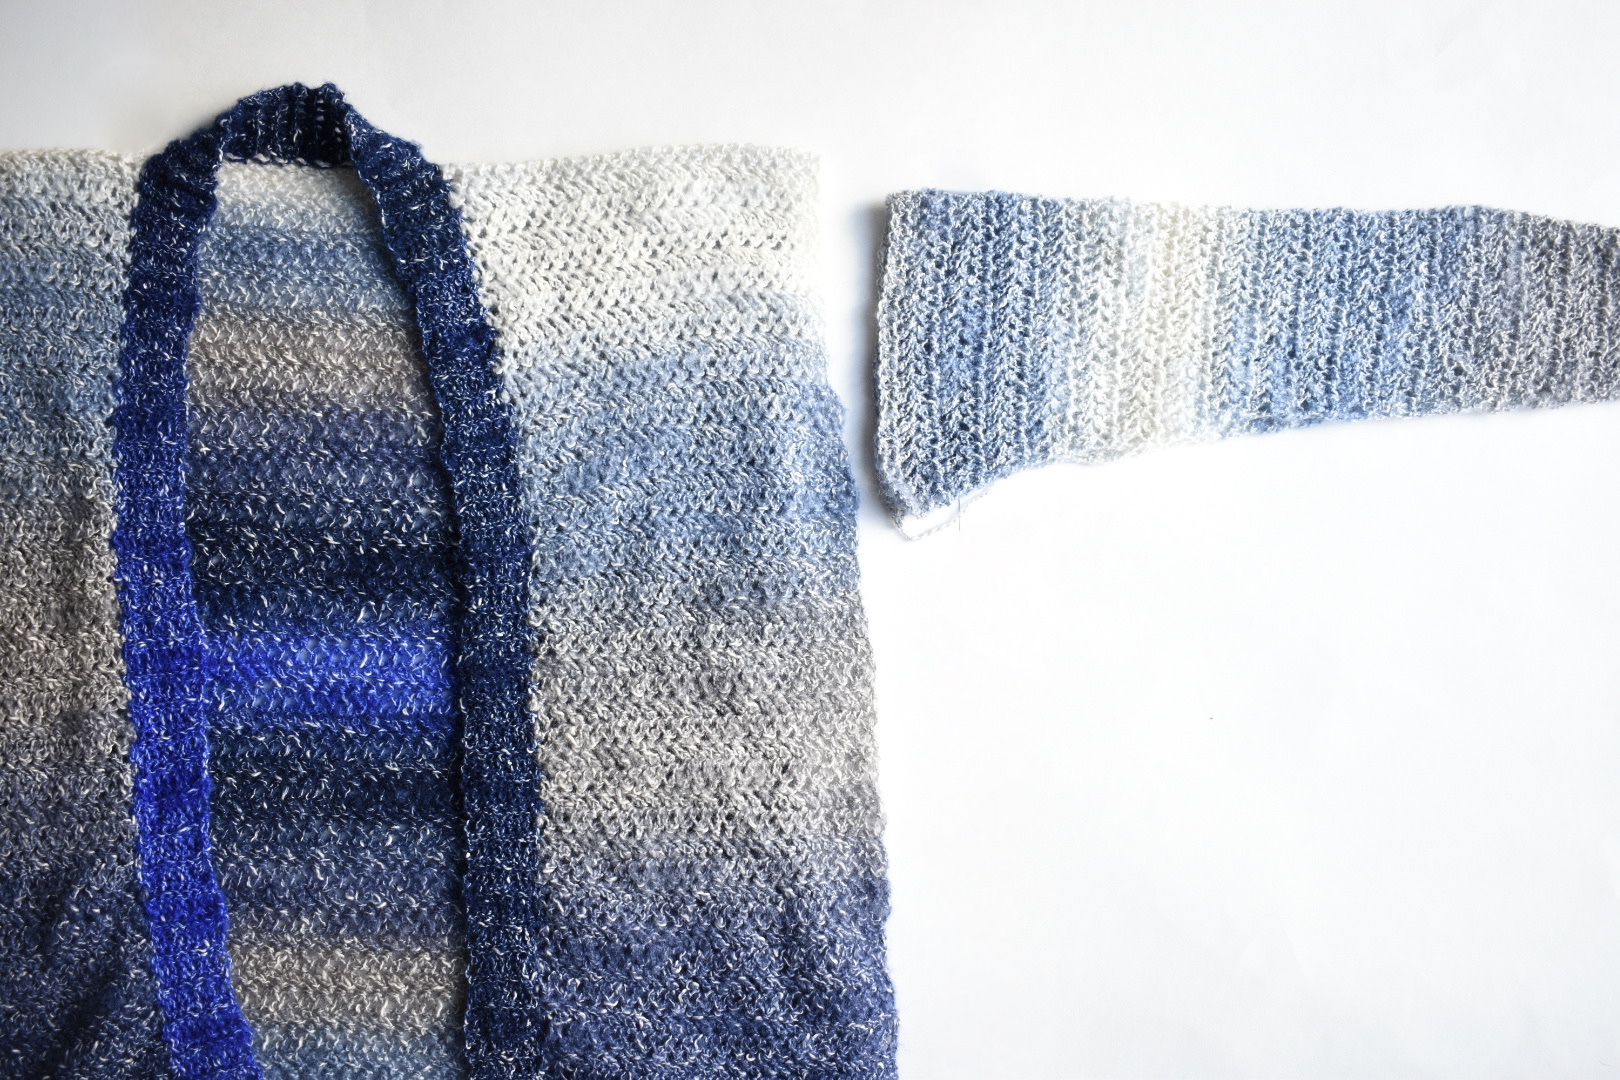
After completing both pockets, you can start making the base for the sweater which starts out as a large rectangle. There is no ribbing running across the bottom of the back panel, so you’ll jump straight into working a bunch of rows of the herringbone stitch across.

Rather than working the front panels as separate pieces you will work them straight onto the back panel by continuing to work the herringbone double crochet stitch across only a portion of the rectangle.
This will create a “L” type shape across the top of the back panel.

Once the first front panel is long enough, you will flip your work over and pick up the yarn to crochet the other front panel. If you’re using the Shawl in A Ball or another variegated yarn like I did, you can either start this portion with another skein that starts with the same color you ended on, or you can get to that color on an existing skein and start there, if you choose. I went the second route since none of my other skeins started with the right color, and I saved the ball of unused yarn to make the arm panels.


I also used stitch markers to mark where the two front panels ended, to designate the neck area.
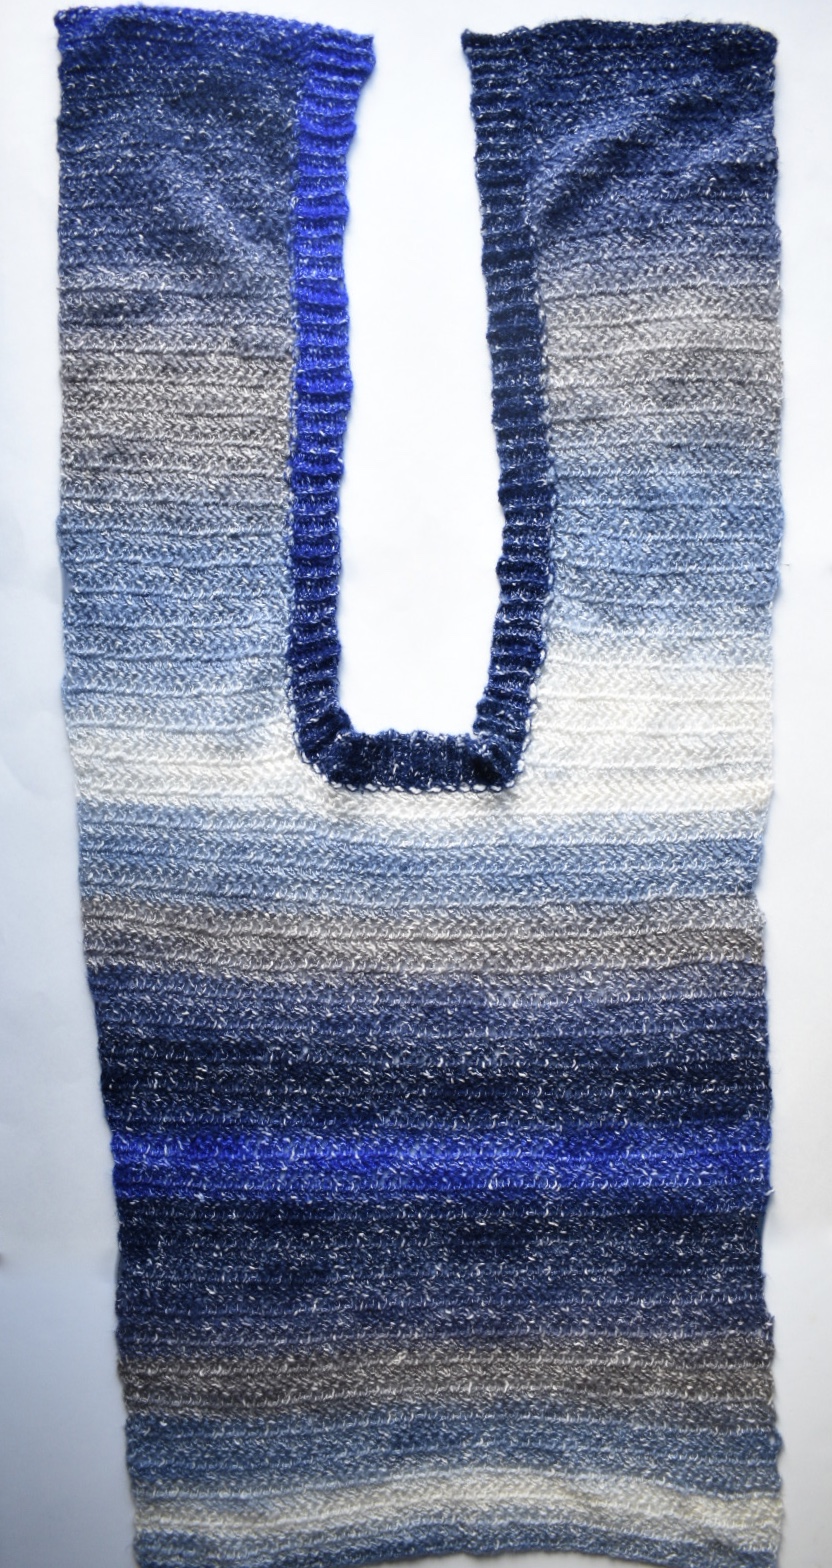
Once the second front panel is complete, you will have a piece that resembles a “U”. The two front panels will be laid over on top of the back panel for a rectangle shape.
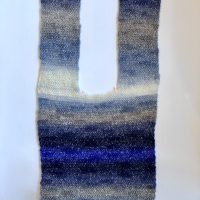

Again, you will leave the yarn in tact to start the brim of the body. The brim is worked directly onto the front opening (as opposed to being a separate piece that you join later).
To do this you will start by working a chain row.

You will then work a row of single crochet stitches crocheting back towards your work.

Once there, you will slip stitch into the herringbone stitch row most parallel to your brim, and then again into the row directly above it.


You’ll now turn your work and crochet a row of single crochets into the back loops only, and continue this process working up the one panel of your work.


If you’re struggling a bit with this, and want a video reference, I recommend this helpful tutorial by Toni of TL Yarn that you can find here. The directions to working this type of ribbing start at about 2 minutes into the video.

After placing the ribbing across the entirety of the one front panel, you will continue to work around the neck portion and then back down the opposite front panel.
 Please do not stress about the counts on this portion. The brim is meant to have a slightly stretched look, but is forgiving if it doesn’t. Just work each row as feels most comfortable for you and you’ll be fine. The row counts listed on the pattern are more of a guideline, but do not need to be exact.
After you have crocheted all the ribbing, you can start with the arm sleeves. I’d like to point out that I think these could be optional if you’d rather have a very short sleeved spring sweater instead. You could simply skip ahead to assembly and add ribbing as you did with the body around each arm hole. Here’s a little something of what that would look like. I may just do this in a different color, so stay tuned! 😉

These start out exactly as the pockets, with the ribbing and the herringbone stitches being picked up across the top of it.

Depending on the size sweater you are making, you will either begin to increase twice in every 3rd row or once in each row up. I worked the first increase of every increasing row by making a herringbone double crochet stitch in that first stitch that you would typically skip (rather than 2 stitches into one stitch as normal).
You’ll continue working upwards, increasing as you go to end with a long triangle.


From here it’s on to assembly!

You’ll start by creating the armholes. You will need to make sure the front panels are laying flat on top of the back panel and the outer edges are flush.
Then you’ll measure starting from the top fold down for the correct opening measurements needed for your size. I recommend placing a stitch marker here running between the front and the back panels. You will now seam up the side starting at the bottom up to the stitch marker.

I recommend seaming with a mattress stitch (especially if using a variegated yarn). If you are unfamiliar with this technique, I really like this video tutorial by Chi Wei of One Dog Woof that you can find here.
Once the body is all seamed up, it’s time to add the arms. First you will want to fold the arms in half lengthwise and mattress stitch up the opening to bring it to a close, creating a long cylinder.
Once closed, you will seam to the armhole opening, placing the 90º angle at the top.
After attaching both arms, all that’s left is to add the pockets.
I placed my pockets roughly 1″ in from the side of the opening and 2″ up from the bottom on each of the front panels.

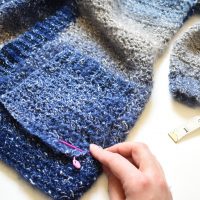
You will seam the pockets in place working down one side, around the bottom and back up the other side (leaving the ribbed portion open at the top).
From here it’s a simple matter of weaving in the ends, and your Mary’s Cardigan is complete!
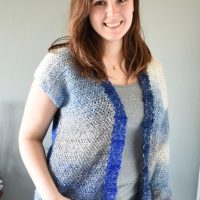
I really hope you enjoyed making this one! It is so special to me for many reasons and I find myself wearing it all the time due to it’s oversized, lightweight comfiness!

How much yarn did you use?
Hi there!
You can find all the details about materials used on our pattern page for this cardigan here: https://apurposeandastitch.com/marys-cardigan-free-crochet-pattern/, but to answer your question, I used a little over 2 skeins for a small 🤗
What should the pocket dimensions be?
Thanks for asking!
The completed pocket should measure approximately 5” X 5” based on meeting gauge and including the starting brim. ☺️
Happy Crocheting!
-Bernadette
What color of Shawl in a Ball did you use for Mary’s Cardigan?? Healing Teal and Wind Chimes seem the closest but I really would like the same beautiful colors you used. Thank you – Sherrill in Oregon
Hi Sherrill, I actually used the “soothing blue” colorway. It really does result in such a beautiful color pattern! 😍