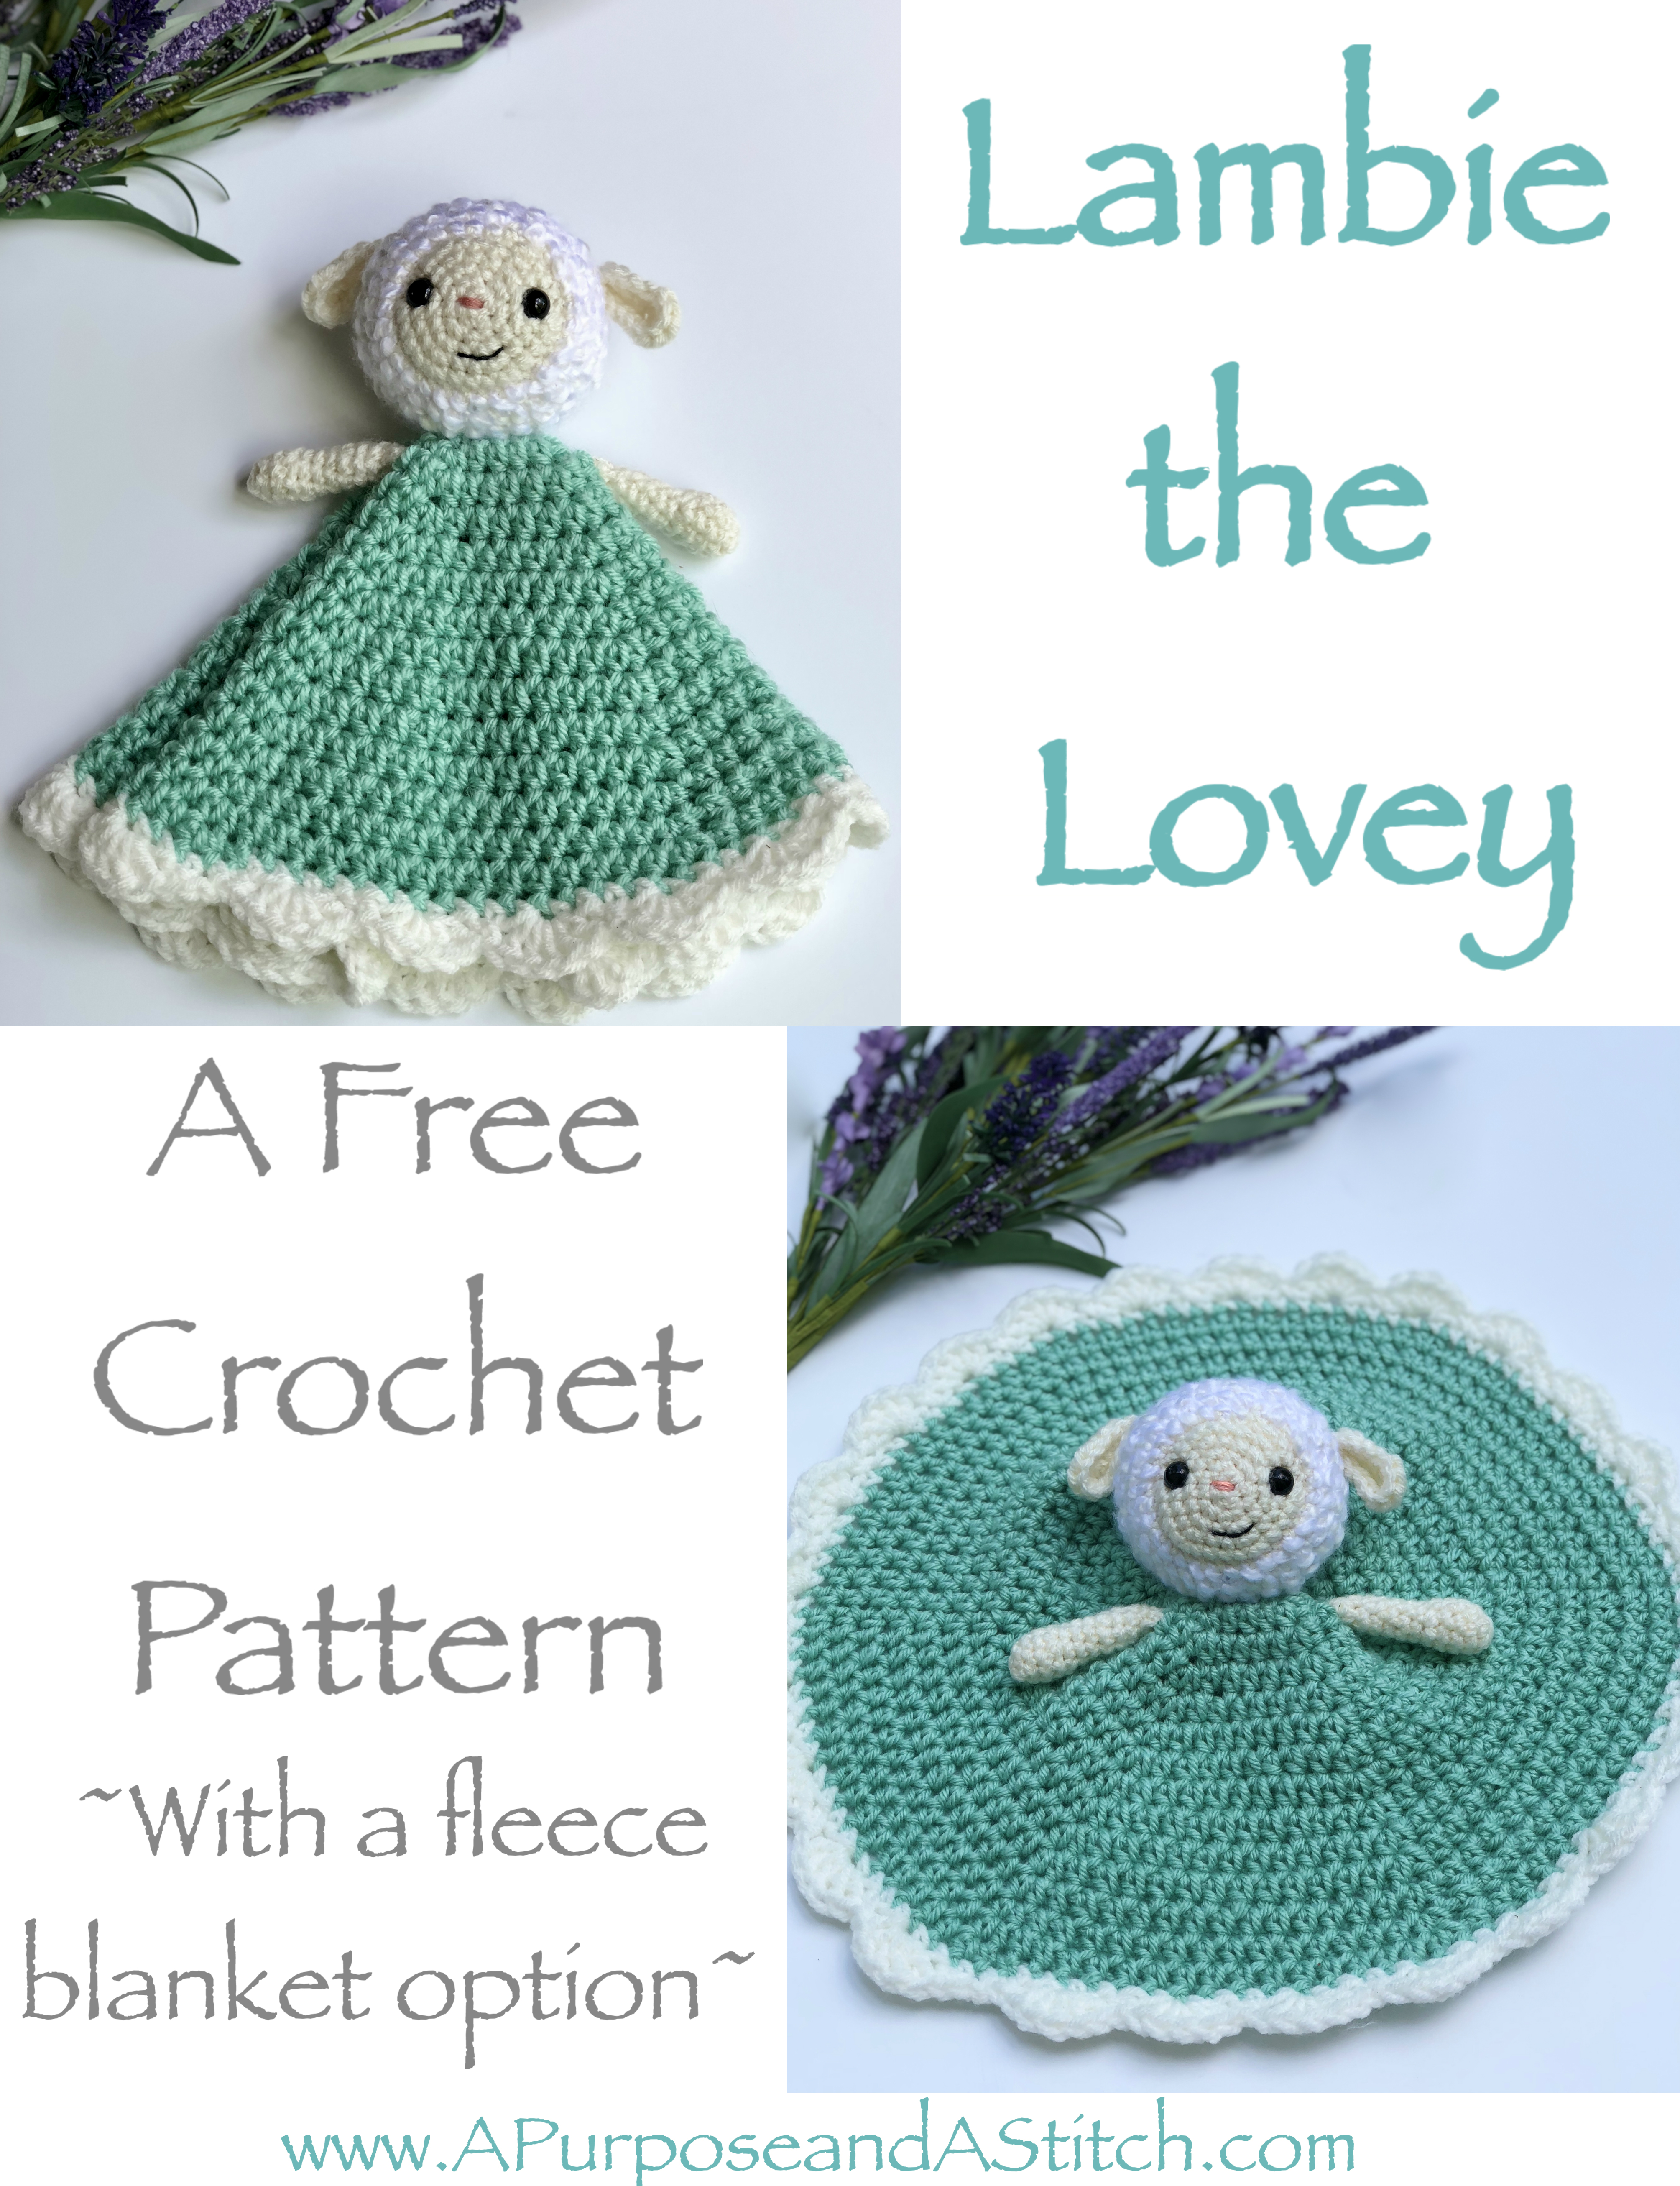
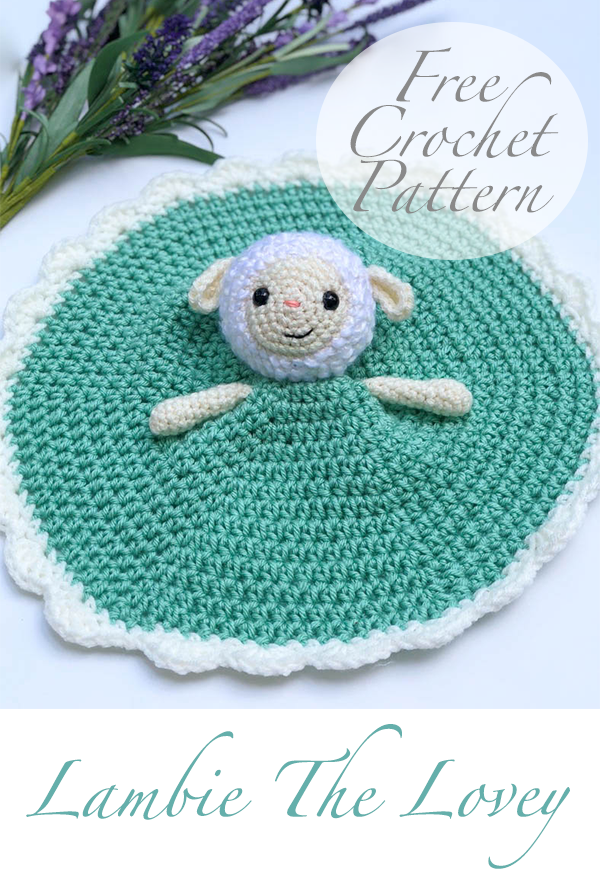
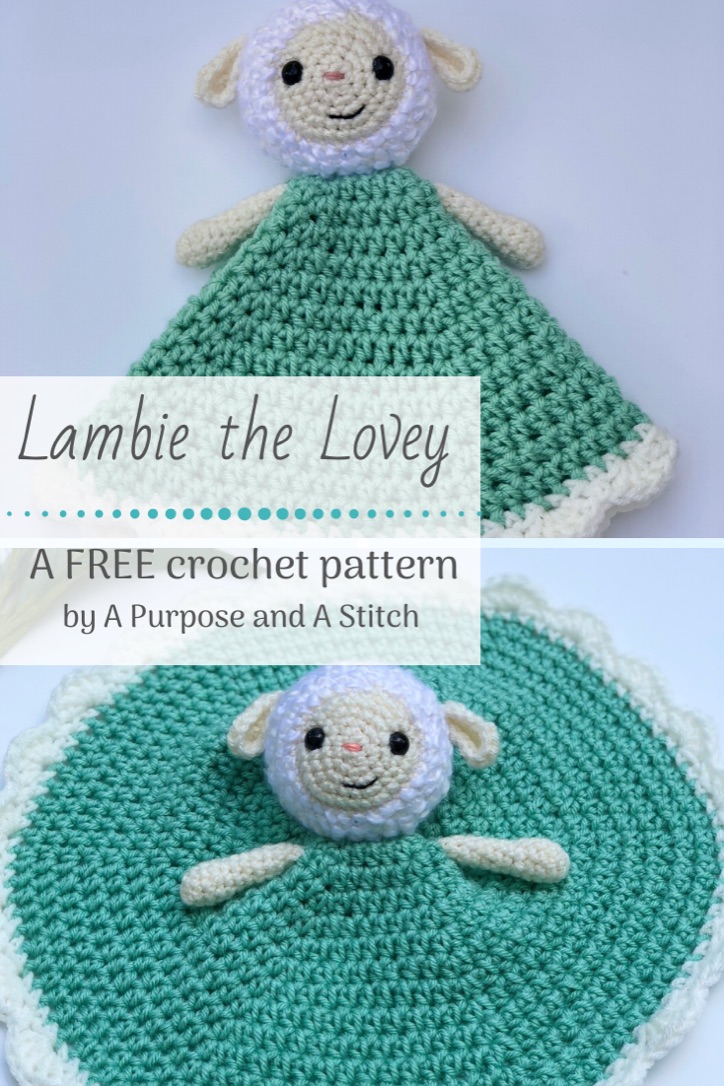
Lambie the Lovey- Free Pattern
**Below you will find the free written pattern for this adorable lovey. If you prefer, you can purchase the inexpensive large font, ad-free PDF from my Etsy shop here. You can also purchase from or add to your Ravelry que here.**
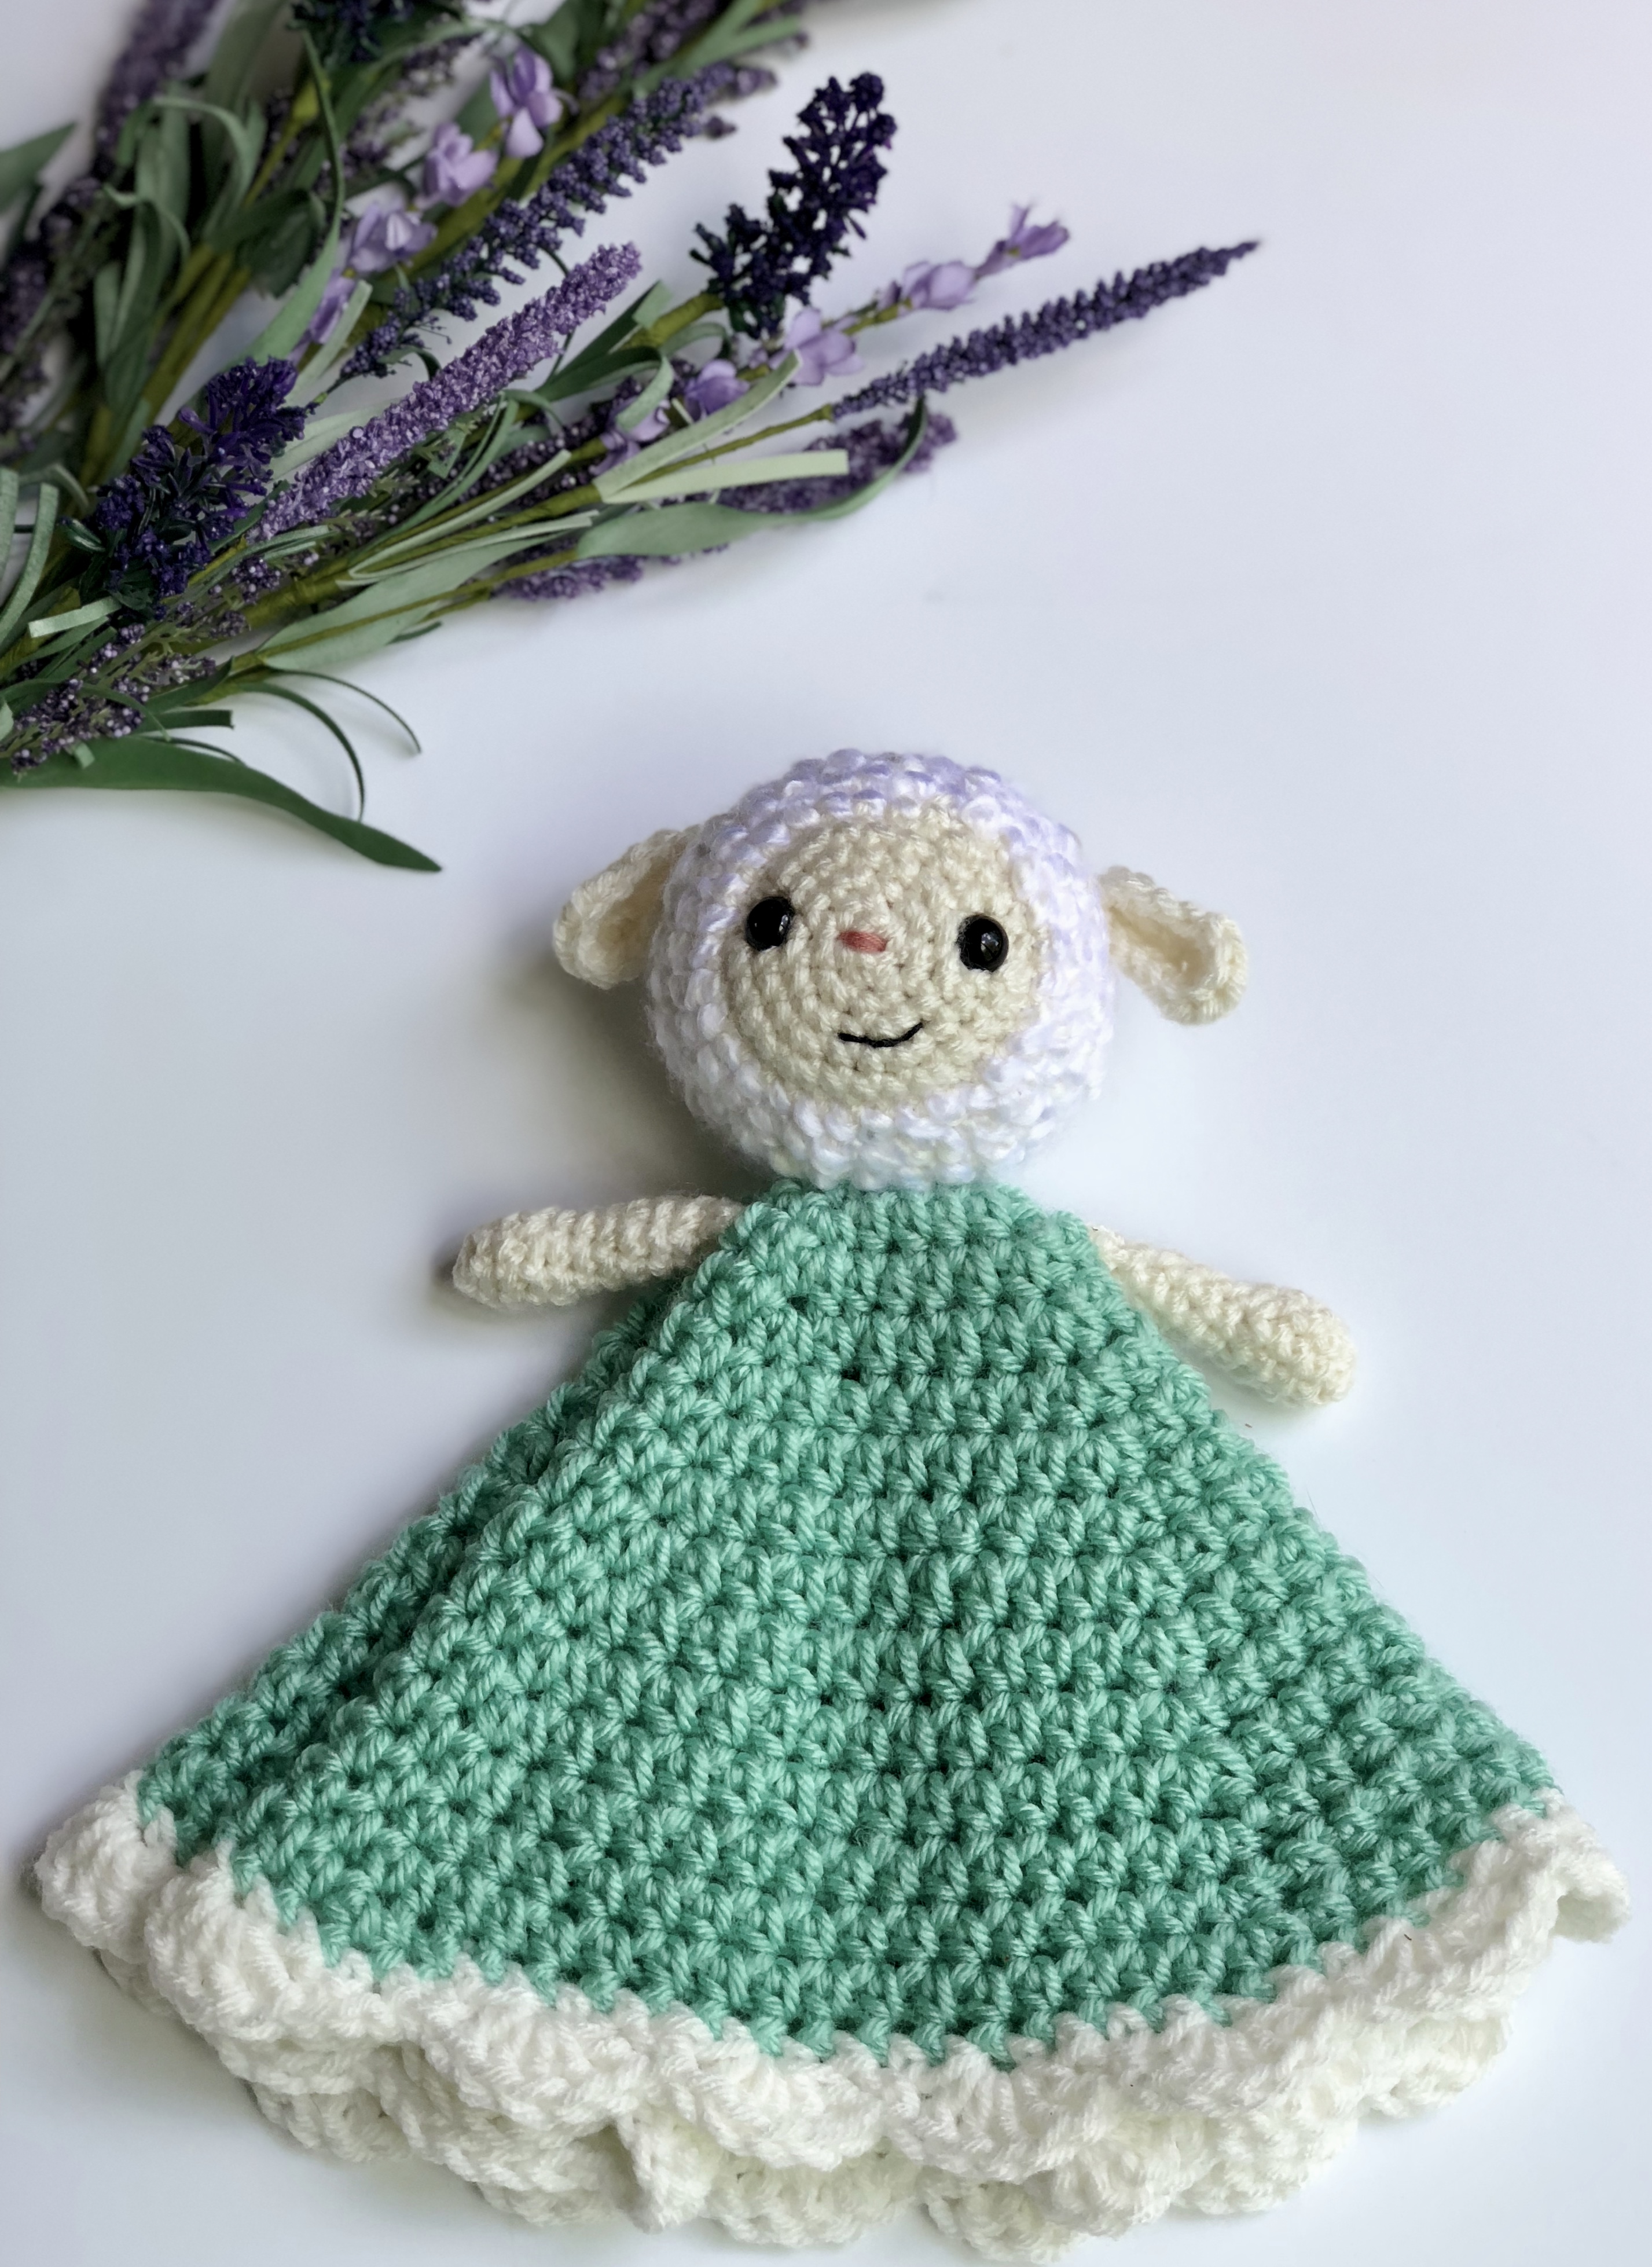
Lovey’s make such great baby toys, and what cuter lovey then one with a sweet lamb face?
Lambie almost looks like she’s wearing a dress with the way the blanket falls in combination with where the arms are placed. I love it!
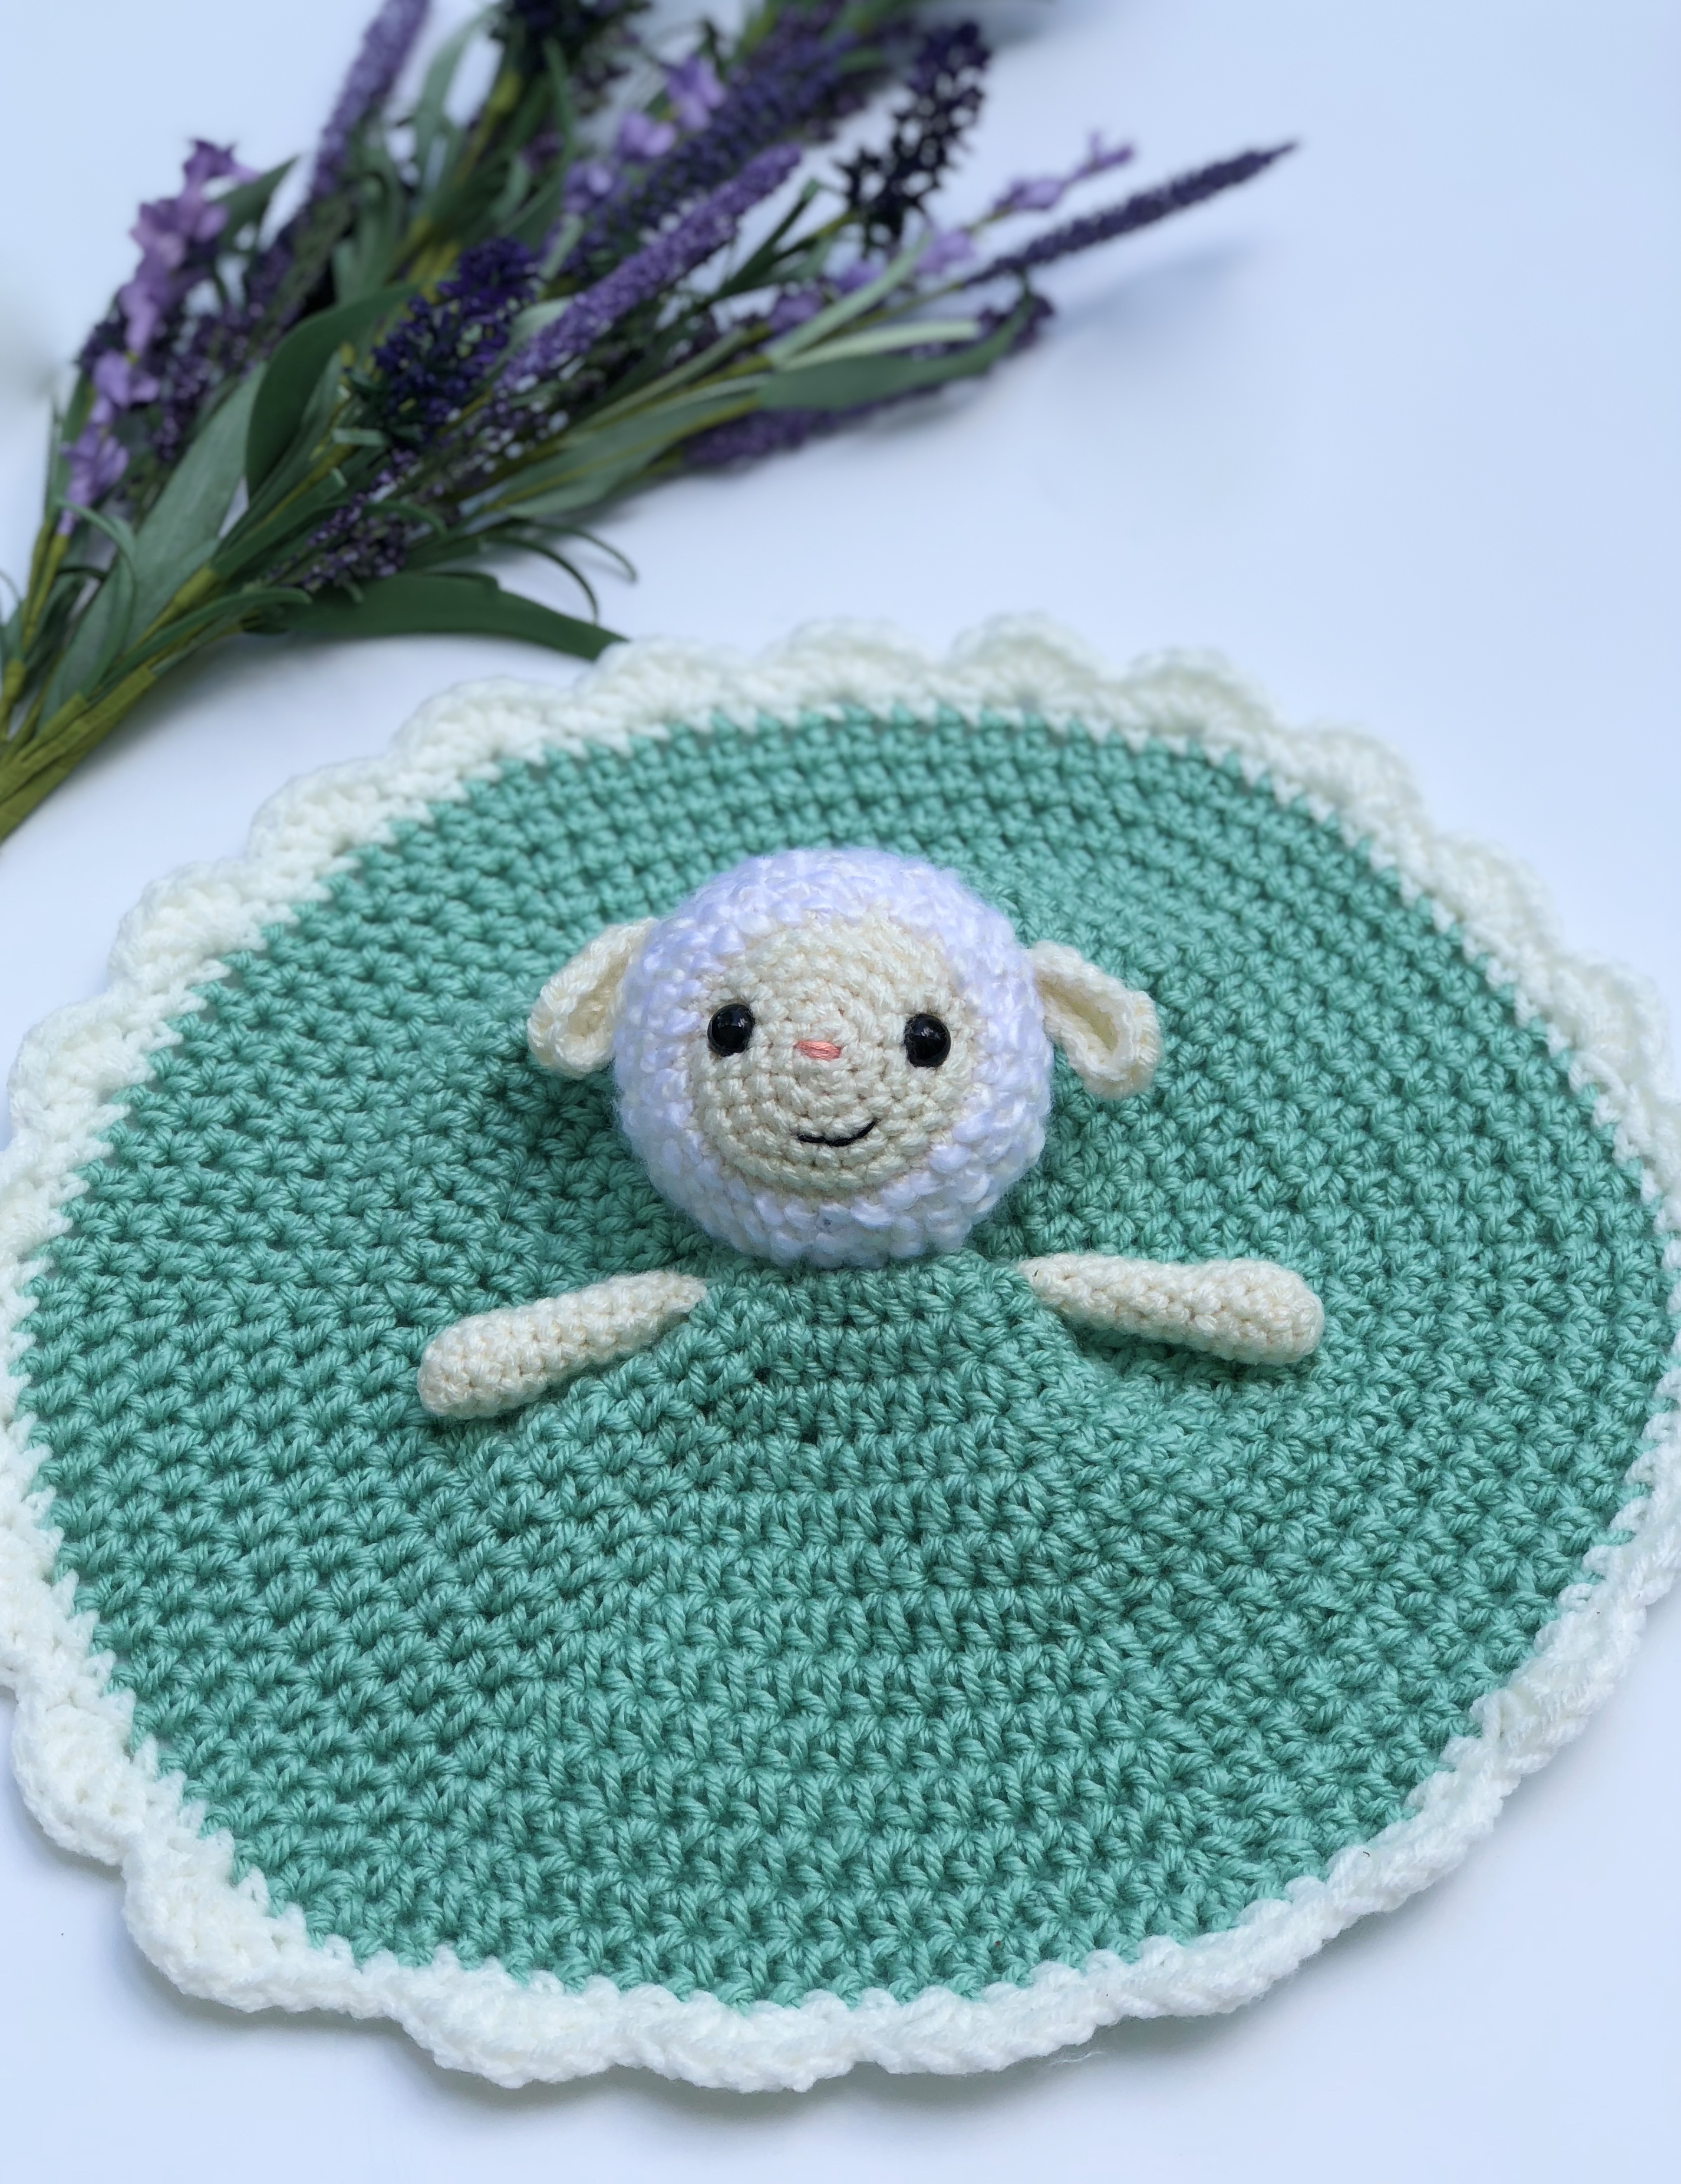
This pattern is fairly simple with 3 main components: the lamb head, the blanket and the lamb arms.
You can make it even simpler with the use of some double sided fleece for the blanket instead of crocheting it.

Please see my blog post here to read the story behind this cute lovey and to see the step-by-step pictures to help you along the way.
**Update, if you enjoyed making Lambie the Lovey, check out Ellie the Elephant Lovey. Free pattern for her can be found here. **
What you’ll need
off white or cream colored worsted weight (4) yarn- approximately 20 yards
white fluffy yarn (such as Lion Brand’s Homespun or Yarn Bee Fleece Lite)- approximately 20 yards
fiber fill
4.00 mm crochet hook
2 10mm safety eyes
pink embroidery floss
black or charcoal embroidery floss
embroidery/ darning needle
If making the Crochet Blanket
6.00 mm crochet hook
medium weight (4) soft yarn of your color choice- approximately 135 yards
medium weight (4) soft yarn of your color choice for border- approximately 30 yards
If Using a Fleece Blanket- **see fleece notes at the bottom for which options you’ll need for preferred binding off method
A piece of double sided fleece
A sewing machine (optional)
ribbon (optional)
Embroidery/darning needle (optional)
yarn (optional)
Seam ripper (optional)
Rotary Cutter (optional)
My Amazon Picks
Completed Measurements with Crochet Blanket
Diameter of Blanket= 15″
Height= 10″
Width of head= 5″
Width of folded blanket= 9″
Circumference of head= 9 1/2″
Gauge of Crochet Blanket (Gauge was not measured for amigurmi head)
12 hdc= 4″
9 rows= 4″
Abbreviations Used
ch= chain
sc= single crochet
inc= increase (sc 2 into 1 st)
sl st= slip stitch
dec= decrease (see my blog post here for a tutorial- both a normal or an invisible decrease will work for this pattern)
fo= fasten off
hdc inc= half double crochet increase (hdc 2 into 1 st)
sk= skip
dc= double crochet
Pattern for the Head **Updated 06/25/19**
*Please note that this pattern is worked in continuous rounds (vs joined rounds)*
Use 4.00 mm crochet hook
Foundation [in off white worsted weight yarn]: ch 4, starting in 2nd ch from hook, sc 2 in the back loops of each ch, turn work and continue to work 2 in each chain of the front loops. (12)
Round 1: *sc, inc*, repeat from * around (18)
Round 2: *sc 2, inc*, repeat from * around (24)
Round 3: *sc 3, inc*, repeat from * around (30)
Round 4: ss around (30)
Round 5-9: switch to white fluffy yarn, sc around (30)
Attach safety eyes in between rounds 3 & 4 of either end of the off-white/cream portion. Attach yarn or floss to the back of the safety eyes if you wish to have the eyes indented like mine (see our blog post for more information on this). Embroider the nose around the foundation ch, using pink embroidery floss. Embroider the mouth with black or charcoal embroidery floss about 3 rounds down from the nose. Begin stuffing head with fiber fill.

Round 10: *sc 3, dec*, repeat from * around, continue stuffing head with fiber fill (24)
Round 11: *sc 2, dec*, repeat from * around (18)
Round 12: *sc, dec*, repeat from * around, continue stuffing head with fiber fill (12)
Round 13: *dec around, fo leaving a tail. Finish firmly stuffing with fiber fill. Use tail to weave in and out between stitches. Pull tight and fo. Weave in ends (6)
Pattern for the Ears (make 2)
Round 1: Chain 6, starting in the 2nd ch from your hook, sc 4 across, inc turning towards the back of the ch row as you go, sc 4 into the back loops, inc (12)
Round 2: sl st, sc 2, hdc, hdc inc 2, hdc, sc 2, sl st 3, fo leaving tail for fastening to head. (14)
Pattern for Arms (make 2)
Foundation: work 6 into magic ring (6)
Round 1: *sc, inc*, repeat from * around (9)
Round 2-3: sc around (9)
Round 4: *sc, dec*, repeat from * around, begin to lightly stuff with fiber fill (6)
Round 5-12: sc around, lightly stuffing with fiber fill as you go (6)
Round 13: dec, sc, dec, sc, fo leaving 2-3″ tails if you plan to attach to crocheted blanket. Weave in if attaching to fleece. (4)
Pattern for Blanket
Switch to 6.00 mm crochet hook
Foundation: work 6 in magic ring (6)
Round 1: sc 2 in each around (12)
Round 2: *sc, inc*, repeat from * around (18)
Round 3: *sc 2, inc*, repeat from * around (24)
Round 4: *hdc 3, hdc inc*, repeat from * around (30)
Round 5: *hdc 4, hdc inc*, repeat from * around (36)
Round 6: *hdc 5, hdc inc*, repeat from * around (42)
Round 7: *hdc 6, hdc inc*, repeat from * around (48)
Round 8: *hdc 7, hdc inc*, repeat from * around (54)
Round 9: *hdc 8, hdc inc*, repeat from * around (60)
Round 10: *hdc 9, hdc inc*, repeat from * around (66)
Round 11: *hdc 10, hdc inc*, repeat from * around (72)
Round 12: *hdc 11, hdc inc*, repeat from * around (78)
Round 13: *hdc 12, hdc inc*, repeat from * around (84)
Round 14: *hdc 13, hdc inc*, repeat from * around (90)
Round 15: *hdc 14, hdc inc*, repeat from * around (96)
Round 16: *hdc 15, hdc inc*, repeat from * around, fo. Attach white yarn (102)
Round 17: using white yarn, sc around (102)
Round 18: sc 1, *sk 1 st, dc 5 in next, sk 1, sc in next* (1 shell made), repeat from * around. There will be 1 sc left at the end, sl st into it and fo. weave in ends. (25 shells total)


Using Fleece instead of Crochet Blanket
Cut a piece of double sided fleece to measure roughly 14″ X 14″
** Seam up edges using your preferred method. I just went around the blanket with my sewing machine stitching in about 1/4″ border. I also played with the idea of adding a ribbon around the edges, but didn’t have a ribbon wide enough. If you’d like, you can also crochet a border around your fabric. Megan over at Meg Made With Love has 3 great ways to do this that you can find here.
Assembly
Folding the ears in half at the top of the tear drop, use the tails left on the ears, attach to either side of the head about 4 rounds of fluffy yarn back from either eye. Weave in the ends.
Using a lengthy piece of yarn (or thread if using fleece for the blanket), attach the base of the head to the very center of your blanket. I used the line between the 3rd & 4th rounds of my blanket as a guide of where to attach the head.
Once your head is secured, you will attach the arms. A way to ensure good placement of the arms is to take the lovey by the lamb’s head, hold upright, and then lay on a flat surface so that the blanket folds under the head. If it does not naturally create a triangle shape, guide it to that shape so that the sides of the blanket are creased inwards and there are two main folds on the front and the back. Once you have the blanket set to it’s natural laying position, you will attach the arms a little below the head on either side of the front most fold.
 If you are going the crocheted blanket route- you can just use the tails left from fastening off to attach about 1 round down from where you connected the head. If you are going the fleece blanket route- you will want to weave in the tails and attach using needle and thread.
Once your lamb’s arms are attached, your lovey is complete!
I hope you enjoyed making this sweet lamb lovey as much as I did!
For the head, it’s seems like lot of rows. 7-15 is in white, that’s 8 rows but when I look at the pic, when it starts tapering shut in the back, it only looks like 4 or so rows. My head seems so big for the size of the blanket. I’m just making sure I’m not missing something before I continue.
Hi Jacki, I am so sorry for the confusion! I thought I had corrected this ages ago, but I must have missed it. I’ll correct it later tonight, but until then the head pattern for the Linda The Lamb pattern is correct and will give you a more accurate sized head. Sorry again!
Ok great! No worries! Thank you!! Blanket is so cute, can’t wait to finish it!