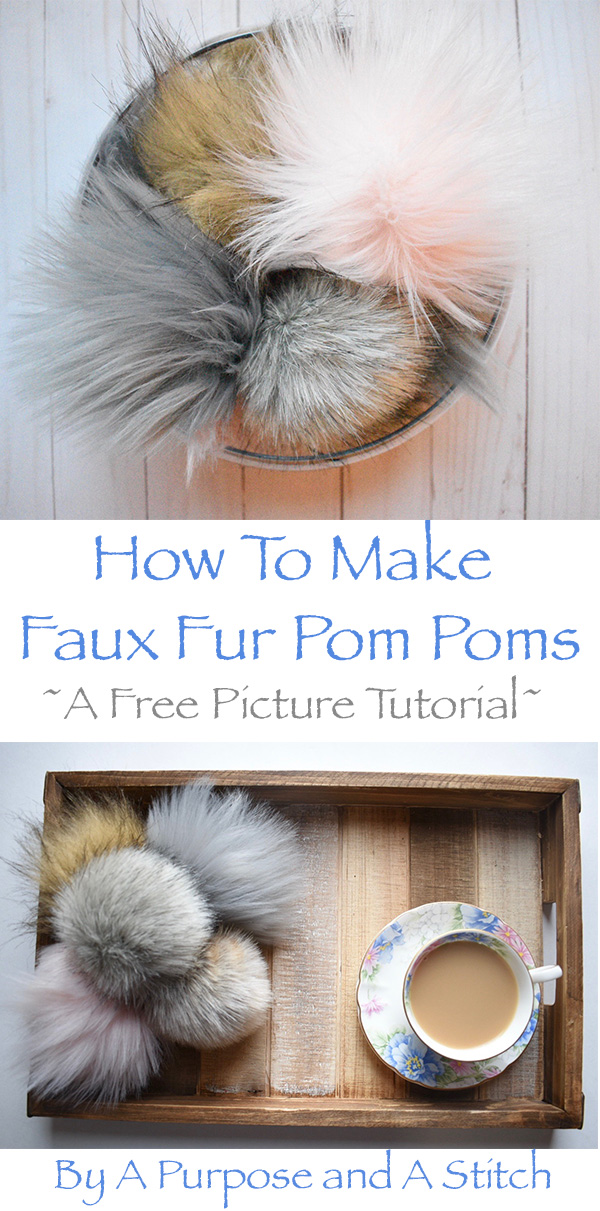
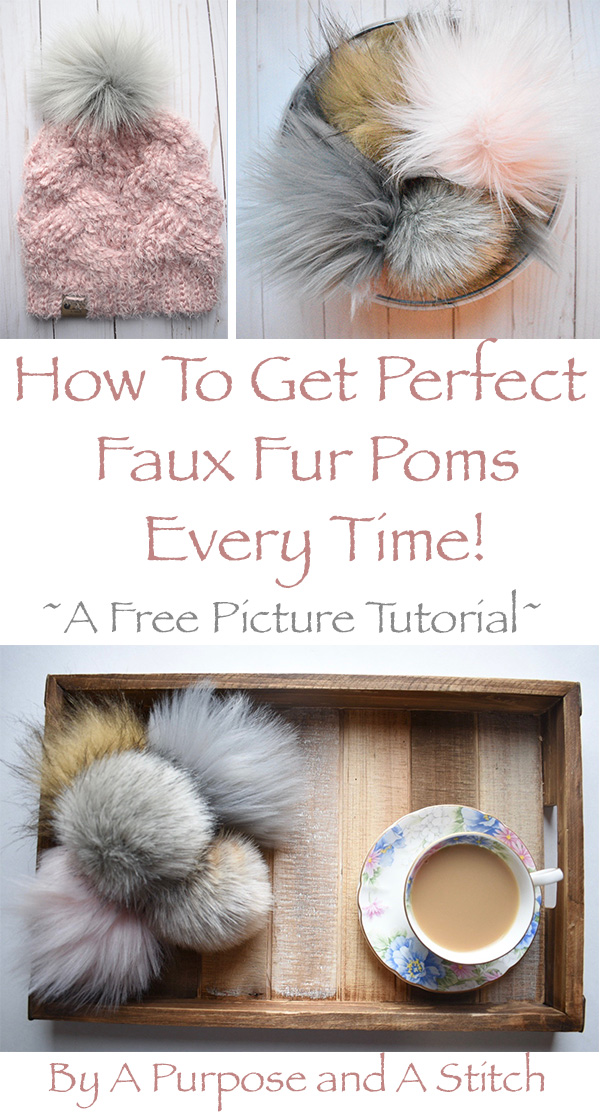
Faux Fur Pom Pom Tutorial

I love the faux fur pom pom trend, and swoon over all the pretty colored ones that pop up on my Instagram feed, but I have an inherently annoying habit of looking at something and thinking, “Oh, I could make that.”
So…I decided to take a stab at making my own. I love the look of the longer fur poms, but was disappointed in the way they first looked when I made them myself. The fibers looked all clumpy and didn’t resemble the plush flowy poms on my Instagram feed. I tried simply brushing the poms, and that worked for a bit, but they always went back to looking clumpy after a while.
I also had issues figuring out the exact way to stitch the poms up. Most tutorials I had found just called for a needle and thread but I kept having mine break after a while or while attaching to my hats.
So I fine tuned these pom poms, learned a few tricks along the way and want to share them with you all!
Before you can start out you’ll need to get some faux fur. I really recommend getting some from your local craft store so that you can get the best idea of what the fur quality is like. Pictures don’t always do it justice. If you need to buy it online, then I know Etsy has a lot of good quality looking fur available, and you can also purchase from Joann Fabrics and have it delivered. I would just recommend checking out reviews to see if anyone mentions success of making pom poms with that fabric before purchasing.
I also recommend medium or long pile fabric. I tend to lean towards the long pile, but it ultimately comes down to your preference. I have found that the medium pile fabrics do not often require the extra step of conditioning, but they don’t have that long flow-y look. 
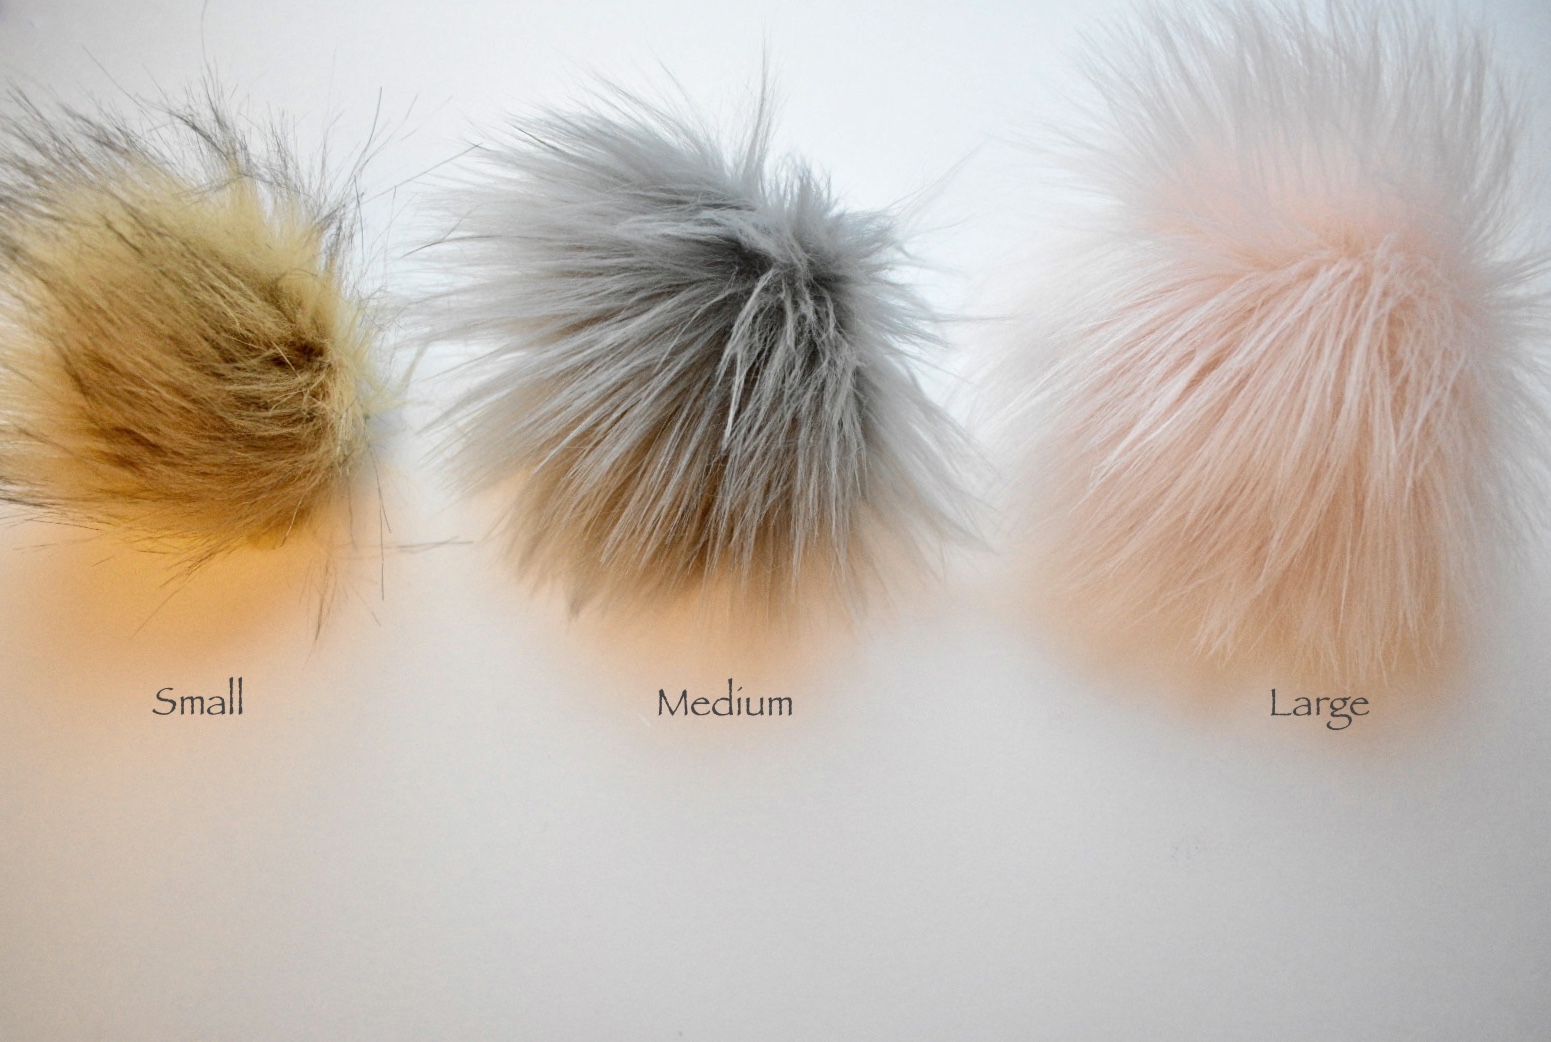
I have listed the 3 sizes I typically use to make my pom poms, but if you like extra large pom poms, feel free to use a larger circular object. The small works great for baby and toddler beanies, and I will usually mix up the medium and large size for adult beanies depending on how it looks with that particular hat.
My last note before starting is that in the list of items needed, I mention that you can use fiber fill OR other scrap fabric and yarn to stuff your pom poms. This is again your personal preference, but if you are going to be conditioning your pom poms, I wouldn’t recommend stuffing with anything but the fiber fill. It’s much lighter and breaths better, which will help when you are drying the pom poms.
So without further ado, let’s get to it.
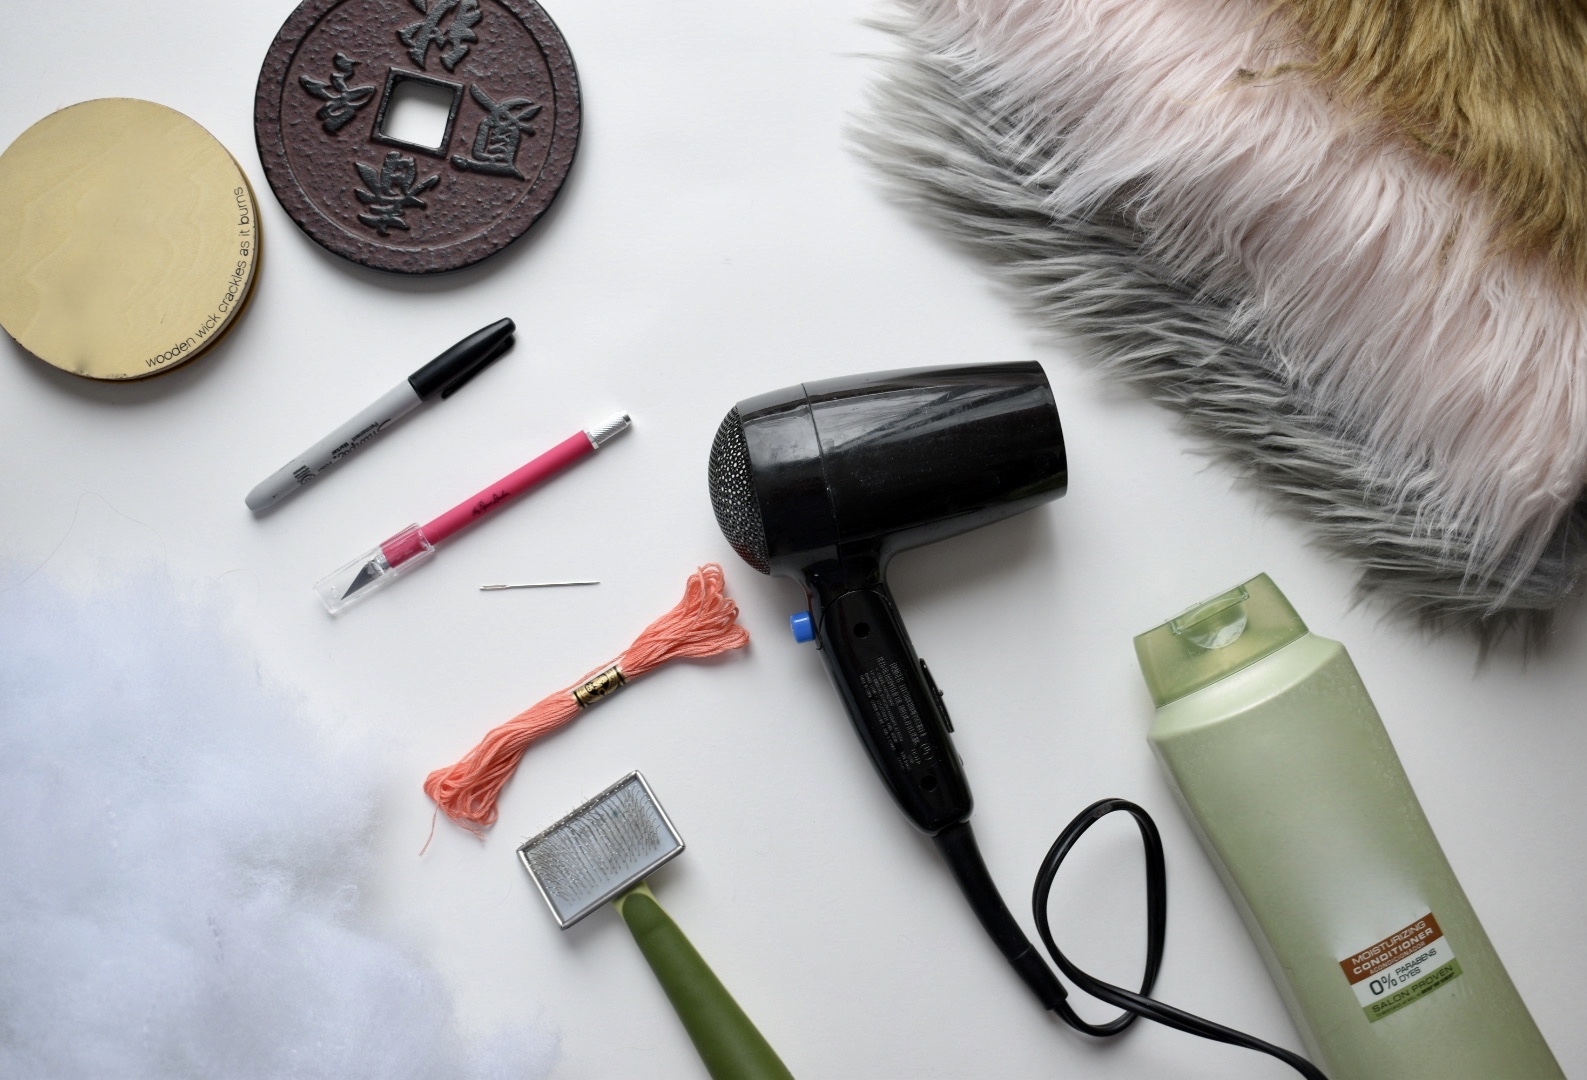
Here’s What You’ll Need
1/4 Yard of Long Fiber Faux Fur (will make approximately 10 large pom poms)
A Thin Sharpie (or pen)
4″ Diameter Bowl, Lid or Other Round Object (for tracing Large Pom)
4.5″ Diameter Bowl, Lid or Other Round Object (for tracing Large Pom)
5.5″ Diameter Bowl, Lid or Other Round Object (for tracing Large Pom)
An X-Acto or Razor Knife
Metal Embroidery Needle
Embroidery Floss
Scissors
Fiber Fill (or scrap yarn/ faux fur fabric)
Dog Slicker Brush
Hair Conditioner
Blow Dryer/ Drying Machine
Completed Measurements
Small= 7″ around
Medium= 8″ around
Large= 9″ around
Tutorial
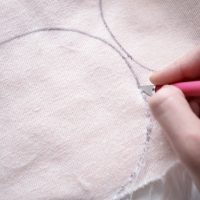
- Flip the Fabric over so that the back is facing you, trace your bowl, lid or other round object with your maker or pen.

- Using you X-Acto / Razor knife, very gently cut the back of the fabric. Take care to just cut the lining, and not the fibers on the other side of your fabric. You want them to remain long and intact.


- Gently brush the edges of your circle with the dog slicker brush to remove any loose fibers
- Use your metal embroidery needle and embroidery floss to weave in and out around the perimeter of your circle. About 1/8″ in from the edge.


- Pull Embroidery floss, stuffing with a moderate amount of fiber fill as you go. Completely tighten and tie off. Make sure to not over stuff as this will stretch the fabric and expose some sparse looking spots.


- Use embroidery needle to weave both ends of the floss further away from each other. I like to have an approximate 1/2″ gap between the two strands.


- (Optional) Use a small amount of hair conditioner and rub into the fibers of the pom. Rinse with warm water and squeeze out all excess yarn.


- (Optional cont.) Using a towel and or hair dryer, dry the pom pom until almost completely dry.

- (Optional cont.) Continue drying with hair dryer while brushing with dog slicker brush until completely dry.


- Your pom pom is now complete!
I hope you all enjoyed this tutorial and get a chance to make plenty of them for all of your favorite wearables!
For all the measurements on tracing the circles for the poms they all say large pom. Is it supposed to be small, medium, large?? For the 4, 4.5, and 5 inch circles?
Hi Emily,
Thanks for letting me know about the typo! Yes, those are the measurements for the small, medium and large respectively. 🙂
Hi gosh love the Pom Pom tutorial thank you!
I also LOVE the pink hat and am hoping you could direct me to the pattern please?
Thank you so much for the kind words Marion!
You made my week! The pink hat is our Brilliant Cables Beanie. You can get the free pattern here: https://apurposeandastitch.com/brilliant-cables-beanie-free-crochet-pattern/ 🤗
Hope you enjoy!
-Bernadette
Thank you for this tutorial. It was easy to understand. The poms look great.
Thanks so much for the kind words! So happy it worked out well for you! 😁
Thank you 😊 when I feed it back through the pom, am I feeding it up to the top of the pom, or am I going in at an angle to catch the bottom of the pom again?
You’ll just want to feed it through the bottom of the pom at a different spot then where it was previously attached 😁
Hi lovely Pom Poms tutorial I was just wondering wher you buy your faux fur fabric, ty
Thank you! I typically get my faux fur from Joann Fabrics. I’ve had good experiences with their quality and options available 😁
You’re post is the first I’ve seen that mentions conditioning the pom poms, can you tell me why I should be doing that? Making my first poms today, I’m so late to the game on this trend, but I find most people request no poms and I love this trend so I’m gonna make some anyways.
Hi Lindsey,
I’m a big fan of the faux fur Poms too! 😄 I like to condition mine because I find it helps add some slick-ness to the fibers preventing them from clumping back up so easily after brushing. It also forces me to blow-dry them so that the fibers are straight. It’s just a recommendation though. You certainly don’t have to if you don’t want to take the extra time ☺️
I love this site and just signed up for your newsletter. Thanks for being a good sport. I’m a retired literacy teacher and can’t help myself. Many blessings to you, Bernadette!
Neat idea, although diameter is spelled with an e.
right you are, thanks for bringing the typo to my attention, it has been corrected. 🙂
I have recent bought some hats with no pom, and want to add a pom. How do I sew the pom on so that it doesn’t flop all over the place when I’m wearing it?
When you’re making the poms, I recommend leaving a long tail on the embroidery floss.
Then when you attach to the top of the beanie, I usually leave about a 1” space between the tails I feed through the top.
Tie tight and then you can feed the embroidery floss through the beanie and pom for another pass if you want it extra secure before tying completely off 🤗